Building an outdoor kitchen island grill requires careful planning, starting with measuring your space and determining permit requirements. You’ll construct a metal frame using 20-gauge steel studs, wrap it with cement board for heat resistance, and apply stone veneer with mortar. Create concrete countertops using melamine forms, sand them smooth, and seal with food-grade sealer. Finally, hire a certified professional for gas line connections to guarantee safety compliance. Continue exploring for detailed step-by-step construction techniques.
Planning Your Outdoor Kitchen Island Layout and Design
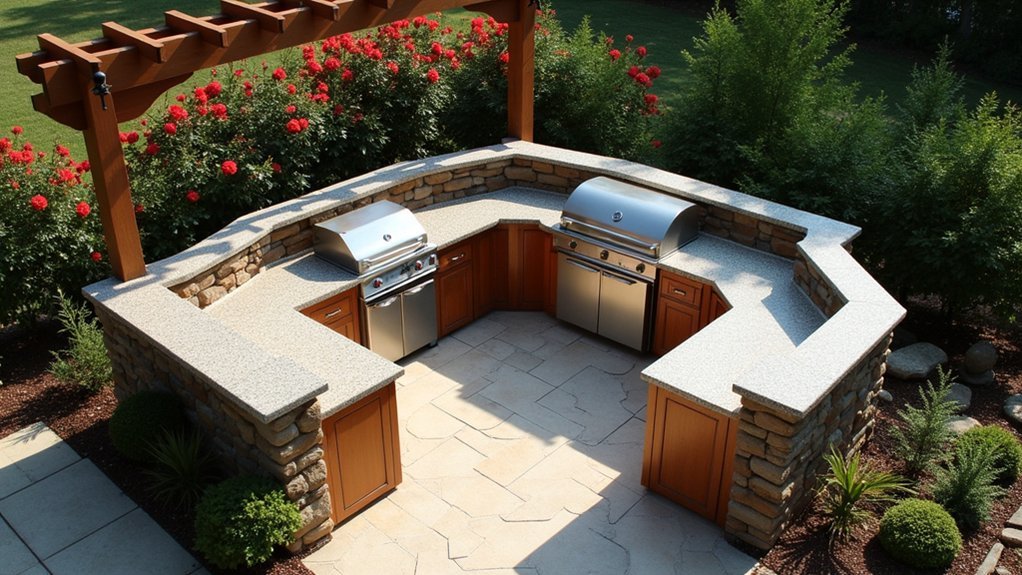
Before you pick up a single tool, you’ll need to carefully measure your backyard space and assess how you plan to use your outdoor kitchen island.
Determine the ideal size based on your entertainment needs and available area. Position your grill island close to dining areas while ensuring adequate traffic flow around all cooking zones.
When planning the dimensions of the frame, prioritize essential appliances like built-in grills and refrigerators.
Allocate space for weather-resistant countertops and storage solutions. Your outdoor kitchen layout should accommodate movement and accessibility without crowding.
Consider permit requirements, which typically range from $250 to $2,000 depending on project complexity.
Select durable materials like stainless steel appliances and stone countertops to minimize maintenance while maximizing longevity in outdoor conditions.
Essential Components and Material Selection
You’ll need to identify the core kitchen components that’ll make your outdoor island both functional and practical for cooking and entertaining.
Your material choices must withstand constant exposure to weather elements while maintaining their structural integrity and appearance over time.
Selecting the right combination of components and weather-resistant materials will determine your outdoor kitchen’s longevity and performance for years to come.
Core Kitchen Components
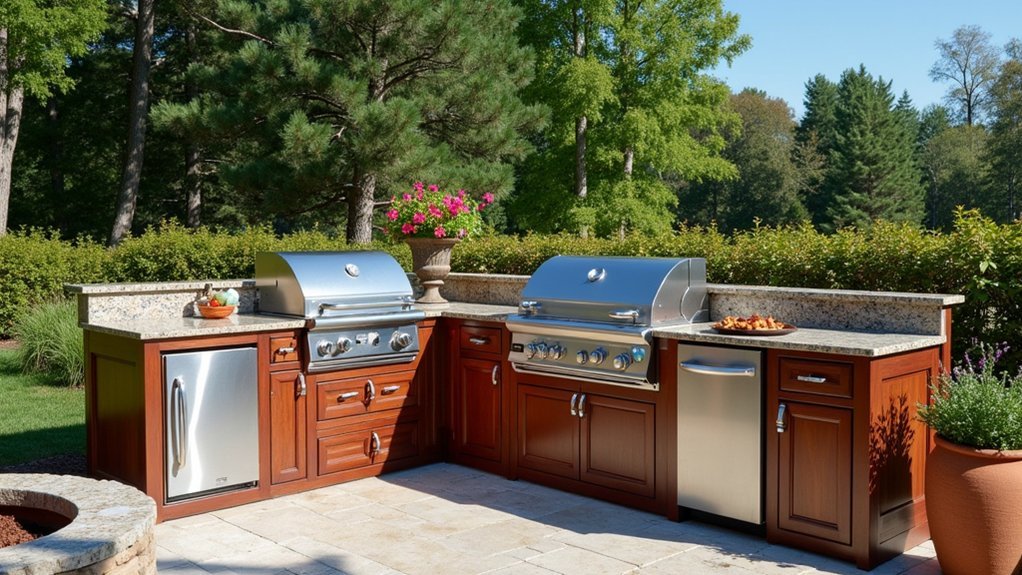
When planning your outdoor kitchen island, the grill serves as the centerpiece that’ll determine your entire layout and functionality. Choose a high-quality grill made from stainless steel to resist rust and corrosion from outdoor elements. Position it strategically to optimize traffic flow while cooking and entertaining.
Install weather-resistant cabinets below and around your grill for organized storage of utensils, supplies, and cooking essentials. These cabinets should feature moisture-resistant materials and proper sealing to protect contents from weather exposure.
Select durable countertops made from stone or concrete that provide ample workspace for food preparation and serving. These materials withstand temperature fluctuations and moisture while maintaining their appearance.
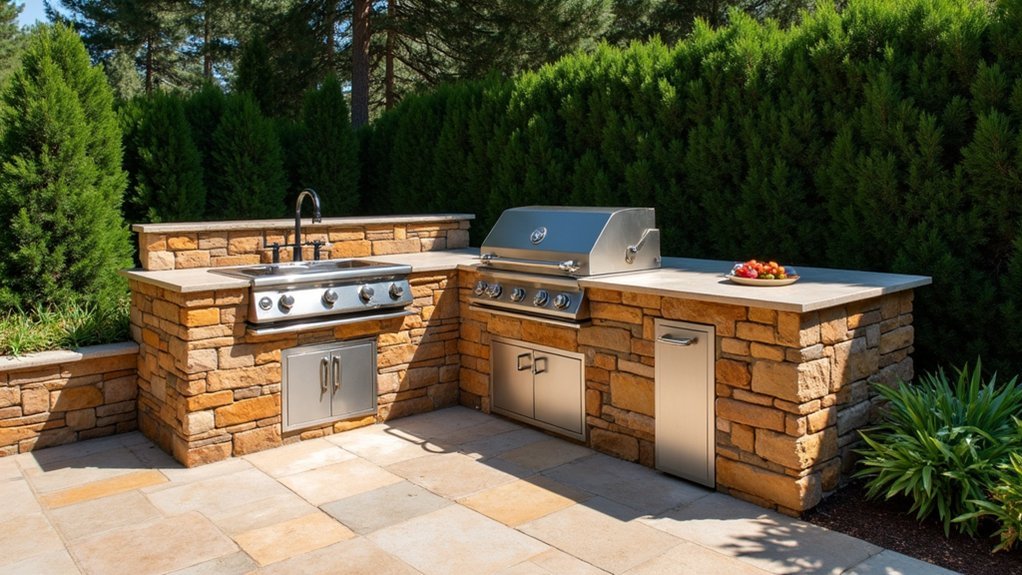
Include a sink with running water for convenient cleanup, and consider adding a refrigerator to keep perishables fresh during extended outdoor cooking sessions.
Weather-Resistant Material Options
Selecting materials that withstand harsh outdoor conditions determines your kitchen island’s longevity and performance over years of use.
You’ll want to prioritize weather-resistant options that handle moisture, temperature fluctuations, and UV exposure without deteriorating.
Stainless steel stands out as your top choice for appliances and fixtures. It resists rust and corrosion while maintaining its appearance through years of outdoor exposure.
For countertops and structural elements, stone offers natural beauty combined with exceptional durability against the elements.
If you’re incorporating wood into your design, choose rot-resistant varieties like cedar or teak that naturally repel moisture damage.
Concrete provides excellent strength and fireproof qualities, making it ideal for built-in cooking surfaces and structural components that require maximum durability.
Building the Metal Frame Structure
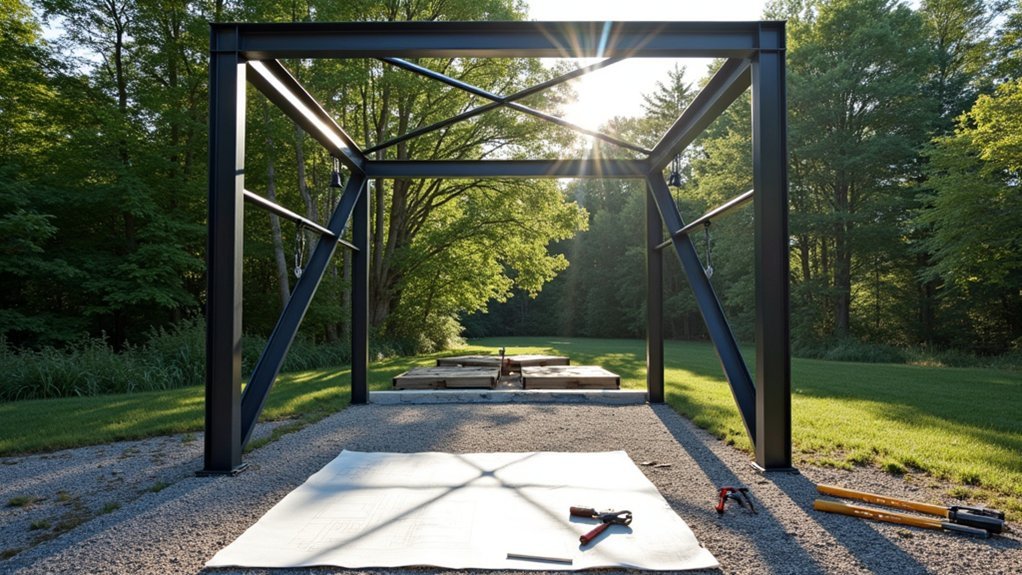
Since proper measurements form the foundation of any successful outdoor kitchen project, begin by carefully measuring your intended area to determine the exact dimensions and layout for your metal frame. Use 20-gauge steel studs for maximum heat resistance and durability.
| Tool/Material | Purpose | Key Benefit |
|---|---|---|
| Speed Square | Mark and verify frame squareness | Guarantees precise angles |
| Clamps | Hold pieces during assembly | Maintains alignment |
| Self-tapping Screws | Secure stud connections | Creates strong joints |
| Construction Adhesive | Additional bonding strength | Weather resistance |
Cut studs precisely with an angle grinder to maintain accurate dimensions. Assemble your metal frame in manageable sections for easier transportation and installation. Verify all connections are securely fastened to handle the outdoor kitchen’s weight and daily usage demands.
Installing Cement Board and Surface Preparation
After completing your metal frame assembly, you’ll need to wrap the entire structure with cement board to create a heat-resistant barrier that protects against the intense temperatures your grill will generate.
Cut five pieces of cement board to size using a jigsaw or box cutter for ideal coverage. Before installation, verify all surfaces are clean and debris-free to prevent moisture issues and improve adhesion.
Secure the cement board pieces to your frame, then apply seam covering with joint tape. Follow this with thin set to secure the tape and joints properly.
Finally, apply a waterproof roll-on product to protect against moisture, especially in areas exposed to rain or water splashes during cooking.
Applying Stone Veneer and Tile Work
With your cement board properly sealed and protected, you’re ready to transform your outdoor kitchen island with stone veneer that will withstand years of cooking and weather exposure.
Start by applying a scratch coat of mortar with peanut butter consistency to create a solid foundation. Score this base with a ½-inch notched trowel and let cure for 24 hours.
Apply mortar with peanut butter consistency, score with ½-inch notched trowel, and cure for 24 hours before proceeding.
Back-butter each stone piece with 1-inch mortar layers, creating V-shaped air pockets for superior bonding. Begin setting stones from a corner’s base, pressing firmly while dry-fitting for proper alignment.
Alternate stone orientation for natural appearance. For tile pieces, follow similar techniques but adjust mortar thickness accordingly.
Allow 24 hours setting time before installing countertops.
Creating and Installing the Concrete Countertop
You’ll need to construct precise forms and pour the concrete to create a durable countertop that can withstand outdoor conditions.
The forming process requires careful attention to dimensions and edge details, while the concrete mix must be optimized for workability and strength.
Once you’ve completed the pour and curing process, you can install the finished countertop on your outdoor kitchen island.
Forming the Concrete
The concrete countertop forms the centerpiece of your outdoor kitchen island, requiring careful preparation and execution to achieve professional results.
Start by constructing melamine forms with a two-inch depth, ensuring they’re thoroughly clean and treated with paste wax for easy release after curing.
Mix your rapid set cement with flow and set control additives to achieve proper workability before pouring into the prepared forms.
While the concrete remains wet, use a fondant tool to create grooves for an attractive rounded profile that enhances the countertop’s aesthetic appeal.
Once poured and shaped, focus on proper curing by keeping the concrete wet throughout the curing process.
This wet curing method is essential for developing maximum strength and durability, particularly important for heavy concrete slabs in outdoor applications.
Installing the Countertop
After your concrete has fully cured, you’re ready to transform the rough slab into a polished countertop surface. Begin sanding with 100-grit sandpaper, progressively working through finer grits up to 1,500 for a smooth finish. This process reveals the concrete’s natural beauty while preparing it for sealing.
| Grit Range | Purpose | Technique |
|---|---|---|
| 100-220 | Remove imperfections | Aggressive circular motions |
| 400-800 | Smooth surface | Light, overlapping passes |
| 1000-1500 | Final polish | Wet sanding recommended |
| Sealing | Protection | Multiple thin coats |
Once sanding’s complete, apply food-grade concrete sealer in multiple coats, allowing proper drying between applications. Position your finished countertop carefully onto the island structure, ensuring it sits flush with the top edges for a professional appearance.
Gas Line Connection and Final Assembly
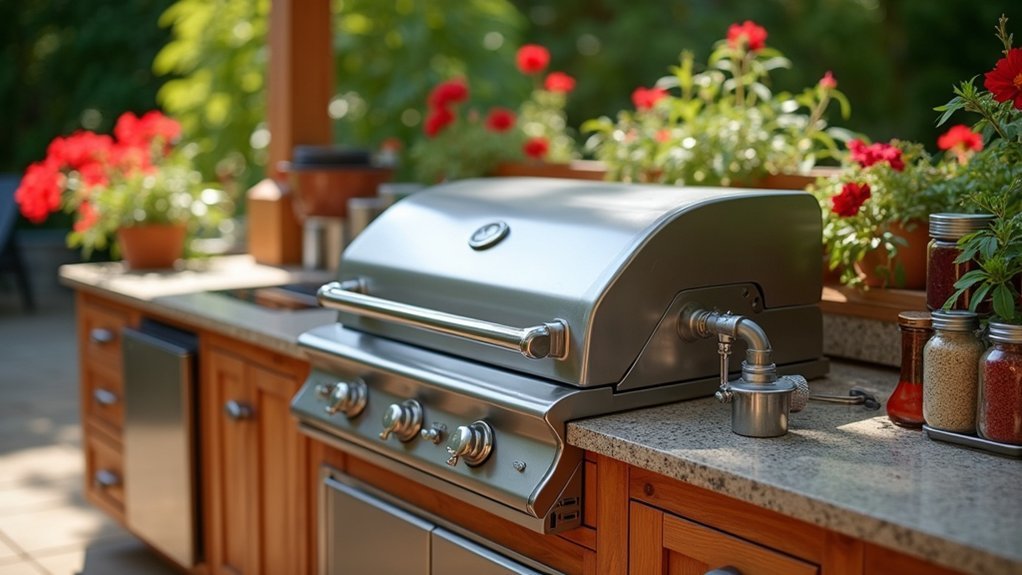
Before connecting any gas lines to your outdoor kitchen island grill, contact a certified gas line professional to handle this critical step. Improper gas line connection installation can create serious safety hazards, so you’ll want someone experienced to guarantee compliance with local building codes.
Always hire a certified gas line professional for outdoor grill connections to ensure safety and code compliance.
Your professional will install all fittings securely and test for leaks using soapy water.
You’ll need a gas shut-off valve installed near your grill for emergency access and maintenance. Verify that your grill’s gas pressure matches the manufacturer’s specifications before proceeding.
Once the gas connection is complete, conduct a thorough inspection of all components during final assembly. Check that everything’s secure and functioning properly before using your new outdoor kitchen island grill.
Frequently Asked Questions
What Is the Cheapest Way to Build an Outdoor Kitchen?
You’ll save most by using pressure-treated wood, plywood surfaces, and DIY installation. Stick to essential appliances like a basic grill and cooler, plan efficiently to minimize waste, and avoid permits.
How to Build an Outdoor Grill Station?
You’ll build an outdoor grill station by surveying your space, selecting weather-resistant materials like stainless steel, constructing a stable frame, installing cement board for tiling, and incorporating essential features.
How Much Does It Cost to Build a Barbecue Island?
You’ll spend $3,000 to $15,000 building a barbecue island, depending on your chosen materials and appliances. High-end grills cost $1,000-$3,000, while additional features like sinks add $500-$5,000 more.
Do I Need a Permit to Build an Outdoor Kitchen?
You’ll likely need a permit for your outdoor kitchen, especially if it involves electrical work, plumbing, or gas lines. Check with your local building department since requirements vary by municipality and project scope.


Leave a Reply