To decorate dining tables with string lights, choose weatherproof LEDs in warm white (2700-3000K) for a cozy ambiance. Wrap lights around centerpieces of seasonal greenery in glass vases, or create a low canopy 12-24 inches above the table. For outdoor settings, use IP65+ rated lights with proper clips every 12-18 inches along edges. Coordinate your light style with your theme—rustic, modern, or whimsical. The right lighting transforms any dinner into a magical experience.
Choosing the Perfect String Lights for Outdoor Dining
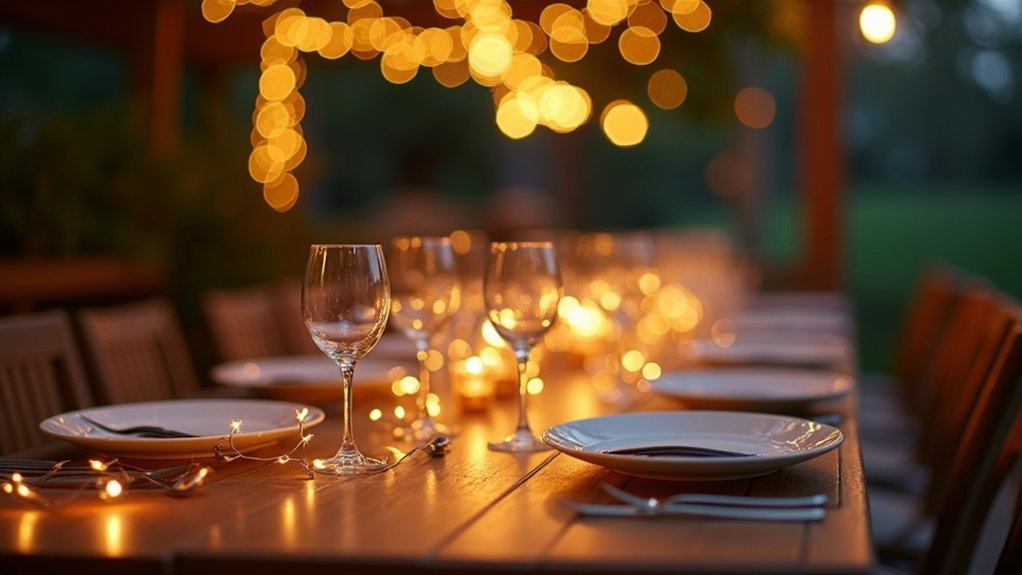
When transforming your outdoor dining space, selecting the right string lights makes all the difference. Start with weatherproof, outdoor-rated lights designed to withstand rain, humidity, and temperature fluctuations.
LED options are your best bet—they’re energy-efficient, emit minimal heat, and last longer than incandescent bulbs, reducing maintenance needs. For that cozy restaurant ambiance, choose warm white LEDs (2700-3000K), and look for dimmable versions to adjust the mood from bright family dinners to intimate evening meals.
If outlets are limited, consider battery-powered or solar lights for flexibility. Just ensure solar variants get enough daylight to shine through dinner.
Finally, install with weatherproof hooks and connectors, routing cords safely along garden paths or under eaves to prevent tripping hazards.
Essential Tools and Materials for Outdoor Light Installation
You’ll need heavy-duty outdoor extension cords (rated IP65+) that can safely power your string lights through rain and temperature fluctuations. Weather-resistant LED string lights with rubber gaskets around bulb sockets provide the best protection against moisture while consuming 80% less energy than traditional options. Gather essential anchoring supplies like weatherproof command hooks, zip ties, or stainless steel wire clips that won’t rust when exposed to the elements and can securely fasten lights to your dining area structures.
Outdoor Extension Cord Basics
Why do outdoor extension cords matter so much for dining table light displays? They’re the lifeline that powers your enchanting setup while keeping everything safe from electrical hazards and weather damage.
Choose cords based on distance and power needs—16 AWG for short runs, but 14 or 12 AWG for longer distances to prevent voltage drops. Always use weatherproof, outdoor-rated cords with IP44 or higher ratings to withstand moisture and UV exposure. Look for three-prong grounded plugs and proper outdoor connectors.
When planning your layout, calculate your string lights’ total wattage, multiply by a safety factor, and ensure your cord can handle the load. Route cords carefully using clips or covers to prevent tripping hazards, and keep them away from heat sources and direct contact with foliage.
Weather-Resistant Light Options
Selecting the right weather-resistant lighting transforms an ordinary outdoor dining experience into a magical evening that can withstand nature’s challenges. For outdoor dining tables, choose LED string lights with an IP65 or higher rating to ensure they’ll handle rain and moisture without failing.
When selecting your outdoor lighting setup, prioritize:
- Waterproof connectors and sealed battery packs or solar modules that prevent moisture intrusion
- Shatterproof bulbs with UV-coated, flexible wiring that resists sun damage and color fading
- Weatherproof cords connected to surge-protected power sources to minimize shock risks
Remember to inspect your lights regularly for damaged insulation and secure cords with abrasion-resistant clips. After your outdoor dining events, store lights in a dry container to extend their lifespan and maintain their performance for future gatherings.
Anchoring and Fastening Tools
Securing your string lights properly transforms them from a tangled mess into a professional outdoor dining display. For walls and railings around your dining area, rely on outdoor-rated Command Hooks or adhesive strips, making sure they can handle both the weight of your lights and any wind exposure.
Keep weatherproof fishing line or wire on hand to prevent sagging across longer sections above your table. UV-resistant cable ties or coated zip ties work perfectly for attaching lights to pergolas or nearby fixtures without damaging the wiring or creating unwanted glare on your dining surface.
Don’t forget a cordless drill or hammer with small nails for wooden mounting points, plus pre-measured string for consistent spacing. Always pair your setup with outdoor-rated power adapters and GFCI-protected extension cords for safe operation in all weather conditions.
Creating a Canopy of Lights Above Your Dining Space
Transform your dining area into an enchanting retreat by crafting a suspended canopy of string lights overhead. Arrange your lights in a grid or crisscross pattern to ensure even illumination throughout the space, eliminating dark spots along both the center and edges of your table.
Select warm white or amber LED string lights to create a cozy, candlelit ambiance without generating heat. For optimal positioning, hang the lowest strands 12-24 inches above the table—high enough for unobstructed conversation but low enough to create an intimate atmosphere.
- Use unobtrusive hooks or slim clips to secure lights to your ceiling
- Keep wires tacked close to ceiling lines to prevent unsightly sagging
- Install multiple lightweight strands for balanced coverage across the entire dining area
Weatherproof Methods for Securing Lights to Table Edges
When securing string lights to outdoor dining table edges, you’ll need waterproof clips that can withstand changing weather conditions while providing reliable attachment points every 12-18 inches. Outdoor adhesive solutions like Command Hooks with weatherproof ratings offer temporary installation without damaging your table’s finish, but ensure they’re rated to support the weight of your IP65 or higher-rated lights.
Silicone fasteners provide excellent flexibility and moisture resistance for wooden or metal table edges, creating a secure bond that can handle temperature fluctuations while keeping your power connections safely elevated from damp surfaces.
Waterproof Clips Application
The right weatherproof clips form the backbone of any outdoor table lighting setup that needs to withstand the elements. Select clips with silicone or rubber grips to protect your table’s surface while preventing heat transfer from LED strings. For maximum durability, choose IP-rated clips specifically designed for outdoor environments with high humidity and rain exposure.
To properly secure your string lights:
- Attach clips at 12-18 inch intervals along the table edge to maintain even tension and prevent sagging during windy conditions
- Run wires through protective grommets or edge channels in water-prone areas to prevent moisture damage
- Test your installation with a light spray of water and re-secure any loose clips before your event begins
This systematic approach ensures your dining table lights remain securely fastened regardless of weather conditions.
Outdoor Adhesive Solutions
Beyond clip attachments, outdoor dining tables often require stronger adhesive solutions to withstand challenging weather conditions. For reliable mounting, choose adhesive-backed outdoor hooks specifically designed to resist rain and humidity. Enhance their durability by pairing them with silicone sealant-free mounting techniques.
When selecting adhesives, look for products labeled “exterior” or “weatherproof” that can handle temperature fluctuations. Position hooks at 6-8 inch intervals along your table edge to distribute the weight of your string lights evenly. For maximum holding power, clean the mounting surface thoroughly with alcohol before applying adhesives.
If you need a more permanent solution, consider weather-resistant double-sided tape designed for outdoor use. Just remember to avoid adhesives that might damage your table’s finish when eventually removed.
Silicone Fasteners Guide
Silicone Fasteners Guide
Weatherproof Methods for Securing Lights to Table Edges
Why struggle with unreliable fasteners when silicone options offer superior weatherproofing for your dining table light displays? Silicone sealants create moisture-resistant bonds that work perfectly for indoor-outdoor setups, conforming to irregular edge profiles while remaining nearly invisible.
For best results:
- Choose clear or color-matched silicone to blend seamlessly with your table material, whether it’s wood, metal, or plastic
- Allow 30 minutes for tack-free handling, but wait the full 24-hour cure time before hosting events
- Combine with removable clips or double-sided tape for temporary installations that won’t leave residue
This approach ensures your string lights stay securely attached through changing weather conditions, providing reliable illumination without damaging your dining furniture.
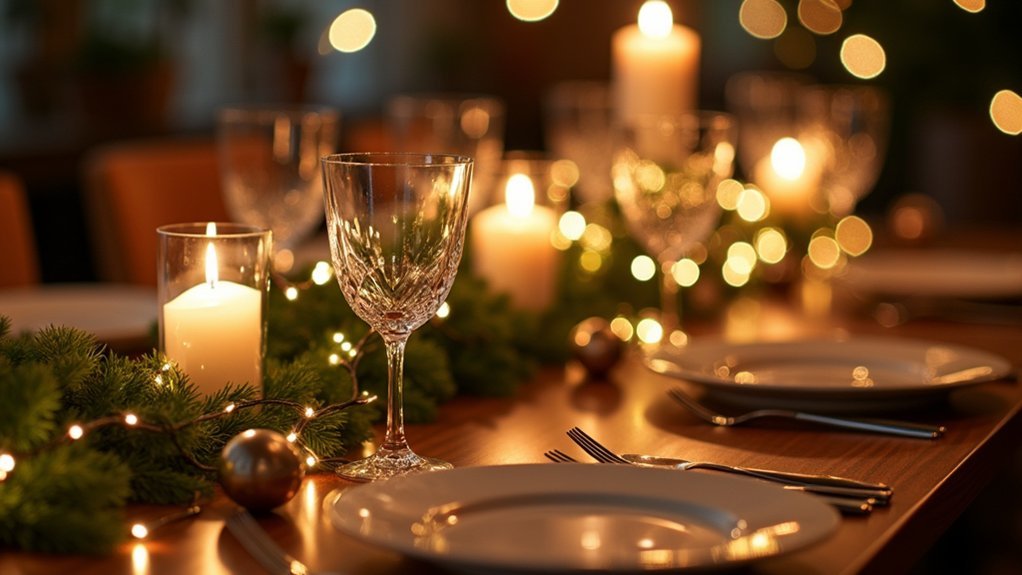
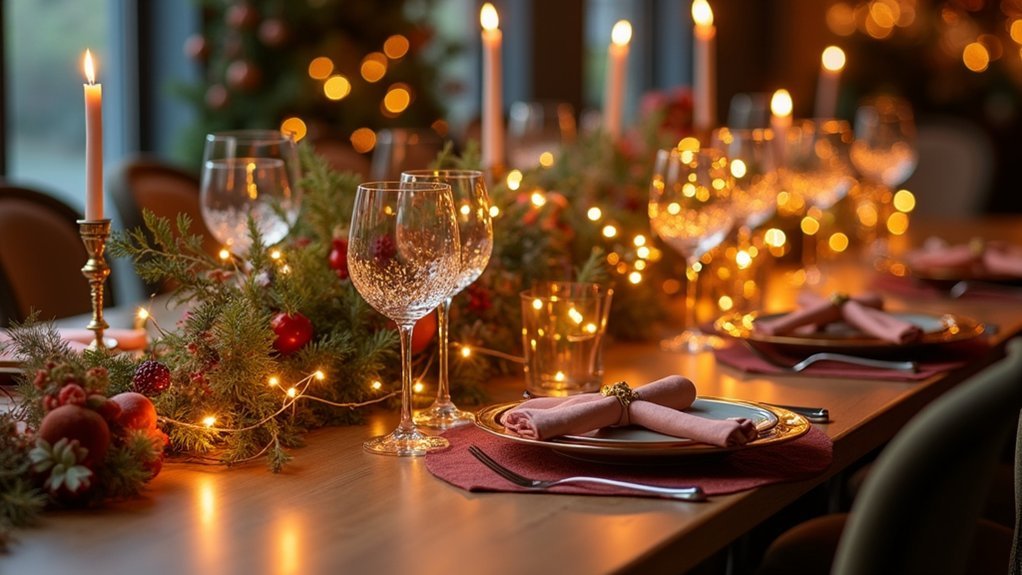
Centerpiece Ideas With Integrated String Lighting
Imagine transforming your dining table’s focal point into a magical display of light and texture. Start by wrapping warm white LED string lights around a glass vase filled with seasonal greenery for a luminous centerpiece that doesn’t overwhelm your table space.
For subtle elegance, thread narrow-diameter lights through branches or floral stems, creating gentle illumination that enhances natural color contrasts. Keep cords hidden by anchoring battery-operated lights inside clear lanterns or jars, providing even, downward light distribution.
If you prefer a low-profile arrangement, drape lights along the base of your centerpiece, tucking wires beneath greenery for a clean look. Don’t forget to amplify the sparkle by pairing your illuminated centerpiece with metallic accents like gold votives or copper table runners that beautifully reflect the light.
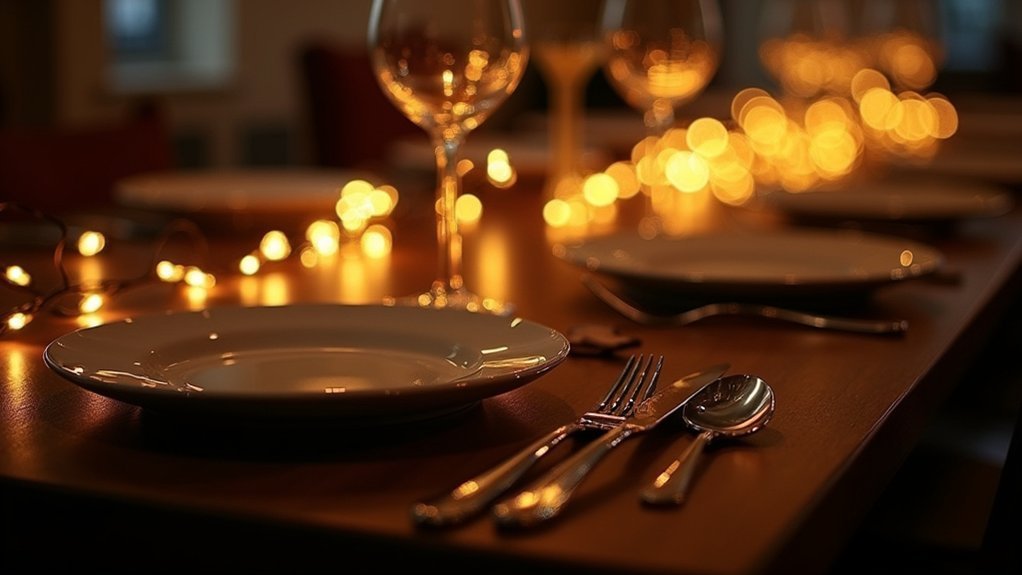
Balancing Ambient Light With Practical Illumination
How do you create dining table lighting that’s both beautiful and functional? The secret lies in layering your lights strategically. Use warm white LEDs (2700-3000K) as your foundation for that cozy ambient glow, while adding targeted cool white accents (4000K) where guests might need to read menus or place cards.
For the perfect balance, remember to:
- Position your base layer along table edges and a secondary layer higher around centerpieces
- Keep lights consistently spaced (6-12 inches apart) to eliminate hotspots
- Use dimmable, battery-operated options to adjust brightness as the evening progresses
This layered approach ensures your string lights illuminate focal points like centerpieces without casting unflattering shadows on guests’ faces, creating a dining atmosphere that’s as practical as it’s enchanting.
Seasonal Themes and Color Combinations for Table Lighting
Transforming your dining table with string lights requires thoughtful consideration of both season and style. For rustic fall or winter gatherings, pair warm white LED lights with burlap runners and wooden elements to create an inviting atmosphere that feels naturally cohesive.
If you’re hosting a modern dinner party, opt for sleek white lights complemented by minimalist place settings and metallic accents for a sophisticated contemporary look.
For spring or summer celebrations, embrace whimsy with multicolored lights alongside playful ornaments and vibrant tableware.
When designing your tablescape, ensure your lights enhance rather than overwhelm by wrapping them around centerpieces or outlining table edges. Always coordinate light colors with your overall dining room aesthetic—whether rustic, modern, traditional, or whimsical—to maintain visual harmony throughout your space.
Power Solutions for Remote Outdoor Dining Areas
Remote outdoor dining areas come alive with the right power solutions for your string lights. Battery-powered options let you create a magical atmosphere anywhere, without worrying about outlet access or extension cords. Solar-powered systems offer the added convenience of automatic charging during daylight hours, ensuring your table remains beautifully lit throughout your evening gatherings.
Battery-Powered Light Options
When outdoor dining ventures beyond the reach of conventional power outlets, battery-powered string lights become your essential illumination solution. These versatile options run on standard AA or AAA batteries, offering cord-free lighting that can transform any remote table setting. Most feature energy-efficient LEDs that provide hours of gentle illumination without frequent battery changes.
For your outdoor dining adventures, consider these battery-powered advantages:
- Built-in timers and remote controls let you automate lighting without leaving your seat
- Weatherproof models with IP44 or higher ratings withstand evening moisture and humidity
- Flexible placement options allow creative arrangements impossible with corded versions
Watch for dimming or blinking as indicators of low battery levels—this early warning helps you maintain consistent ambiance throughout your dining experience without unexpected darkness.
Solar Charging Systems
Why struggle with battery replacements when the sun can power your dining table’s ambiance? Solar-powered string lights use photovoltaic panels to convert sunlight into electricity, charging during daylight hours and illuminating your space after sunset.
For reliable outdoor dining setups, choose lights with built-in rechargeable batteries (Ni-MMH or Li-ion) and solar panels rated between 2-6 volts. Battery capacity determines illumination time—look for 600-1800 mAh packs that provide 6-12 hours of light per charge.
Enhance convenience with models featuring integrated daylight sensors or timers that automatically activate at dusk and conserve energy. Since outdoor dining areas face various weather conditions, select systems with weatherproof ratings of IP66 or higher and UV-resistant cables to ensure durability and consistent performance year-round.
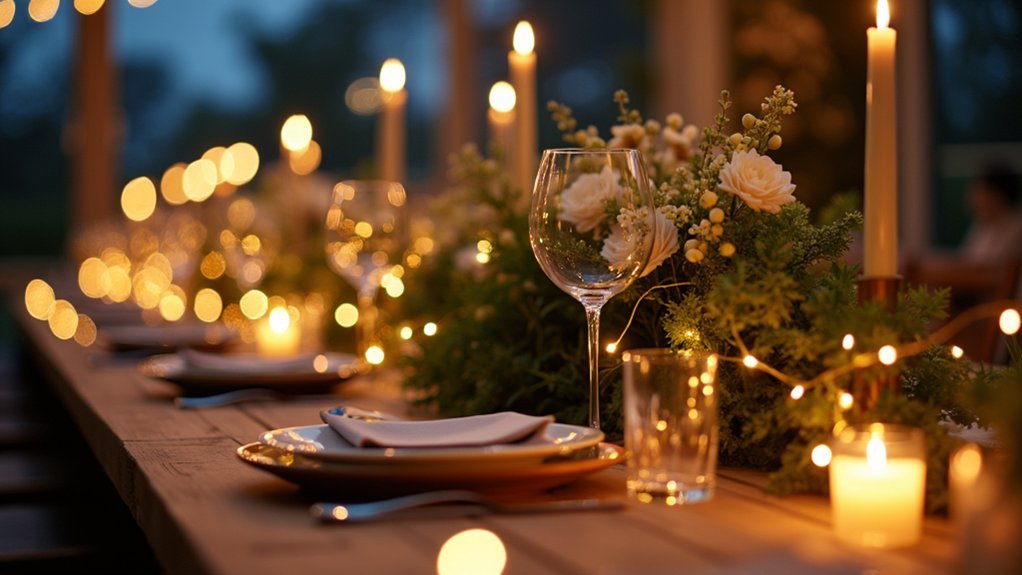
Incorporating String Lights With Other Table Decorations
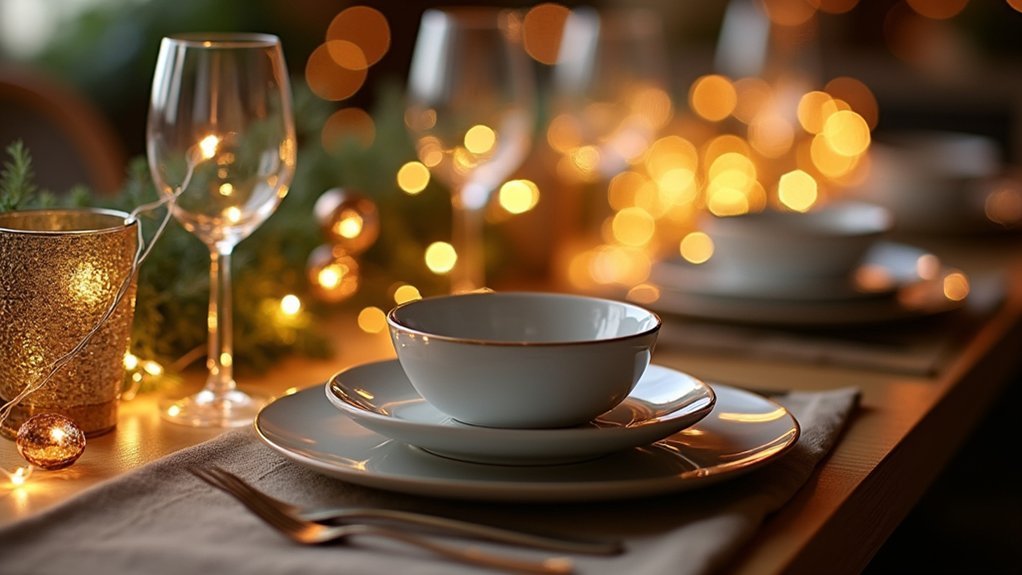
Creating a truly magical dining table display means thoughtfully combining string lights with your existing decorative elements. Weave lights around centerpieces to add sparkle without overwhelming your tableware, or tuck them under greenery to define your dining space with a soft perimeter glow.
For a cohesive look, choose warm white LEDs that complement other decor elements like pinecones, napkins, and metallic accents. Layer your lighting for dimension by:
- Placing battery-operated lights inside glass jars or votive holders for cord-free luminescent accents
- Combining string lights with candles for complementary ambiance
- Draping lights along table edges and intertwining them with garlands for a unified design
This layered approach creates depth while ensuring the lights provide the dominant warmth in your table setting.
Creative Hanging Techniques for Different Table Shapes
The shape of your dining table considerably influences how your string lights should be arranged for maximum impact. For rectangular tables, run a single continuous strand down the center, securing it with clear clips at short intervals to maintain a straight, even glow.
If you’ve got an oval table, weave lights in gentle waves that follow the table’s natural contours, avoiding sharp angles.
Round tables benefit from concentric circles of lights or a simple radiant halo just inside the rim.
For irregular or banquet-style setups, create a crisscross or zigzag pattern with multiple strands to ensure even illumination between seating clusters.
When hanging lights from above, suspend them 6–12 inches over the table to avoid glare while creating a flattering ambient canopy.
Maintenance Tips for Year-Round Outdoor String Light Displays
When you’ve invested in a stunning dining table light display, proper maintenance ensures your outdoor string lights remain safe and beautiful throughout changing seasons. Regular inspections for damaged wires, cracked bulbs, or loose connections prevent dangerous short circuits that could ruin your outdoor dining ambiance.
Choose weatherproof LED strands with IP65+ ratings and protect all connections:
- Install weatherproof covers over plugs and elevate connections on hooks or brackets to keep them away from damp ground
- Use outdoor-rated transformers with surge protection, ensuring total wattage stays within capacity limits
- Store lights properly between seasons in their original packaging or insulated totes to prevent tangling and extend bulb life
Proper maintenance not only ensures safety but also maximizes your investment, keeping your outdoor dining space beautifully illuminated year-round.
Frequently Asked Questions
What Is the Rule of Thumb for Lighting Over a Dining Table?
Place string lights 6 to 12 inches above your dining surface. You’ll get a pleasant ambient glow without creating glare. Make sure they’re dimmable so you can adjust the brightness during your meal.
How to Use Fairy Lights on a Table?
Use battery-operated fairy lights tucked under greenery for a cord-free look. Weave them around centerpieces, choosing miniature LEDs for subtle effects. Position them to gently illuminate place settings without shining in guests’ eyes.
How to Use Garland on a Dining Table?
Run garland down your table’s center, weaving in string lights for ambience. Secure it with small clips, and add complementary decorative elements like candles or pinecones. Choose materials that match your overall theme.
What to Put String Lights up With?
Use clear command hooks, adhesive strips, or discreet clips to attach string lights to your dining table. You’ll get the best results with mini cable ties that match your light wire color.


Leave a Reply