You’ll transform your outdoor space by matching pergola designs to your entertainment needs. Choose between modern clean-lined structures and classic latticed gardens, then decide if you want an attached or freestanding design. Plan your layout around furniture placement and traffic flow, ensuring 7–8 feet of headroom for comfort. Integrate shade solutions, built-in seating, and ambient lighting to create functional zones. The right pergola plan combines aesthetic appeal with practical durability—and there’s much more to discover about maximizing your entertainment area.
Transforming Your Outdoor Space With Pergola Design
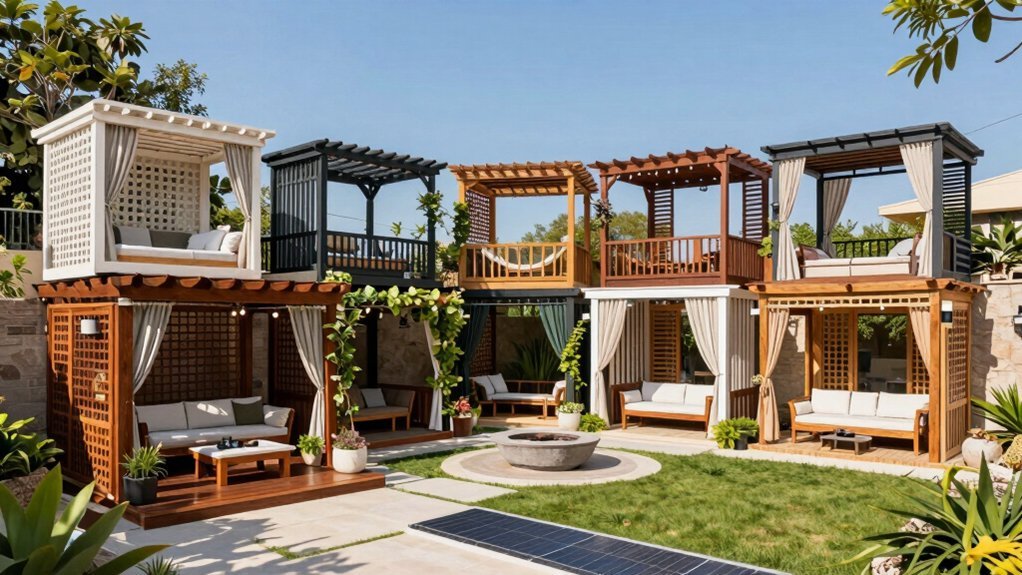
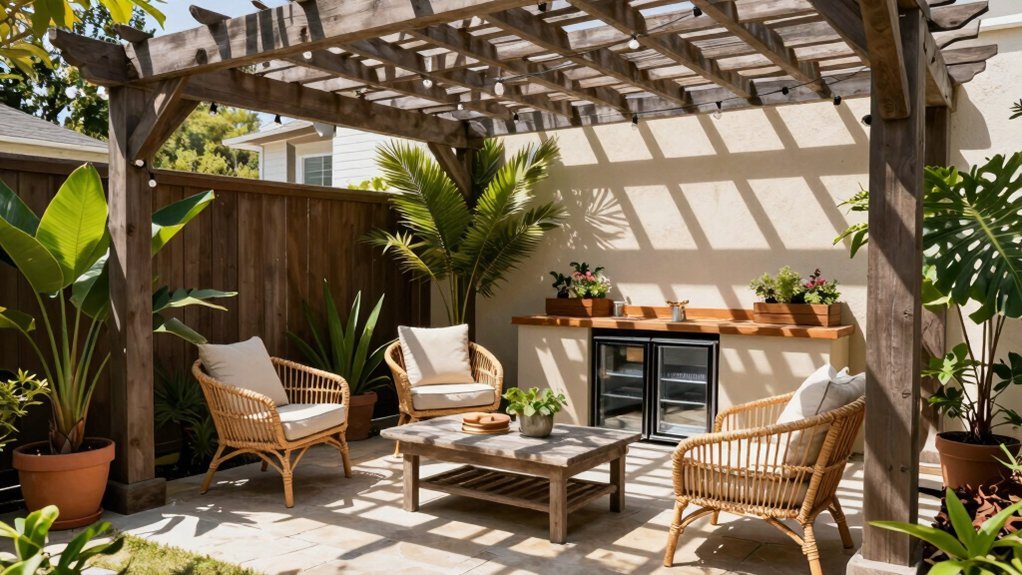
Why settle for an ordinary backyard when you can design an outdoor entertainment area that’ll truly impress? A pergola transforms your outdoor space into a functional gathering hub by providing structure and style.
You’ll choose between attached and freestanding designs that complement your home’s architecture. Modern pergolas feature clean lines, while traditional styles incorporate decorative elements. Consider integrated features like privacy screens, planter boxes, and built-in seating to customize your space.
Plan for adequate headroom of 7–8 feet and overall heights of 9–12 feet to ensure comfortable gatherings. You can add lattice panels or slatted roofs for shade and visual interest. Factor in your climate, budget, and skill level when selecting your design. With thoughtful planning, you’ll create an inviting entertainment destination that maximizes your outdoor potential.
Assessing Your Entertainment Needs and Site Conditions
Before you start building, you’ll need to honestly evaluate how you’ll actually use your pergola. Do you envision intimate dining gatherings or sprawling lounging areas? Will you attach it to your home or keep it freestanding? These decisions shape your entire design.
Honestly evaluate how you’ll use your pergola—intimate dining or sprawling lounging—before design decisions take shape.
Next, assess your site conditions carefully. Examine sun exposure—south and west-facing areas demand shade solutions, while north-facing spots may need open roofing. Consider your climate and choose appropriate materials like cedar for mild regions or pressure-treated lumber for harsh weather.
Don’t overlook rainfall and snow load potential. Your local conditions determine whether you’ll need a solid roof, slatted design, or open framework.
Finally, measure your available space. Small patios work with 8–10 ft structures, while dining areas benefit from 12×12 ft or larger, maintaining 7–8 ft headroom.
Modern Pergola Plans for Contemporary Entertainment
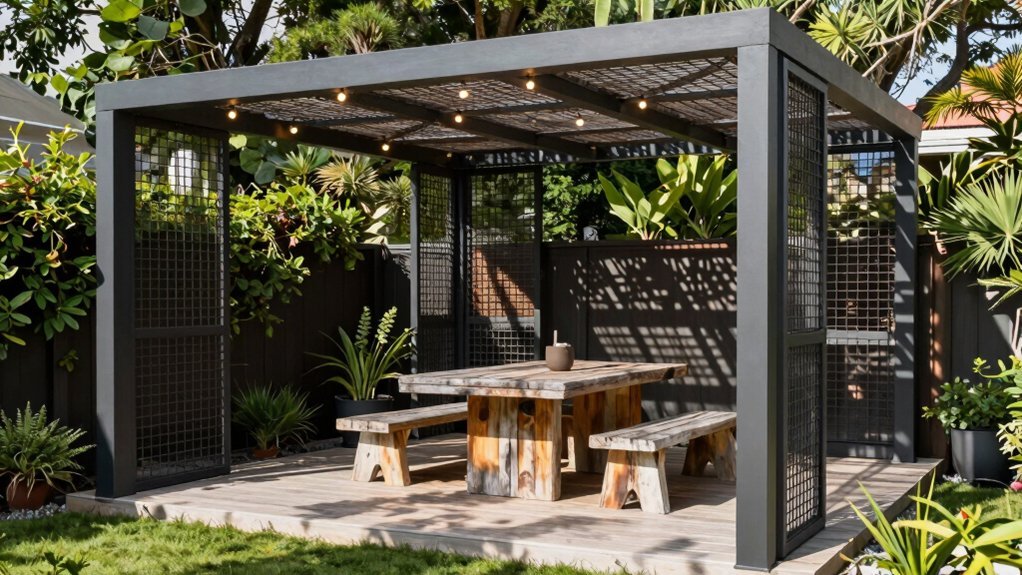
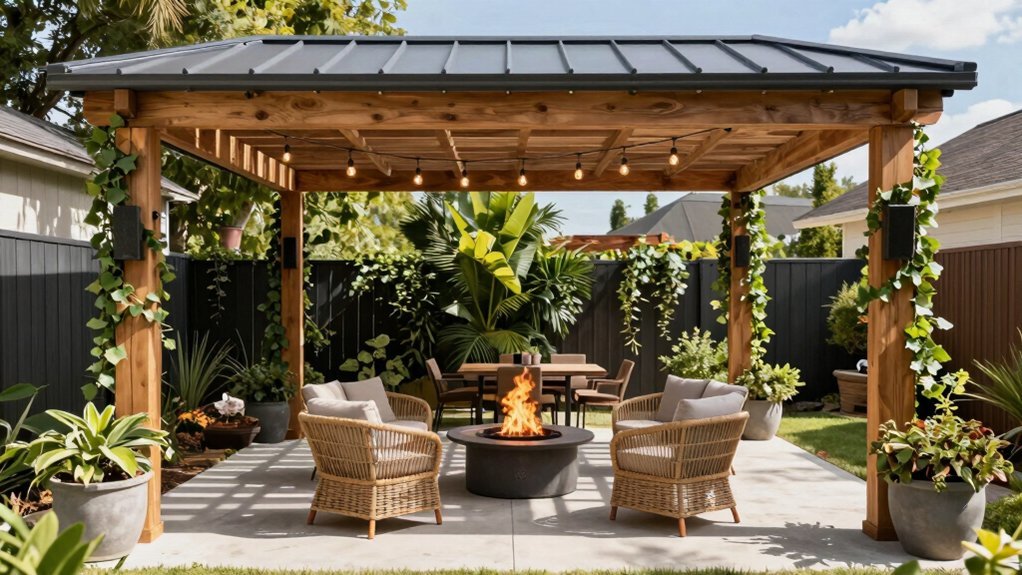
Once you’ve pinned down your space and climate requirements, you’re ready to explore designs that’ll actually reflect your home’s aesthetic. Modern pergola plans prioritize clean lines and contemporary materials, incorporating metal accents and geometric forms for a sleek, minimalist look. You’ll find options ranging from attached structures to freestanding designs featuring louvers or slatted roofs that serve both functional and aesthetic purposes.
When selecting your design, consider high-contrast finishes and integrated lighting that extends usability into evening hours. Choose durable materials like pressure-treated lumber or metal with concealed hardware to maintain that streamlined appearance. These designs excel at creating seamless indoor–outdoor transitions that complement contemporary homes while maximizing your entertainment space’s visual appeal and functionality.
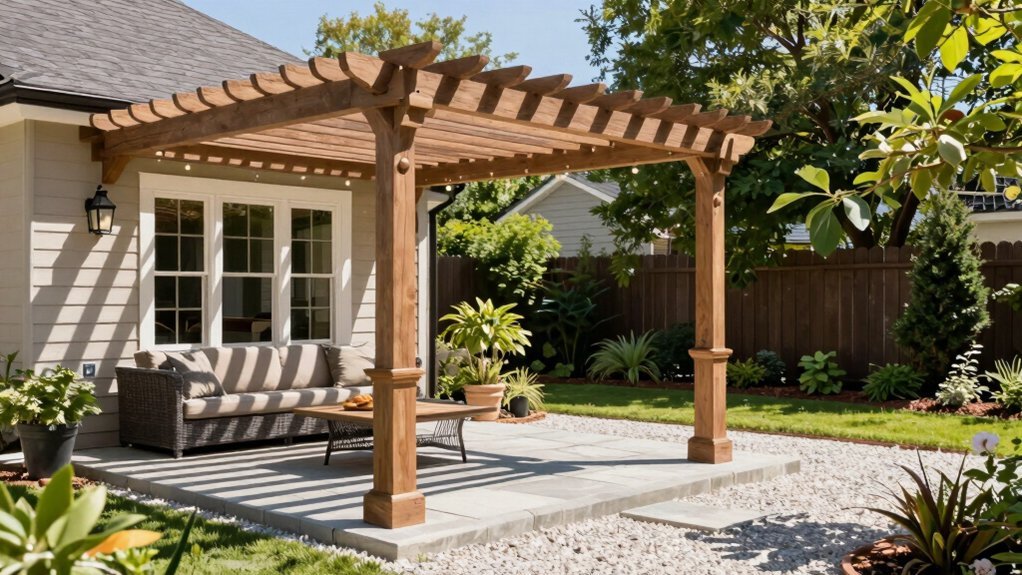
Classic Garden Pergola Plans for Timeless Appeal
Classic garden pergola designs offer timeless appeal through structural simplicity and elegant lattice work that’s stood the test of time. You’ll create a sophisticated outdoor space by installing hollow-core composite columns on treated 4×4 posts set in concrete footings. Dig post holes at least 24 inches deep, using approximately five bags of concrete per hole for six total posts.
Your pergola’s overhead lattice framework, crafted from 2x8s and 2x10s, filters sunlight into dappled patterns while keeping your entertainment area noticeably cooler. You’ll integrate the structure seamlessly with existing stone patios or wood decks, enhancing your home’s aesthetic value.
Final assembly requires setting posts level, attaching decorative columns and capitals, then securing everything with brackets and exterior screws. You’ll achieve a sturdy, square, and visually stunning classic garden pergola.
Attached vs. Freestanding: Choosing Your Structure Type
Where should you position your pergola? You’ll choose between attached and freestanding designs, each offering distinct advantages.
Attached pergolas connect directly to your house, sharing support with your home’s framework. This approach saves on posts and creates a seamless indoor-outdoor transition. You’ll benefit from shading south- and west-facing windows, boosting summer energy efficiency while extending your living space.
Attached pergolas create seamless indoor-outdoor transitions while shading windows and boosting summer energy efficiency.
Freestanding pergolas are independent structures you can place anywhere in your landscape. They offer flexible placement without direct home connection, making them ideal for defining outdoor dining areas, fire pits, or garden rooms.
Both types customize to your needs—adjust size, choose modern or traditional styles, and add features like lattice or privacy walls. Consider your space, climate, and budget when deciding which structure best suits your entertainment goals.
Building for Durability: Materials, Foundation, and Construction
How you build your pergola determines whether it’ll stand strong for decades or succumb to weather and wear. Start by digging foundation holes at least 24 inches deep and setting treated 4×4 posts in concrete—allow roughly two days for curing.
Slip hollow-core composite columns over these embedded posts for superior durability and strength. Reinforce each column edge by attaching 1×4 shims to the posts, ensuring stability before moving forward.
Your upper framework should use pressure-treated 2x8s and 2x10s with decorative jigsaw-cut ends for visual appeal. Finally, set the beam over the columns and secure everything with brackets, checking that your frame is square and plumb. This methodical approach guarantees a pergola built to last.
Enhancing Your Pergola With Shade, Seating, and Features
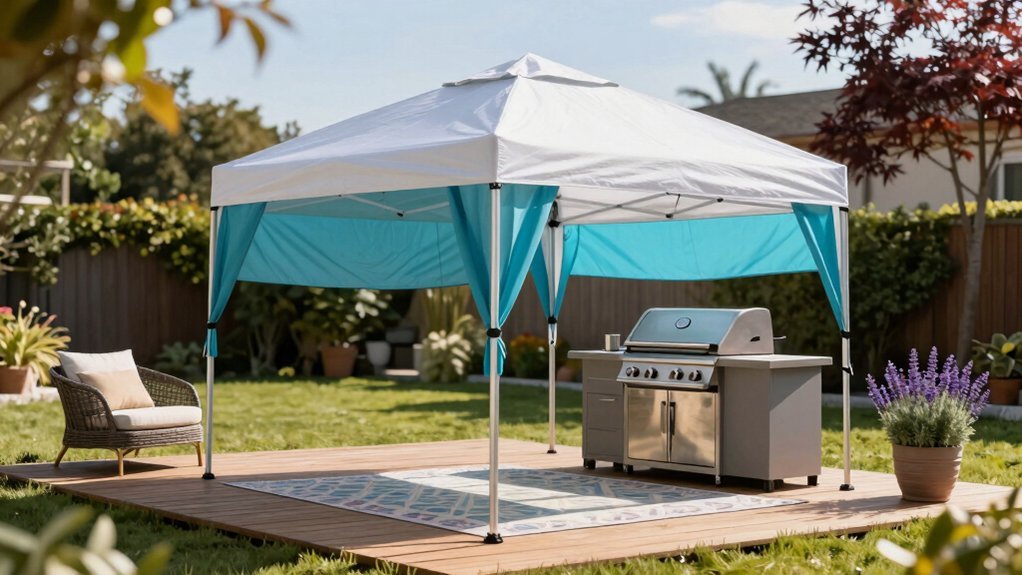
You’ll want to prioritize shade solutions that match your climate and lifestyle, whether you’re installing a retractable canopy for flexibility or layering reed mats and bamboo screens for that rustic aesthetic.
Built-in seating transforms your pergola from a simple structure into a functional entertainment hub, allowing you to maximize comfort and encourage guests to linger longer.
These enhancements—combined with strategic lighting and privacy elements—create distinct zones that elevate your outdoor space’s usability and appeal.
Shade Solutions and Coverage
What’s the key to transforming your pergola into a truly usable entertainment space? Strategic shade solutions. You’ve got several excellent options to explore.
Retractable canopies add versatile protection from sun and light rain while complementing your seating colors. If you prefer a rustic aesthetic, reed mats on natural wood pergolas offer removable shading you can adjust seasonally.
For comprehensive coverage, layered approaches work best. Combine bamboo screens or privacy walls to reduce debris while keeping your seating area open. Thick outdoor fabric curtains give you flexible sun control and space division whenever you need it.
Don’t forget integrated lighting—woven pendant lights or paper lanterns define zones and create ambiance after dark. These combined elements maximize your pergola’s functionality and comfort year-round.
Built-In Seating and Comfort
While shade solutions create the perfect climate for your entertainment space, built-in seating transforms that shelter into an inviting destination. You can integrate benches and lounges directly into your pergola design to maximize every inch, creating a seamless extension of your dining or lounging areas.
Consider adding privacy screens, planter boxes, or curtains around your seating to enhance both comfort and aesthetics. These elements define distinct zones while adding tactile warmth to your space.
When planning your layout, account for your pergola’s scale. Larger structures support expansive furniture arrangements, while smaller pergolas benefit from intimate, cozy setups. This proportional approach ensures your seating feels balanced and functional, encouraging guests to linger in your carefully crafted outdoor retreat.
Frequently Asked Questions
Is It Cheaper to Build a Pergola or Buy One?
Building a pergola yourself typically costs less than buying one. You’ll save money by selecting affordable materials and controlling dimensions. However, your final cost depends on wood type, size, and features you choose to include.
What Is the Golden Ratio for a Pergola?
You won’t find a specific golden ratio formula for pergolas in standard design guidelines. Instead, you’ll base your proportions on your space’s dimensions, desired headroom (7–8 feet minimum), and architectural style rather than mathematical ratios.
Do I Need Permission to Put up a Pergola?
You’ll likely need permission from your local building department before installing a pergola. Requirements vary by location, so contact your jurisdiction’s code office first. They’ll outline specific permit needs, setback rules, and height restrictions for your area.
How Much Would It Cost to Make Your Own Pergola?
You’ll typically spend $300–$2,500 building your own pergola, depending on size and materials. Cedar costs more than pressure-treated wood, but lasts longer. Larger designs like 16×16 variants cost more than 12×12 options. You’ll save considerably by doing it yourself.

Leave a Reply