Building a yard game storage shed starts with measuring your collection and available space, adding 20-30% extra for future additions. Choose weather-resistant materials and create zones with adjustable shelving, wall-mounted racks, and pegboards for oddly shaped equipment. Install proper ventilation, lighting, and security features like heavy-duty locks. Whether you opt for a DIY build ($4,500-$25,000) or pre-made solution, your careful planning will protect your investment and ensure easy game access for years to come.
Assessing Your Yard Game Storage Needs

Why struggle with scattered yard games when proper storage planning can transform your outdoor entertainment experience? Start by creating a complete inventory of your outdoor entertainment arsenal—measure cornhole boards, ladder toss sets, and portable bocce equipment to understand their footprint and stacking potential.
Consider how you’ll access these items, especially bulky ones that need clear pathways. Don’t forget to evaluate your climate challenges—will your games face harsh sun, heavy rain, or high humidity? This determines both shed placement and ventilation requirements.
Assess your power needs for game consoles or speakers, and plan for security features like locks to protect valuable equipment. Finally, match your storage scale to usage patterns—whether you’re storing for just your family or sharing with neighbors—and leave room for your collection to grow.
Choosing the Right Size and Location
You’ll need to measure your available yard space first, ensuring it can accommodate shed dimensions that fit your full collection of yard games like cornhole, ladder toss, and lawn bowling.
Consider multi-game storage by planning shelving that organizes equipment by game type, with specialized holders for oddly shaped items like croquet mallets and bocce sets.
When designing your shed’s footprint, add 20-30% extra space beyond your current needs to accommodate future yard game acquisitions or equipment upgrades.
Assess Available Yard Space
Before grabbing your tools, take time to evaluate your yard’s dimensions and characteristics. Measure the length and width of potential locations, accounting for any setbacks from property lines or easements that might restrict placement. Common footprints like 10×12, 10×16, or 12×20 can guide your planning.
Analyze sun exposure patterns throughout the day. Areas with intense sunlight may require a taller shed with proper ventilation or reflective roofing to prevent overheating during extended play sessions. Also consider convenient access from patios or walkways to ensure easy movement of bulky yard games and equipment.
Don’t overlook drainage—avoid low spots where water collects after rain. Check soil stability for proper foundation support. Finally, map nearby electrical outlets if you’ll need power for lighting or charging stations in your game storage hub.
Consider Multi-Game Storage
With yard space assessment complete, your focus can now shift to multi-game storage considerations. Choose shed dimensions wisely—10×12, 10×16, or 12×16 sizes provide ample room for multiple games while ensuring access and maneuverability.
Location matters significantly. Select a spot with convenient outdoor access for moving bulky equipment, reasonable proximity to your house, and sufficient shade to protect game components. Verify the site supports proper drainage and a stable foundation.
Plan your interior with dedicated zones for different game types—boards, lawn games, and outdoor toys—with shelving for smaller items. If you’ll need lighting or charging stations, ensure electricity access.
Consider future expansion by selecting a shed style (low barn, high barn, or ranch) that accommodates additional storage modules, hooks, and shelves without creating cramped conditions.
Future Expansion Planning
Why limit your storage options when you can plan ahead? Start by selecting a shed size that anticipates growth—consider upgrading from a 10×12 to a 12×16 or larger as your yard game collection expands.
Evaluate your site location carefully, ensuring there’s room for expansion, proper drainage, and convenient access to power sources. You’ll thank yourself later for choosing a spot that accommodates future needs without major disruption.
Embrace modular designs that offer flexibility, such as adding lofts or exterior storage bays to maximize capacity without replacing the entire structure. Don’t forget to install sufficient electrical infrastructure early—additional circuits, outlets, and lighting will support your growing collection.
Finally, plan access routes thoughtfully, leaving ample clearance for doors and aisles to accommodate larger games you might acquire down the road.
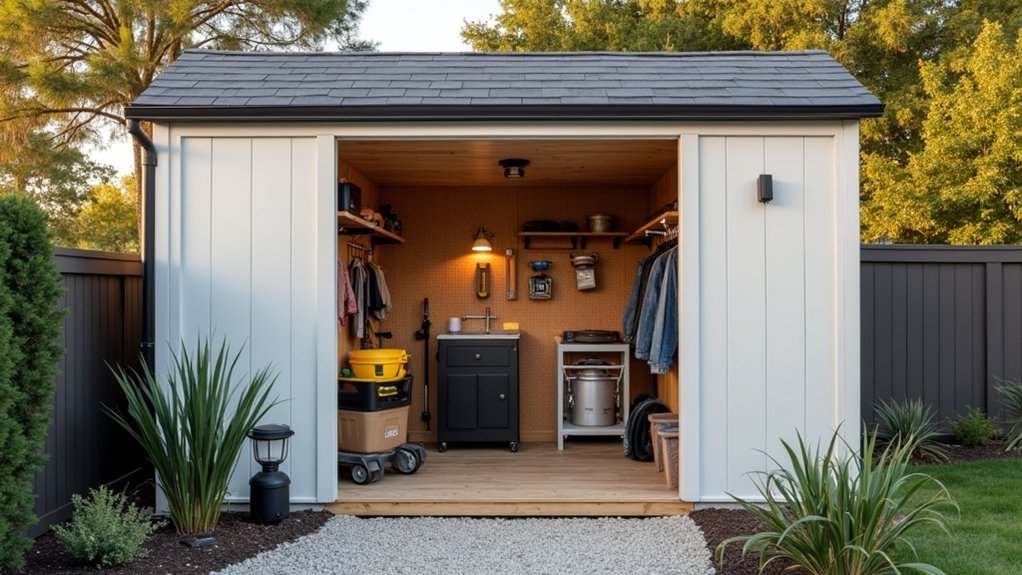
Weather-Resistant Materials for Durability
You’ll need to select climate-proof cladding materials like treated lumber or marine-grade plywood that can withstand your local weather conditions without warping or rotting.
Consider implementing waterproof tech protection through moisture barriers beneath flooring and proper ventilation systems that prevent condensation damage to your yard games.
These weather-resistant choices, combined with corrosion-resistant hardware and appropriate roofing with adequate slope, will ensure your storage shed remains a dry, secure home for your outdoor entertainment investments.
Climate-Proof Cladding Options
Choosing the right exterior material for your yard game storage shed dramatically impacts its longevity and maintenance requirements. Consider metal panels with weather-resistant coatings, which offer excellent durability against harsh elements. Vinyl siding provides another low-maintenance option that resists moisture and UV damage.
For non-combustible protection, fibre cement boards withstand freeze-thaw cycles while maintaining their color. High-density polymer or PVC cladding won’t rot but may need occasional cleaning to prevent staining.
If you prefer a natural look, treated timber cladding works well but requires resealing every 3-5 years. Cedar and larch offer natural durability.
Don’t overlook installation details—incorporate a weather-resistant barrier, drip edge, and proper fastening techniques to prevent water intrusion and extend your cladding’s lifespan.
Waterproof Tech Protection
When constructing a yard game storage shed that truly endures, waterproofing isn’t merely an option—it’s essential. Your electronic yard games and tech components require special protection from moisture damage. Implement a thorough moisture management strategy by selecting weather-resistant materials and incorporating proper ventilation to prevent humidity buildup.
- Install a small ridge vent or soffit vents to create airflow that reduces condensation
- Use double-track door sweeps at entry points to block water intrusion during heavy rain
- Select vinyl-coated or galvanized steel components for long-term corrosion resistance
- Apply high-quality exterior sealants on all joints where moisture could penetrate
- Elevate your shed slightly above ground level to prevent moisture wicking from soil
These protective measures will greatly extend the lifespan of both your storage structure and the valuable tech-based games stored inside.
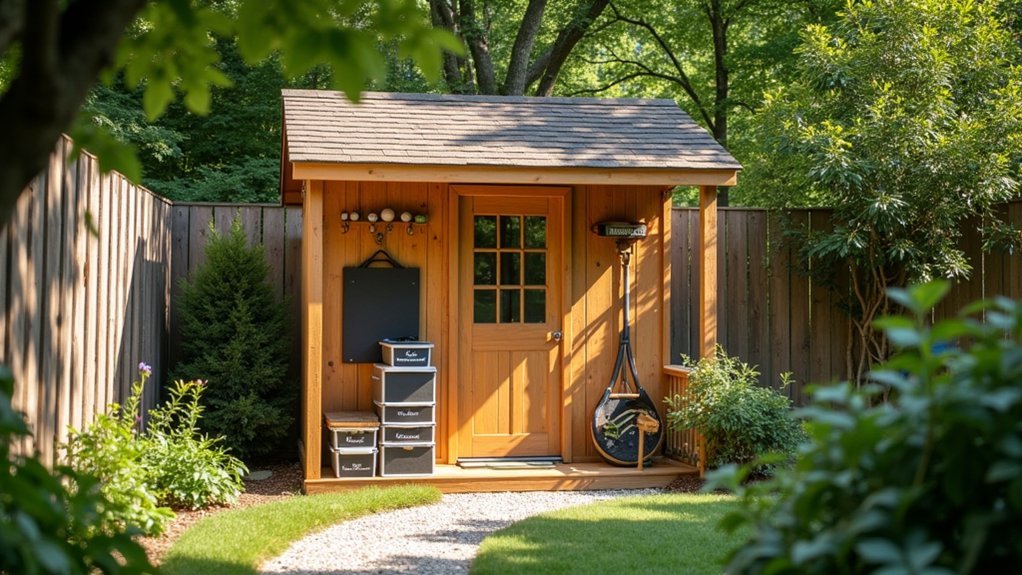
Essential Design Features for Game Organization
Why struggle with tangled equipment and missing pieces when your yard game storage can be both functional and intuitive? Start by installing vertical racks with labeled bins to separate cornhole, horseshoes, and badminton equipment. This system makes games instantly accessible while preventing mix-ups.
Mount a pegboard or tool strip on walls to hang nets, stakes, and smaller accessories, effectively eliminating floor clutter. Complement this with modular shelving made from moisture-resistant materials to store seasonal items and replacement game pieces.
Don’t forget to designate a specific corner for cleaning supplies, batteries, cords, and tape. This keeps maintenance items organized yet separate from your games.
Finally, incorporate proper drainage and ventilation features to protect fabric equipment and padded items from moisture damage, extending the life of your outdoor entertainment investments.
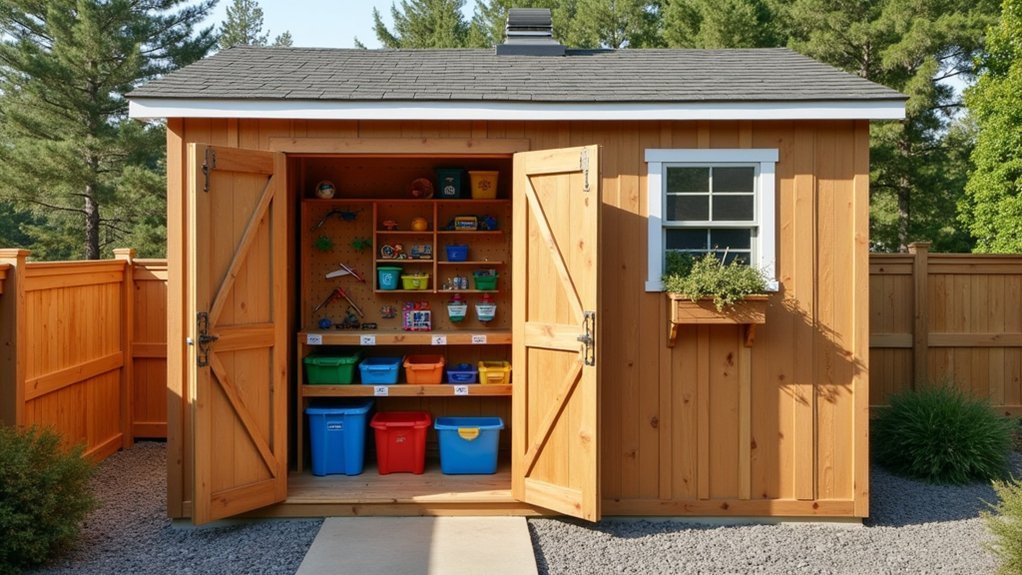
Creating Efficient Interior Shelving Systems
Set up your storage space for maximum efficiency by implementing wall-height shelving with adjustable brackets. This maximizes vertical storage while keeping floor space open for larger equipment. Design your shelving with both open cubbies for frequent-use items and closed cabinets to hide seasonal clutter. Remember to maintain a 2-foot-wide central aisle for easy access to all your storage.
- Install weather-resistant modular shelves with shallow lips to prevent items from sliding off
- Position a dedicated tool and hardware rack near the entrance for quick access
- Combine open shelving for visibility with closed storage for less attractive items
- Use adjustable brackets to customize shelf height as your collection grows
- Create specific zones for different game types (lawn games, card tables, equipment)
Smart Solutions for Awkwardly-Shaped Equipment
Ever struggle with storing those oddly-shaped yard games that never quite fit anywhere? Wall-mounted modular racks and adjustable shelves are your answer, maximizing vertical space while accommodating irregular equipment.
Install padded crank-out pegwalls to securely hold cornhole boards and ladder golf sets off the ground. For smaller game pieces like tokens and rule books, utilize custom-fit under-counter bins that provide clutter-free access.
Create swallowable alcoves with varying depths for oddly shaped items such as tic-tac-toe sets and oversized balls, maintaining a cohesive aesthetic throughout your shed. Don’t forget to plan for proper ventilation and lighting near your storage zones—this prevents moisture damage and ensures you can easily access awkward gear regardless of weather conditions.
Security Considerations for Outdoor Storage
While organizing your yard games effectively protects them from damage, securing your storage shed guards against theft and unauthorized access. Don’t let your investment in quality outdoor games become vulnerable to security risks.
- Install heavy-duty hasp-and-padlock systems and multi-point locking mechanisms to strengthen entry points
- Mount motion-activated exterior lighting around your shed to deter nighttime intruders
- Choose reinforced, weather-resistant doors with secure hinges that resist prying
- Anchor your shed to a concrete foundation using metal brackets to prevent thieves from tipping or lifting it
- Use tamper-evident seals on storage bins and lockable weatherproof containers for valuable equipment
These security measures not only protect your investment but also provide peace of mind, ensuring your yard games remain safe and ready for your next outdoor gathering.
Budget-Friendly DIY vs. Pre-Made Options
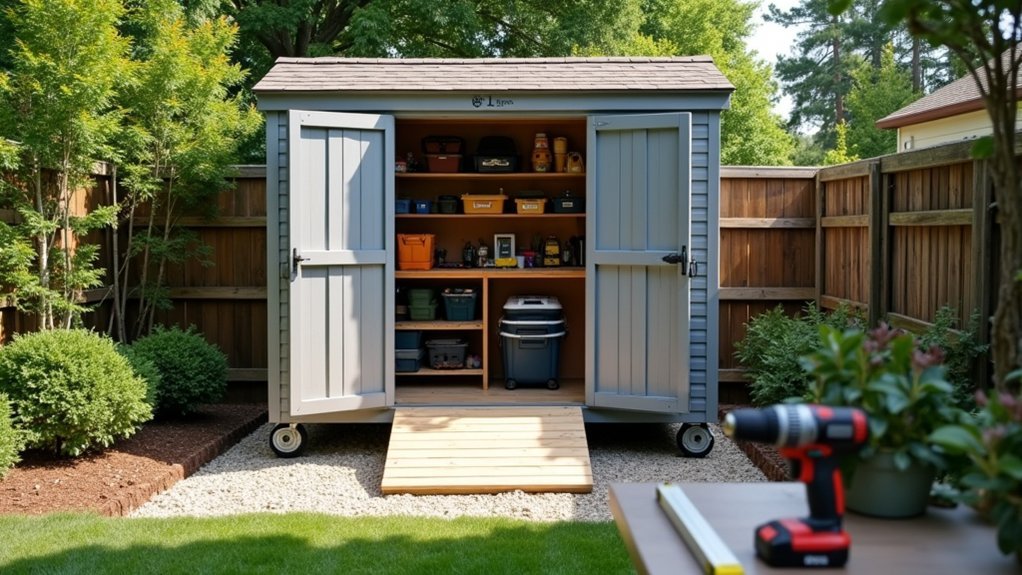
When deciding between building your own yard game storage shed or purchasing a pre-made option, you’ll need to weigh both financial considerations and personal capabilities.
DIY builds typically range from $4,500 to $25,000, with basic 10×12 utility sheds starting around $3,700 plus $200-$3,000 for electrical work.
Building yourself offers significant savings through material selection and eliminated labor costs. You’ll spend roughly $300-$600 on interior finishing and potentially $1,000-$2,000 for lighting and furniture.
Pre-made sheds save time but limit customization and generally cost more upfront.
Size requirements affect your decision too—consider whether you need a compact 10×12 solo space or larger 12×20 or 14×20 multi-user layout.
Style choices like low barn, high barn, or ranch also impact price, footprint, and organization flexibility.
Seasonal Maintenance Tips for Game Sheds
Once you’ve selected between DIY or pre-made storage options, protecting your investment becomes the next priority. Your yard games shed requires regular upkeep to ensure your cornhole boards, lawn darts, and other seasonal favorites remain in top condition.
- Clear your shed quarterly, inspecting for moisture and drying damp areas within 48 hours after rainfall
- Store games in breathable, weatherproof bins with clear labels to prevent rust and rot
- Schedule ventilation checks before peak seasons to maintain proper airflow for electronics
- Apply fresh sealant to doors and windows during off-seasons and tighten loose hinges
- Rotate seasonal items regularly and keep fuel and electronics away from direct sunlight to prevent fading and damage
These simple maintenance habits will extend your shed’s life and keep your yard games ready for spontaneous family competitions year-round.
Frequently Asked Questions
Is It Cheaper to Buy or Build an Outdoor Shed?
Buying is cheaper at around $3,700 for a standard 10×12 shed, while building a custom gaming shed costs $4,500-$25,000. You’ll save money with pre-made units unless you’re seeking specific customizations.
How Expensive Is It to Build a 20X20 Shed?
A 20×20 shed will cost you between $7,000-$25,000 depending on your approach. You’ll spend more for site preparation, electrical work, interior finishing, and additional features like insulation and climate control.
What Are Common Mistakes in DIY Shed Building?
You’ll regret skipping weatherproof foundations, proper drainage, or adequate ventilation. Don’t underestimate electrical needs, ignore local codes, or forget to anchor shelving securely. Poor layout planning will waste space and make accessing items difficult.
How to Build a Storage Shed Step by Step?
First, prepare level ground and pour a concrete pad. Build your floor frame, then wall frames. Erect walls, install roof trusses and roofing. Add siding, doors, and windows. Finally, weatherproof everything and organize your interior.


Leave a Reply