To install outdoor string light hardware, you’ll need to gather mounting hooks, a sturdy ladder, drill, and exterior-grade screws or masonry anchors depending on your surface. Start by measuring your total distance and adding 10–15% for natural drape. Mount anchors into wood studs, concrete, or freestanding poles spaced 10–12 feet apart at heights of 8–10 feet. For lasting tension, run galvanized guide wire through your anchors and tighten with turnbuckles. Below, you’ll find step-by-step instructions for each mounting method.
Gathering Your Tools and Materials
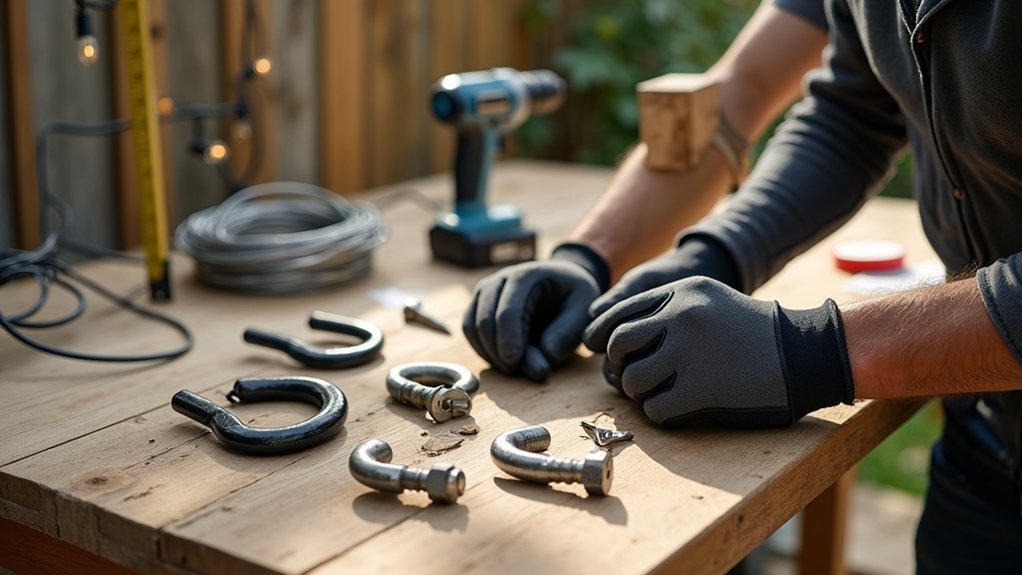
Before you climb any ladders or start stringing lights across your yard, you’ll need to round up the right supplies. Having everything ready saves multiple trips to the hardware store and keeps your project moving smoothly.
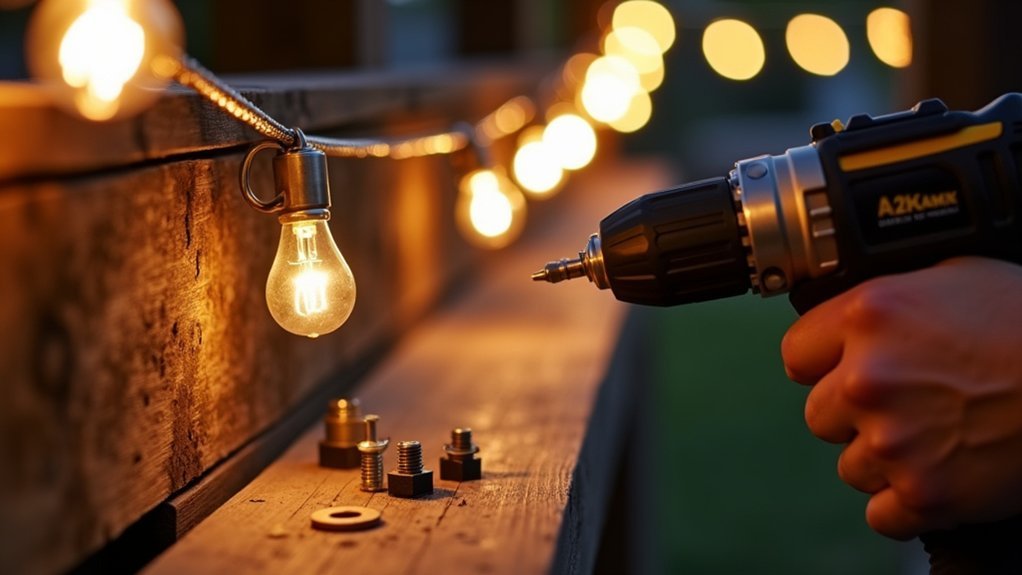
Start with the essentials: outdoor-rated string lights, mounting hooks or eye bolts, a sturdy ladder, and a drill with appropriate bits. You’ll also need a tape measure, pencil for marking positions, and cable clips to secure loose wiring. Don’t forget safety gear—work gloves protect your hands, and safety glasses shield your eyes from debris.
For installations on wood, grab exterior-grade screws. Mounting on brick or stucco requires masonry anchors. Keep a level handy to make certain straight lines, and have an outdoor-rated extension cord ready if outlets aren’t conveniently located.
Planning Your String Light Layout
Every successful string light installation starts with a solid plan, so grab your tape measure and head outside to assess your space.
Measure the total distance between your anchor points, whether that’s your house, trees, posts, or a pergola. Add 10-15% extra length to account for the natural drape between attachment points.
Sketch your layout on paper, marking where each anchor point will go.
Consider the height of your lights—typically 8-10 feet works best for walkways and seating areas.
Plan your anchor points no more than 10-12 feet apart to prevent excessive sagging.
Identify your nearest power source and determine how you’ll run the cord.
You’ll want weatherproof outdoor outlets and possibly extension cords rated for exterior use.
Choosing the Right Mounting Points
With your layout sketched out, you’ll need to identify sturdy anchor points that can handle the weight and tension of your string lights. Look for solid structures that won’t flex or pull loose over time.
Ideal mounting locations include:
- Wooden posts or beams – These offer excellent screw-holding power and stability
- Brick or concrete walls – Use appropriate masonry anchors for secure attachment
- Metal pergola frames – Wrap or clamp lights directly to structural members
- Mature trees – Choose healthy branches at least 4 inches in diameter
Avoid mounting to vinyl siding, thin fascia boards, or gutters—these can’t support the constant pull. Test each potential anchor point by applying pressure before committing. You want connections that’ll withstand wind, weather, and years of use.
Installing Poles and Posts for Support
Freestanding poles become essential when your outdoor space lacks natural anchor points for string lights. You’ll find several options available, including metal conduit, wooden 4×4 posts, or purpose-built light poles.
For temporary installations, use weighted umbrella stands or concrete-filled buckets to secure your poles. Slide the pole into the base and make certain it stands perfectly vertical before tightening any set screws.
Permanent installations require more effort but deliver superior stability. Dig holes at least 18 inches deep, set your posts in quick-setting concrete, and brace them while the mixture cures. Position poles 10-12 feet apart to prevent excessive sag in your light strings.
Always install guy wires or cross-bracing on poles taller than 10 feet to handle wind loads safely.
Securing Hooks and Anchors to Structures
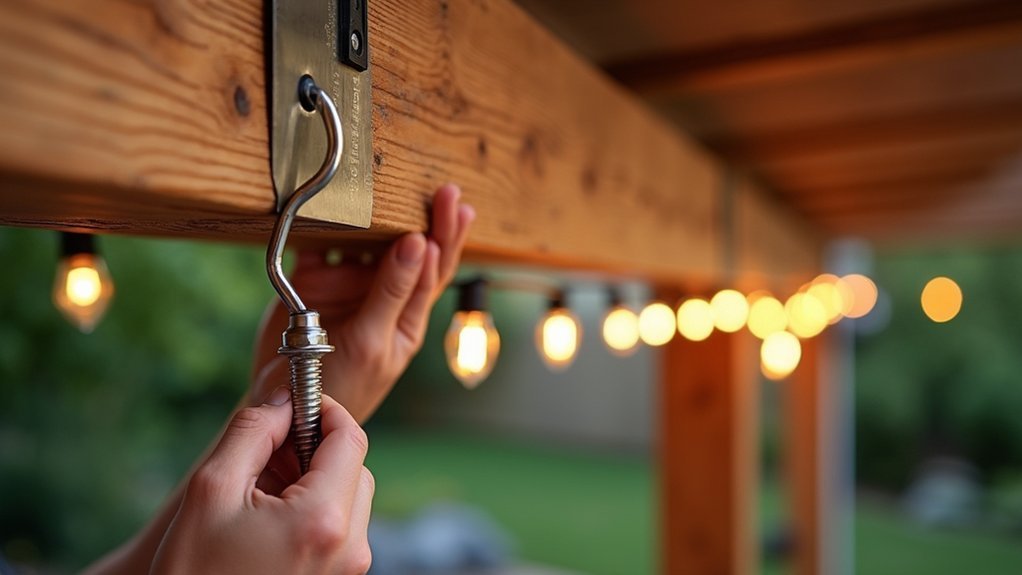
Mounting hooks and anchors directly to existing structures gives you the sturdiest attachment points for your string lights.
Before drilling, locate wall studs or solid framing members using a stud finder.
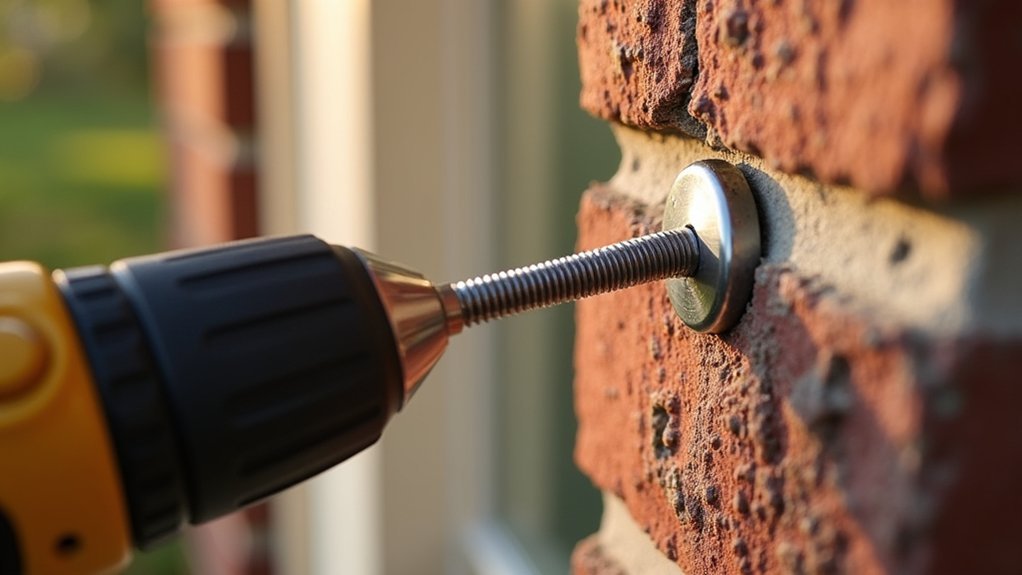
For masonry surfaces like brick or concrete, you’ll need appropriate anchors and a hammer drill with a masonry bit.
- Choose the right hardware: Use screw-in hooks for wood, toggle bolts for hollow walls, and expansion anchors for concrete or brick
- Pre-drill pilot holes: This prevents wood from splitting and guarantees clean entry points
- Apply exterior-grade sealant: Coat screws and holes to prevent water infiltration and rust
- Test each anchor: Tug firmly on installed hooks before hanging lights to verify they’ll hold the weight and tension
Running and Tensioning Your Guide Wire
With your hooks and anchors firmly in place, you’re ready to run the guide wire that will support your string lights.
Start by threading one end of the wire through your first anchor point and securing it with a cable clamp or turnbuckle.
You’ll then stretch the wire to your opposite anchor, pulling it taut enough to minimize sag while leaving enough flexibility to attach your lights without overstressing the connection points.
Attaching Wire to Anchors
Once you’ve secured all your anchors in place, you’ll need to run the guide wire between them.
Start by threading the wire through your first anchor point, creating a loop with a wire clamp or ferrule.
Pull the wire taut to your next anchor, maintaining consistent tension throughout the run.
To properly attach your wire to each anchor:
- Use galvanized wire clamps rated for outdoor use to prevent rust and corrosion
- Create loops at connection points using ferrules crimped with a swaging tool
- Leave 6 inches of extra wire at each end for adjustments
- Double-check that all connections sit flush against the anchor hardware
Tighten each connection firmly, but avoid over-crimping, which can weaken the wire and cause eventual failure.
Achieving Proper Wire Tension
Getting the right tension in your guide wire makes the difference between string lights that hang beautifully and ones that sag after the first storm.
Start by pulling the wire taut by hand before engaging your turnbuckle. You want the wire snug but not so tight that it strains your anchor points. Turn the turnbuckle’s central barrel clockwise to draw both ends together and increase tension gradually.
Test the wire by pressing down at the midpoint. It should deflect only slightly—about two to three inches for a typical span. If you’re spanning more than 40 feet, expect to apply more tension to compensate for the added weight.
Check your anchors as you tighten. Watch for any movement or bending that signals overstressing.
Frequently Asked Questions
How Do I Protect My Outdoor String Lights From Rain and Moisture Damage?
You’ll want to use weather-rated lights with an IP65 rating or higher. Make certain all connections stay dry by wrapping them with electrical tape, then cover with weatherproof junction boxes to prevent moisture infiltration.
Can I Leave Outdoor String Lights up During Winter Months?
Yes, you can leave outdoor string lights up during winter if they’re rated for outdoor use. Check the IP rating, secure all connections, and remove any damaged bulbs to prevent weather-related issues.
How Much Electricity Do Outdoor String Lights Typically Use Monthly?
You’ll typically spend $1-3 monthly running LED string lights for 5-6 hours daily. Traditional incandescent bulbs cost markedly more—around $5-15 monthly. Switching to LEDs saves you money while providing the same warm ambiance.
What Is the Maximum Length I Can Connect String Lights Together?
You can typically connect up to 3-4 strands of outdoor string lights together, or about 100-150 feet total. Check your manufacturer’s specifications since exceeding the maximum creates fire hazards and causes dimming.
How Often Should I Replace My Outdoor String Light Bulbs?
You should replace your outdoor string light bulbs every 2-3 years for incandescent types or when they start dimming. LED bulbs last much longer—typically 5-7 years—so you won’t need to swap them as frequently.


Leave a Reply