To insulate your hot tub for winter, start by installing closed-cell foam panels around the cabinet walls and at least two inches of rigid foam beneath the base with a vapor barrier. Add a quality cover that’s at least four inches thick at the center, and layer a floating thermal blanket on the water’s surface. Seal all gaps with spray foam and weatherstripping, wrap exposed pipes, and position windbreaks on exposed sides. Below, you’ll discover equipment upgrades and maintenance strategies that’ll maximize your winter savings.
Understanding Heat Loss in Hot Tubs During Cold Weather
When temperatures drop below freezing, your hot tub works overtime to maintain its set temperature. Heat escapes through three primary pathways: the cover, the cabinet walls, and the ground beneath the unit. Without proper insulation, you’ll watch your energy bills climb while your heater struggles to keep up.
Your hot tub loses heat fastest through its cover, especially if it’s waterlogged or damaged. The cabinet sides radiate warmth into the cold air, and the bottom transfers heat directly into frozen ground. Wind amplifies these losses by stripping away the warm air surrounding your tub.
Understanding these weak points helps you target your insulation efforts effectively. You’ll want to address each area systematically to create a thermal barrier that keeps heat in and cold out.
Choosing the Right Insulation Materials for Your Hot Tub
When selecting insulation for your hot tub, you’ll need to weigh the benefits of foam against fiberglass options.
Foam insulation offers superior thermal retention and easier installation, while fiberglass provides excellent durability at a lower cost.
Regardless of which type you choose, make sure you’re selecting weather-resistant materials that can withstand moisture, freezing temperatures, and UV exposure throughout the winter months.
Foam vs. Fiberglass Options
Picking out the right insulation material can make or break your hot tub’s energy efficiency during harsh winter months. Foam and fiberglass represent your two primary options, each with distinct advantages.
Foam insulation, particularly spray foam, creates an airtight seal around your hot tub’s cabinet and shell. It’s easy to apply, fills gaps effectively, and offers excellent R-values per inch. You’ll find it resists moisture well, preventing mold growth.
Fiberglass insulation costs less upfront and remains a solid performer in dry conditions. However, it loses effectiveness when wet and requires careful installation to avoid air pockets.
For winter protection, foam typically outperforms fiberglass. It maintains consistent temperatures, reduces energy costs, and handles moisture exposure better. Your investment in quality foam insulation pays off through lower heating bills.
Weather-Resistant Material Selection
Beyond choosing between foam and fiberglass, you’ll need to take into account how your insulation stands up to outdoor elements throughout the winter season. Look for materials with closed-cell construction, which prevents moisture absorption and maintains thermal efficiency even in wet conditions.
Your insulation should resist mold, mildew, and rot since hot tubs create humid environments year-round. Check that materials carry an R-value appropriate for your climate—colder regions demand higher ratings for adequate protection.
Consider UV-resistant options if any insulation remains exposed to sunlight. Temperature fluctuations cause some materials to expand and contract, leading to gaps over time. Select products specifically rated for extreme temperature ranges.
Don’t overlook vapor barriers, which protect insulation from condensation damage. Quality weather-resistant materials cost more upfront but save money through reduced energy bills and fewer replacements.
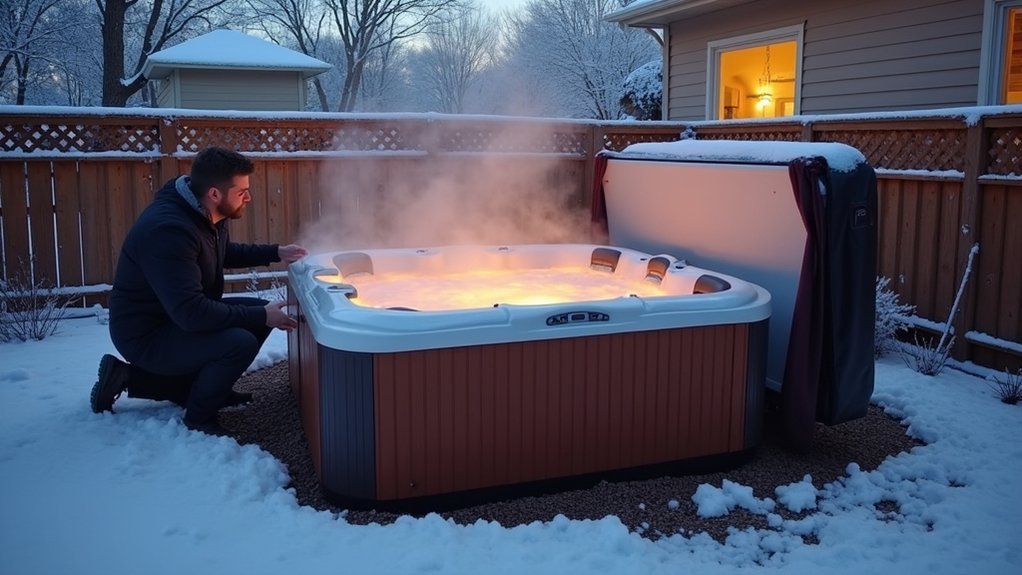
Installing a High-Quality Hot Tub Cover
A high-quality hot tub cover serves as your primary defense against winter heat loss, and you’ll need to take into account materials like vinyl with marine-grade stitching or reinforced covers designed for heavy snow loads.
Your cover must fit your hot tub’s exact dimensions, as even small gaps allow warm air to escape and cold air to infiltrate.
You should also inspect and maintain the thermal seal around the cover’s edges regularly to prevent energy waste throughout the winter months.
Cover Material Options
When selecting a cover for your hot tub, you’ll find that material quality directly impacts insulation performance and longevity. The core typically consists of foam insulation wrapped in a vapor barrier, then covered with a durable outer shell.
Consider these popular material options:
- Vinyl covers – The most common choice, offering excellent water resistance and UV protection when marine-grade quality is selected
- Polyester with vinyl coating – Provides enhanced durability and tear resistance while maintaining weather protection
- Sunbrella fabric – Delivers premium fade resistance and breathability, though it requires additional waterproofing treatments
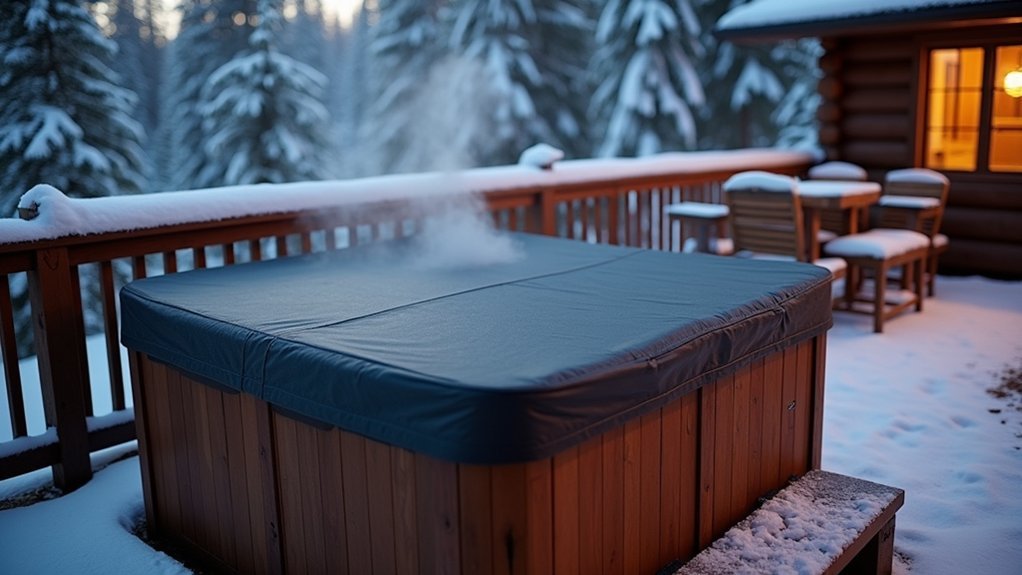
You’ll want to choose a cover with at least 4-inch thick foam at the center, tapering to 2 inches at the edges. This design prevents water pooling and maximizes heat retention during frigid winter months.
Proper Fit Matters
Even the highest-quality cover materials won’t perform well if your cover doesn’t fit snugly against your hot tub’s edges. Gaps between the cover and shell allow warm air to escape and cold air to infiltrate, forcing your heater to work overtime. When ordering a replacement cover, measure your hot tub’s exact dimensions rather than relying on model specifications, as shells can warp slightly over time.
Look for covers with tapered designs that shed snow and rain effectively. A cover that’s too flat will collect precipitation, adding dangerous weight and accelerating wear. Secure your cover with locking straps or clips to prevent wind from lifting the edges. You should also inspect the seal regularly throughout winter, checking for warping, compression, or damage that compromises the fit.
Thermal Seal Maintenance
Regularly inspecting your hot tub cover’s thermal seal prevents heat loss and keeps energy costs under control. Check the seal around your cover’s edges monthly, especially before temperatures drop. A compromised seal lets warm air escape and forces your heater to work overtime.
To maintain your thermal seal effectively:
- Clean the seal quarterly with mild soap and water to remove dirt, debris, and chemical buildup that causes deterioration
- Apply vinyl protectant to keep the seal flexible and prevent cracking from UV exposure and temperature fluctuations
- Replace worn gaskets immediately when you notice gaps, tears, or hardening along the seal’s surface
Don’t wait until you see frost forming around your cover’s edges. Proactive maintenance extends your cover’s lifespan and maximizes insulation performance throughout winter.
Adding Thermal Blankets and Floating Covers
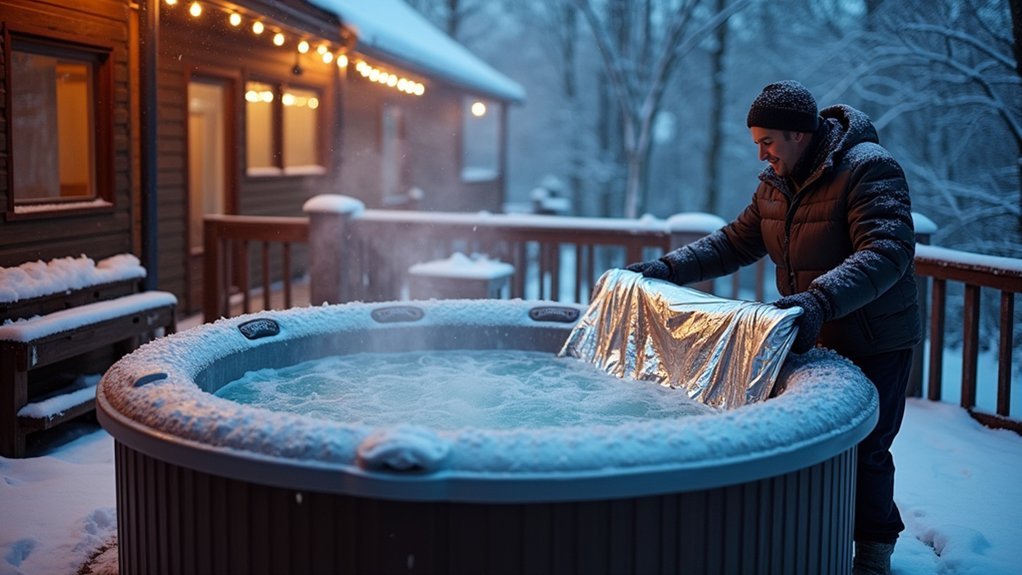
Beyond the rigid cover that sits atop your hot tub, thermal blankets and floating covers provide an additional layer of insulation that dramatically reduces heat loss. These accessories float directly on the water’s surface, creating a vapor barrier that traps heat where it matters most.
You’ll find several options available, each with distinct benefits:
| Cover Type | Heat Retention | Durability |
|---|---|---|
| Foam Floating Blanket | Excellent | Moderate |
| Bubble Solar Cover | Good | Low |
| Vinyl Thermal Blanket | Very Good | High |
| Insulated Foam Sheets | Excellent | High |
| Mylar Reflective Cover | Good | Moderate |
When you combine a floating cover with your hard cover, you’ll reduce energy costs by up to 50%. Simply cut the material to fit your tub’s shape and place it on the water before securing the main cover.
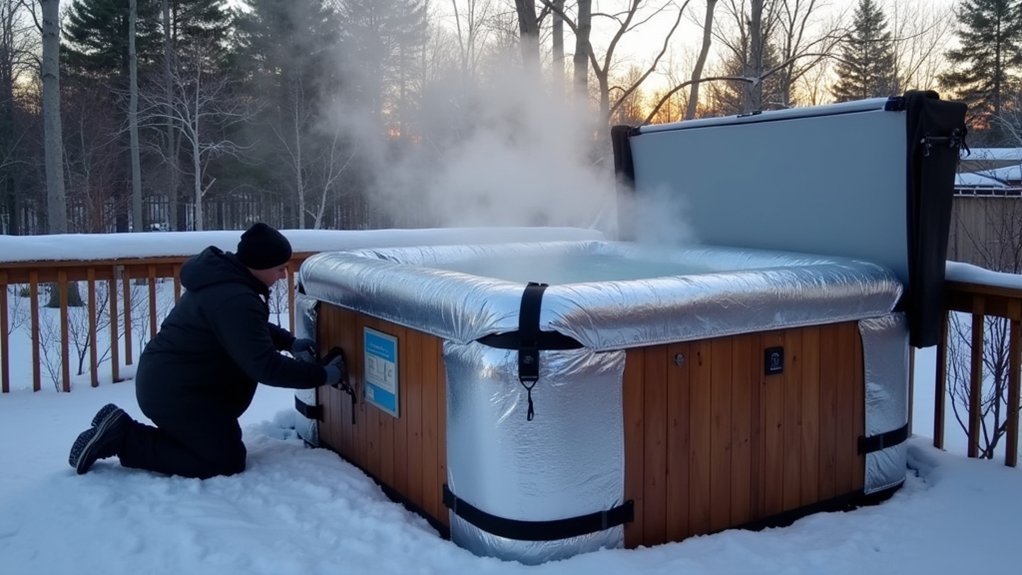
Insulating the Hot Tub Cabinet and Side Panels
The cabinet surrounding your hot tub often gets overlooked, yet it’s where significant heat escapes during frigid winter months. You’ll want to inspect your panels for gaps, cracks, or worn seals that allow cold air to penetrate and warm air to escape.
Consider these effective insulation methods for your cabinet:
- Spray foam insulation: Apply closed-cell spray foam to the interior cabinet walls for maximum thermal protection
- Rigid foam boards: Cut polystyrene or polyisocyanurate panels to fit between the frame and outer shell
- Reflective foil barriers: Install radiant barriers to bounce heat back toward the tub’s shell
Before adding insulation, make sure you maintain access to pumps, heaters, and plumbing for maintenance. Seal all seams with weatherproof caulk to prevent moisture infiltration.
Protecting Exposed Pipes and Plumbing Components
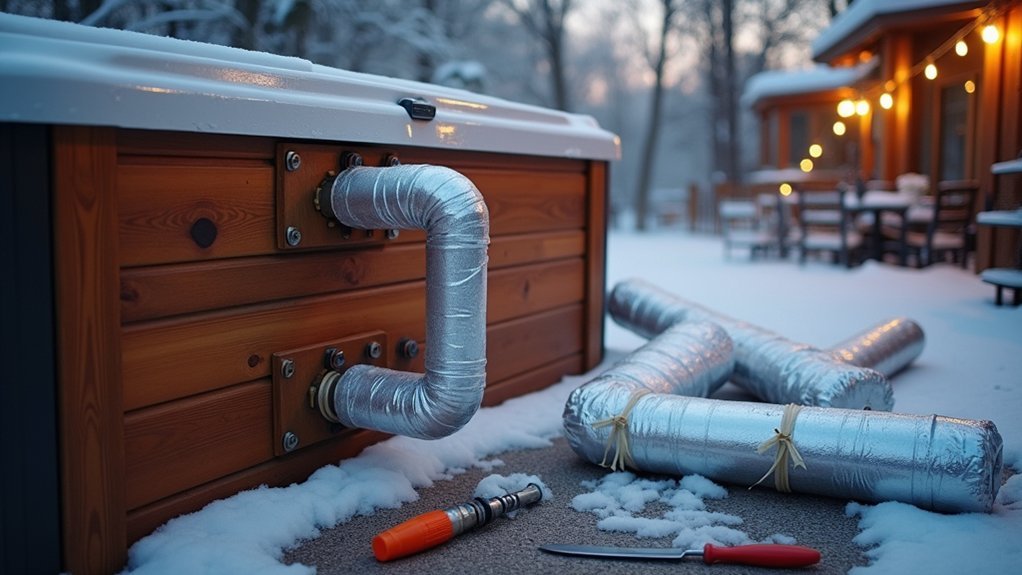
Your hot tub’s exposed pipes and plumbing components are vulnerable to freezing temperatures and need proper protection before winter arrives.
You’ll want to wrap all exposed pipe sections with foam insulation sleeves or fiberglass wrap to prevent heat loss and potential cracking. For areas prone to extreme cold, you should also consider installing heat tape along pipes to provide active freeze protection during the harshest conditions.
Insulate Exposed Pipe Sections
Tracking down every exposed pipe section in your hot tub’s plumbing system helps prevent costly freeze damage during winter months.
You’ll want to inspect underneath the cabinet and around the equipment area where pipes often run unprotected.
Once you’ve identified vulnerable sections, wrap them with appropriate insulation materials:
- Foam pipe insulation sleeves – These pre-slit tubes slide easily over straight pipe runs and provide excellent thermal protection
- Self-adhesive foam tape – Perfect for irregular shapes, joints, and tight corners where sleeves won’t fit
- Fiberglass wrap with vapor barrier – Offers superior insulation for extremely cold climates
Secure all insulation with zip ties or aluminum tape to prevent gaps.
Don’t leave any exposed areas, as even small uninsulated sections can freeze and crack during severe cold snaps.
Heat Tape Installation Tips
While insulation provides passive protection against freezing temperatures, heat tape offers an active solution for pipes in areas where insulation alone isn’t enough. You’ll want to select self-regulating heat tape, which automatically adjusts its output based on surrounding temperatures.
Before installation, clean your pipes thoroughly and check for any damage. Wrap the heat tape in a spiral pattern along exposed sections, maintaining consistent spacing according to manufacturer specifications. Secure it with heat-resistant tape at regular intervals.
Don’t overlap heat tape on itself, as this creates dangerous hot spots that can damage both the tape and your plumbing. After you’ve applied the heat tape, cover everything with pipe insulation to maximize efficiency. Connect the tape to a GFCI-protected outlet and test it before winter arrives.
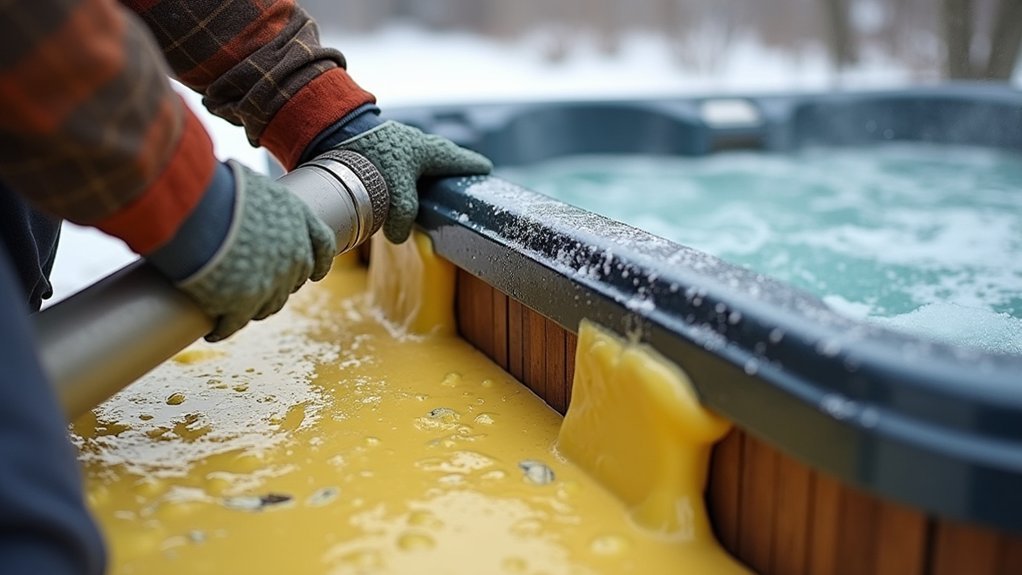
Sealing Gaps and Cracks Around Your Hot Tub Shell
Even small gaps and cracks around your hot tub shell can let cold air seep in and warm air escape, forcing your heater to work overtime during winter months.
You’ll want to inspect your hot tub’s cabinet panels, plumbing penetrations, and equipment compartment doors for any openings.
Use these materials to seal problem areas effectively:
- Expanding foam insulation – fills large gaps around pipes and equipment access points
- Weatherstripping – creates tight seals around cabinet doors and removable panels
- Silicone caulk – seals smaller cracks and joints in the shell and cabinet
Before applying any sealant, clean the surfaces thoroughly and let them dry completely.
Check your seals monthly throughout winter, as temperature fluctuations can cause materials to contract and create new gaps.
Using Spray Foam Insulation for Maximum Efficiency
Spray foam insulation transforms your hot tub’s cabinet into a thermal fortress that dramatically cuts heat loss and energy costs. You’ll want to use closed-cell spray foam, which resists moisture absorption and provides superior R-value compared to open-cell alternatives.
Before applying, clean all surfaces thoroughly and make certain they’re completely dry. Shake the canister vigorously, then apply foam in thin layers, allowing each to expand and cure before adding more. Focus on the cabinet walls and any exposed plumbing, but avoid spraying directly on electrical components or the pump motor, which needs airflow for cooling.
You should wear protective gloves and eyewear during application. The foam cures within 24 hours, creating a seamless barrier that prevents thermal bridging and keeps your water hot throughout the coldest months.
Installing a Wind Barrier Around Your Hot Tub Area
Beyond insulating the cabinet itself, protecting your hot tub from wind exposure makes a significant difference in heat retention and energy efficiency. Cold winds strip heat from your spa’s surface and cabinet, forcing your heater to work overtime.
Consider these effective wind barrier options:
- Privacy screens or fence panels – Install 6-foot tall sections on the windward sides of your hot tub to block prevailing winds
- Evergreen hedges – Plant dense shrubs like arborvitae that provide year-round protection and natural aesthetics
- Retractable enclosures – Use portable windbreak panels you can adjust based on conditions
Position your barriers close enough to deflect wind but far enough to maintain proper ventilation around the equipment. You’ll notice reduced heating costs and a more comfortable soaking experience during harsh winter months.
Adding Insulation to the Hot Tub Base and Foundation
While protecting your hot tub’s sides and shielding it from wind both help conserve energy, you shouldn’t overlook what’s underneath. Your hot tub’s base sits directly on cold ground, which constantly draws heat away from the water above.
You’ll want to install rigid foam insulation boards beneath your hot tub’s foundation. Place a vapor barrier first, then add at least two inches of closed-cell foam insulation. This creates a thermal break between the frozen ground and your tub.
| Without Base Insulation | With Base Insulation |
|---|---|
| Heat escapes into frozen ground | Warmth stays in your tub |
| Energy bills spike monthly | You save money all winter |
| Equipment works overtime | Components last longer |
| Cold spots develop | Consistent water temperature |
Don’t let the ground steal your heat and hard-earned money.
Upgrading to Energy-Efficient Hot Tub Equipment
Your hot tub’s equipment plays a major role in how much energy you’ll burn through each winter month. Outdated pumps, heaters, and controls work harder and waste electricity, especially when temperatures drop. Upgrading to modern, energy-efficient components can slash your operating costs considerably.
Consider these key upgrades:
- Variable-speed pumps – These adjust their output based on demand, using far less electricity than single-speed models running at full power constantly.
- High-efficiency heaters – Modern heaters transfer more energy directly to the water, reducing heat loss and shortening recovery times.
- Smart control systems – Programmable controllers let you schedule heating cycles during off-peak hours and monitor energy usage remotely.
You’ll recover your investment through lower utility bills while enjoying better performance throughout the coldest months.
Creating a Custom Insulated Hot Tub Enclosure
Even with top-tier equipment running your hot tub, heat escapes rapidly through exposed cabinet panels and gaps around the shell. Building a custom insulated enclosure addresses these vulnerabilities and dramatically reduces your energy costs during freezing months.
Start by measuring your hot tub’s dimensions, adding six inches on each side for insulation thickness. Use rigid foam board insulation rated at R-10 or higher, and frame it with pressure-treated lumber that withstands moisture exposure.
You’ll want to create removable panels for equipment access while ensuring tight seals at every joint. Apply weatherstripping where panels meet, and consider adding a reflective radiant barrier on the interior surface.
Don’t forget ventilation near the control panel to prevent overheating. Your enclosure should trap heat efficiently while allowing necessary airflow for mechanical components.
Maintaining Your Hot Tub Insulation Throughout the Winter Season
Regularly inspecting your hot tub insulation once you’ve installed it prevents small problems from becoming expensive repairs.
Regular insulation inspections catch minor issues before they turn into costly hot tub repairs.
Check your insulation monthly during winter months, looking for signs of moisture damage, pest intrusion, or compression.
Key maintenance tasks include:
- Clearing snow accumulation from your hot tub cover to prevent weight damage and heat loss
- Checking foam panels and blankets for tears, gaps, or areas where condensation has collected
- Ensuring cabinet doors and access panels remain properly sealed against cold air infiltration
You’ll want to replace any wet insulation immediately since moisture destroys insulating properties and promotes mold growth.
Keep spare materials on hand for quick repairs.
After heavy storms, perform additional inspections to catch wind damage early.
Proper maintenance extends your insulation’s lifespan and keeps energy costs down.
Frequently Asked Questions
How Much Money Can I Save on Energy Bills by Insulating My Hot Tub?
You can save 10-30% on your hot tub’s energy costs by properly insulating it. That’s typically $20-50 monthly, depending on your climate and current setup. You’ll recover insulation costs within one heating season.
Can I Use My Insulated Hot Tub During a Snowstorm Safely?
Yes, you can safely use your insulated hot tub during a snowstorm. However, you’ll want to make sure you’ve got clear pathways, keep the cover nearby, and avoid staying out if lightning’s present.
What Temperature Should I Set My Hot Tub at During Winter Months?
You should set your hot tub between 100°F and 104°F during winter months. This range keeps you comfortable while preventing freezing issues. Don’t exceed 104°F, as higher temperatures can cause overheating, especially in cold weather.
How Often Should I Drain and Refill My Hot Tub in Winter?
You should drain and refill your hot tub every 3-4 months during winter. However, if you’re using it more frequently in cold weather, you’ll want to test your water weekly and change it sooner if needed.
Will Adding Insulation Void My Hot Tub’s Manufacturer Warranty?
Adding aftermarket insulation may void your warranty, depending on your manufacturer’s terms. You should check your warranty documentation or contact your dealer directly before making any modifications to guarantee you’re protected.


Leave a Reply