You’ll map your pavilion’s electrical needs first, planning zones for lighting, outlets, and safety features. Decide between conduit and direct burial, then use outdoor-rated boxes with GFCI protection placed where you’ll use them. Size circuits and breakers with future loads in mind, and install weatherproof outlets in convenient spots. Bond grounds, add moisture barriers, and keep a clean routing plan. Get permits and schedule inspections, then maintain and document for future upgrades; more tips await.
Plan Electrical Needs for Your Pavilion
How should you plan the electrical needs for your pavilion to keep it safe, flexible, and future-ready? Start by mapping interior and exterior lighting, including recessed cans, pendants, path lights, and GFCI outdoor outlets around the perimeter and inside.
Install switches, dimmers, and smart controls to create multiple lighting zones and ambiance, with safety lighting for stairs and paths at night.
Size the system upfront by detailing all fixtures, outlets, and electrical loads to prevent under-sizing hazards. Budget extra capacity for future additions like a hot tub, outdoor kitchen, or more lighting, and design expandable infrastructure.
Consider feeding from the subpanel to lights, switches, and a ceiling fan, using a weatherproof, outdoor-rated wiring method. This keeps options open while you enjoy a safer space.
Decide Conduit Vs Direct Burial
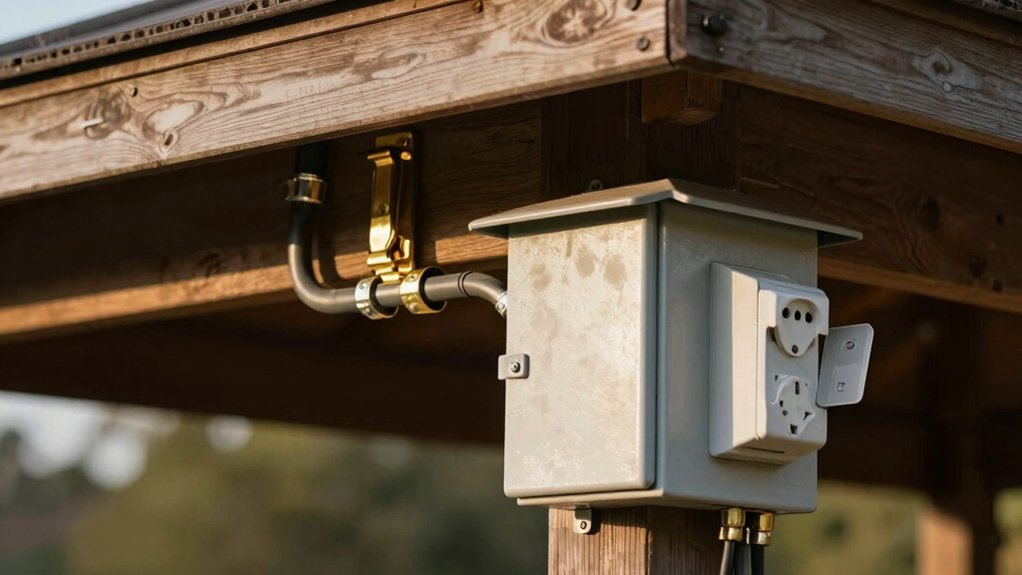
When wiring your pavilion, should you opt for conduit or direct burial? Conduit with protective piping offers maximum protection against crushing and moisture, making it the preferred method for outdoor wiring, especially for longer or more complex runs. It also lets you route neatly, seal connections, and plan future upgrades without redoing the entire trench.
Direct burial cable provides moisture resistance initially and can be quicker for short, simple routes, but it remains vulnerable to long-term intrusion and may require re-running if issues arise. NEC guidance influences burial depth: RMC allows about six inches, UF around twelve inches, with exact depths varying by location and method. When choosing direct burial, use outdoor-rated wire and weatherproof exterior junctions.
- Conduit
- Depth codes
- Outdoor wire
- Routing plan
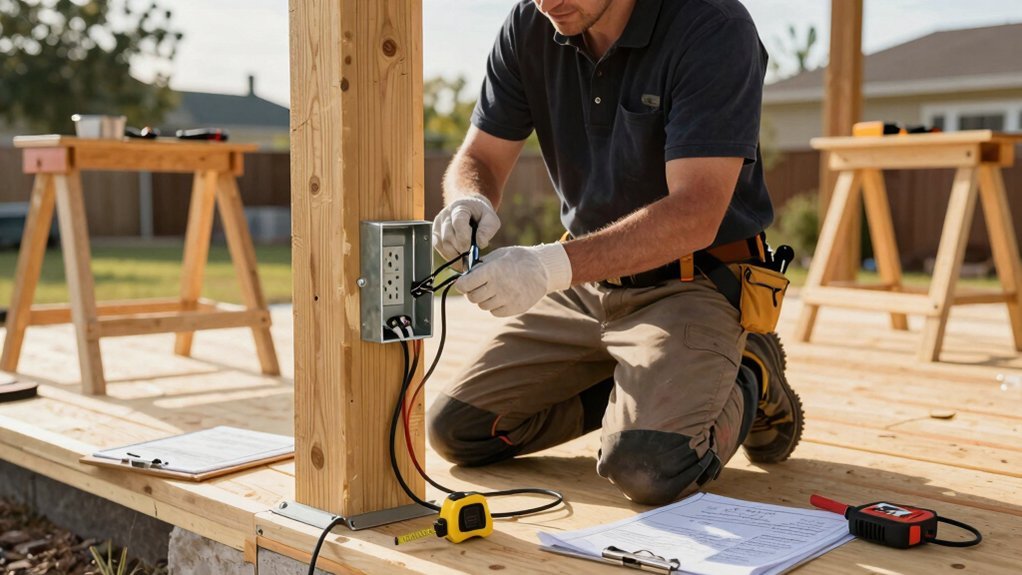
Use Outdoor-Rated Boxes and GFCI Protection
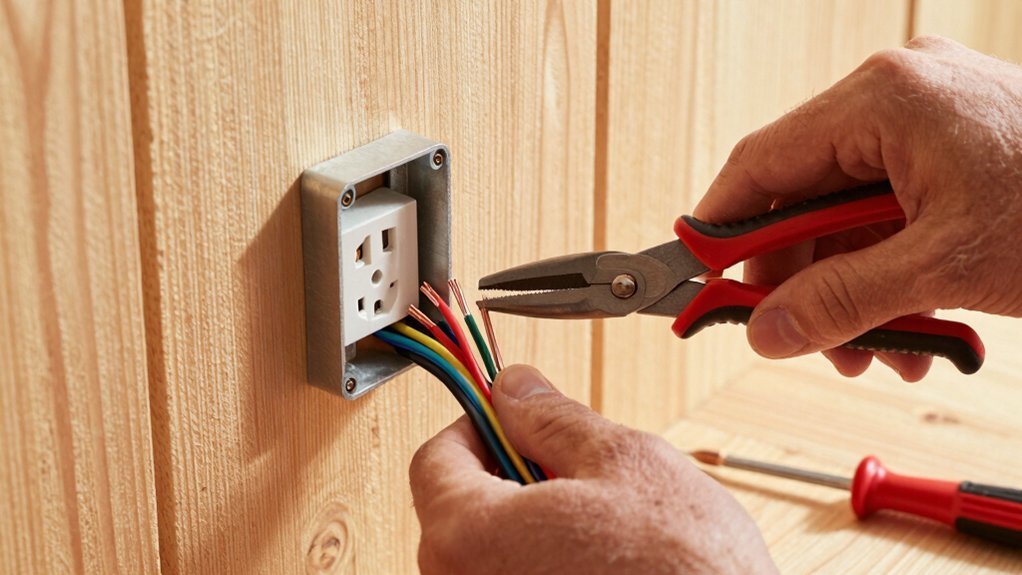
Outdoor-rated boxes are a must for pavilion wiring, since they withstand moisture and weather exposure long-term. Choose metal or molded plastic enclosures rated for wet locations, and seal all seams to keep rain out. Install GFCI-protected outlets and receptacles to provide ground-fault protection in outdoor environments, and test them for trips. Use weatherproof covers whenever an outlet isn’t in use, and keep cords and connections shielded from rain. Route wiring through conduit or approved raceways to protect it from physical damage in outdoor settings, and keep fittings tight so moisture can’t enter. Verify that the entire circuit meets local code requirements and passes inspection for outdoor pavilion installations. Ask your inspector about any weather-season considerations and follow manufacturer instructions for box sealing and labeling.
Circuit Sizing and Load Calculations
Start with load estimation basics to quantify outdoor lighting, receptacles, and the ceiling fan. Then you’ll run through the demand calculation steps to account for diversity and concurrent use, so you don’t overstate the load. Finally, use a breaker sizing checklist to confirm the feeder and labeling stay within the 30A limit.
Load Estimation Basics
How should you approach load estimation for a pavilion circuit to keep lights, receptacles, and a ceiling fan reliable without overloading the system? Start by sizing for 120V, 20A GFCI-protected loads and plan a dedicated feeder from a subpanel or main panel to support all outlets and the fan. Use a 30-amp feeder with 240/120V and #10-3 wire where appropriate, matching equipment to the smaller circuit with proper overcurrent protection. For underground runs, specify PVC conduit and observe burial depths per NEC 300.5(A), while noting that RMC offers shallower burial but requires correct fittings. Distribute loads across separate circuits for lighting, outlets, and the fan, and include contingency margins for future needs. Verify calculations with local codes and, if unsure, consult a licensed electrician for safety and compliance.
- Separate circuits for lighting, receptacles, and the ceiling fan to prevent overload and allow independent control
- Include contingency margins to cover device losses and future additions like a hot tub or outdoor kitchen
- Use PVC conduit for underground runs and confirm burial depths per NEC 300.5(A)
- Match equipment ratings (20A vs 30A) to the feeder and ensure correct overcurrent protection
Demand Calculation Steps
Typically, you begin demand calculations by compiling a detailed load list that sums lighting, receptacles, fans, and any fixed appliances, then apply local demand factors to size the circuit and feeder accordingly. For outdoor projects, plan a baseline 20A GFCI-protected circuit, with separate branches for lighting, receptacles, and a ceiling fan or other load-dense device. Use a 30 amp feeder with a NEMA 3R subpanel when distributing power to multiple outdoor zones, ensuring the feeder cable is #10 AWG, 3 conductors plus ground. When routing power, account for conduit or direct burial options and follow NEC Table 300.5(A) burial depth guidance to meet code requirements. Include spare capacity in the design for future additions, like a hot tub or outdoor kitchen, to avoid rework.
Breaker Sizing Checklist
Size breakers by totaling all connected loads for the gazebo circuit and selecting a dedicated breaker that matches the panel rating and local code. For outdoor gazebo circuits, plan for 120V, 20A GFCI-protected outlets and lights as a baseline to prevent nuisance trips and enhance safety. Include worst-case continuous load calculations (75% rule) to avoid overloading the circuit, especially with HVAC, heaters, or dense lighting plans. Use a sub-panel or separate feeder if the total load exceeds a single branch circuit’s capacity, and size feeders to accommodate future additions like hot tubs or outdoor kitchens. Verify conductor ampacity and ensure wiring and breakers are coordinated with NEC rules for outdoor installations and wet-location conditions. Follow local amendments and verify permits before rough-in work begins.
- Plan 120V, 20A GFCI-protected outlets and lighting as baseline.
- Apply 75% rule for continuous loads to prevent nuisance trips.
- If total load exceeds a single circuit, use a sub-panel or feeder and size for future expansions.
- Verify conductor ampacity (#12 AWG for 20A, #10 AWG for 30A) and NEC coordination for wet locations.
Weatherproof Outlets in Convenient Spots
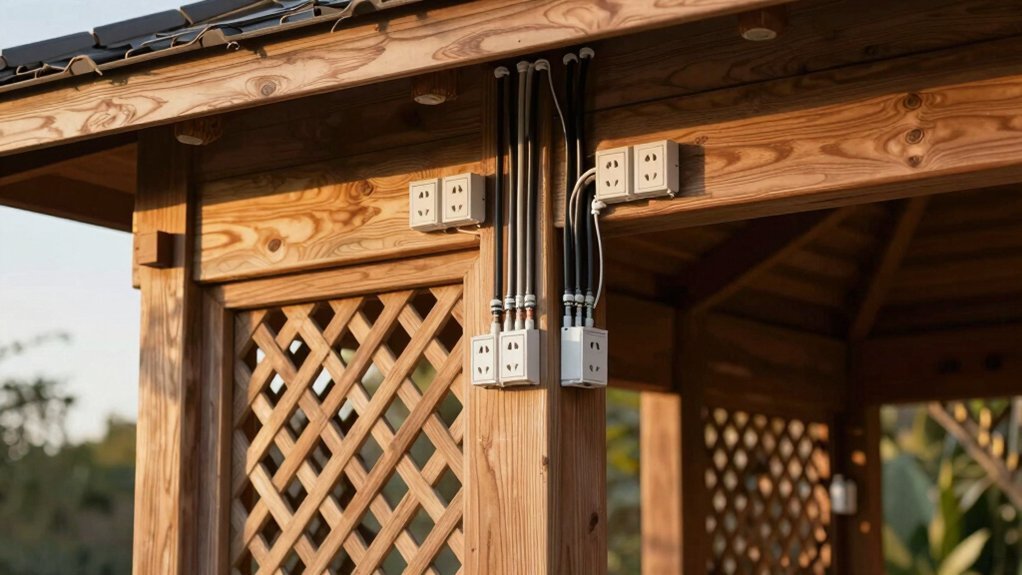
Where you place weatherproof outlets around the pavilion can make lighting, speakers, and small appliances easy to access and safer to use. Install outdoor-rated weatherproof outlets in convenient spots around the pavilion perimeter for easy access and safety. All outdoor receptacles require GFCI protection to prevent shock hazards in wet or damp conditions. Mount outlets at accessible heights and ensure enclosures have hinged or removable covers so you can keep usability after weather exposure. Consider placing outlets near seating areas and cooking or amenity zones to support lighting, speakers, and small appliances. Route the circuits in conduit or protective channels to shield from physical damage and meet local code requirements for exterior wiring. Keep DuPont sealant on exterior conduits to deter moisture intrusion always.
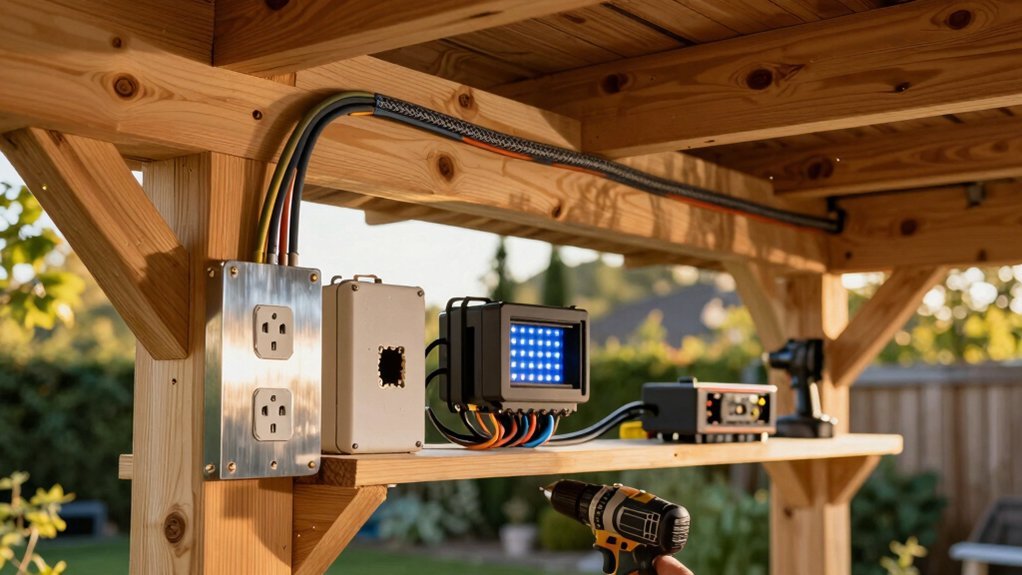
Routing and Concealment to Preserve Aesthetics
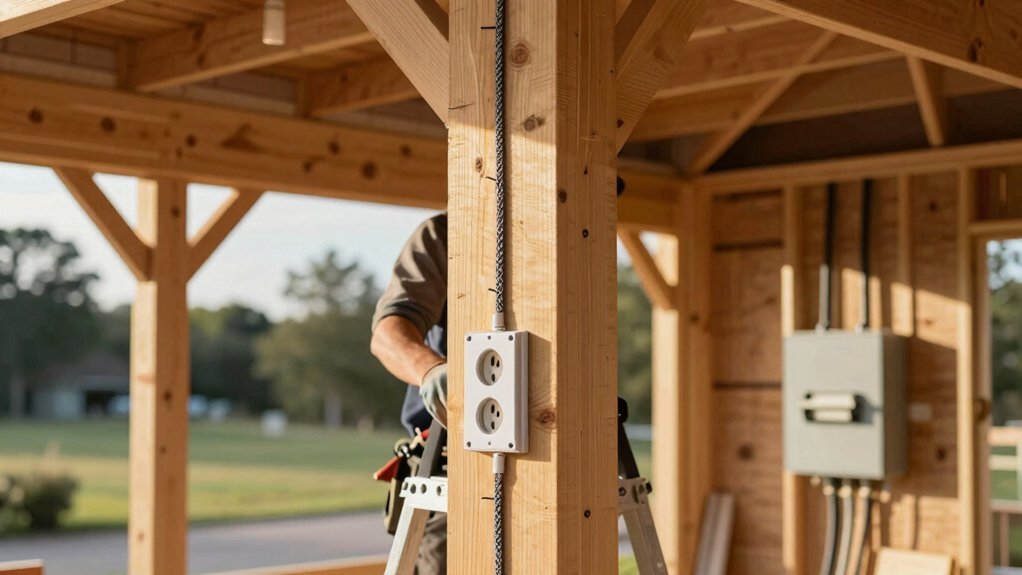
To preserve aesthetics around the pavilion, use a two-step channeling method that hides wiring in timber frames: first a deeper routing channel, then a wider, shallower channel cut over it with a fillet strip flush to the post surface for easy updates. Your plan follows shop drawings where channels, chases, and pockets align with timber joints, ensuring concealment after assembly. Post-installation routing places the wiring in the deeper channel, keeping surfaces clean while you finish the frame. Exterior posts may use vinyl sleeves or 6×6 channels, with grooves capped to blend with rustic aesthetics.
- Hide outlets behind hinged doors for maintenance
- Align chases with joints for seamless coats
- Use fillet strips flush to post surfaces
- Cap grooves with steel plates or boards as needed
Grounding and Moisture Barriers
How does grounding keep your pavilion safe outdoors? Grounding provides a safe return path and reduces shock risk by bonding all metal components to a common ground electrode system. You’ll want continuous ground wires, tight connections, and a test that confirms continuity after installation and weather events.
Moisture barriers protect conductors from rain and humidity, using vapor barriers and weatherproof enclosures rated for outdoor use. They also prevent water intrusion at boxes and joints with gasketed covers, outdoor-rated conduit seals, and watertight fittings. Proper grounding and moisture protection keep GFCI receptacles and exterior lighting circuits functioning reliably in damp environments.
Regular inspections verify ground continuity, secure connections, and intact moisture barriers so you stay protected. Keep testing after storms and after major weather event.
Inspection, Permits, and Local Codes
Are permits required for gazebo electrical work? Local codes may require permits, so you should consult the town’s building department before you start. A licensed electrician or professional inspector should verify wiring plans, clearances, and weatherproofing to ensure code compliance. Plan for GFCI-protected outlets and outdoor-rated boxes to meet safety and inspection expectations for pavilion installations. Ensure final inspection approval from the town’s building department and document wiring details for verification and future maintenance.
- Confirm permit requirements with your local building department before beginning any work.
- Have a licensed electrician review plans, clearances, and weatherproofing for code compliance.
- Use NM cable only where allowed, and install outdoor-rated boxes with GFCI protection.
- Schedule and pass the final inspection, keeping detailed wiring records for future maintenance.
Testing, Moisture Barriers, and Maintenance
Why verify grounding and test outlets after installation to catch issues early? After you complete wiring, use a tester on every outlet and confirm grounding is solid on each one. For outdoor circuits, install GFCI outlets and weatherproof boxes to boost safety in damp or wet locations. Plan moisture barriers and proper sealing at outdoor junctions so water won’t enter. Keep conduit and wiring organized neatly with labeled circuits to simplify maintenance down the line. Schedule periodic maintenance checks to ensure seals stay intact, weatherproofing remains effective, and insulation stays in good condition. Regular tests help you catch loose connections, corrosion, or degraded seals before they become hazards, saving time and preserving system reliability year after year. Keep safety front and center in practice.
Future-Proofing and Upgrades
To future-proof your pavilion, design for extra capacity from the start by sizing circuits for potential additions like a hot tub or outdoor kitchen and by including switches, dimmers, and smart controls to create multiple lighting zones.
Future-proof your pavilion by sizing circuits for future additions and adding smart, zoned lighting controls.
Plan for future feeders or subpanels when the gazebo is distant from the main panel to maintain reliable power distribution for added loads.
Include GFCI-protected outdoor outlets around the perimeter and interior to safely handle charging devices and tools in wet environments for extended use and safety compliance.
Size circuits from the start to prevent under-sizing hazards and document all wiring details for inspections and future audits.
Schedule a professional review and obtain required permits to ensure code compliance and safety before energizing any outdoor pavilion wiring.
Frequently Asked Questions
What Is the 2 6 12 Rule for Outlets?
The 2-6-12 rule means place outlets no more than 6 feet apart, and ensure no spot is more than 12 feet from an outlet. Outdoors, use weatherproof, GFCI-protected outlets; check local codes for exact spacing.
What Are the Three Basic Rules of Wiring?
Your three basic rules are: plan all loads and circuits ahead to prevent under-sizing; use outdoor-rated materials and GFCI protection for exterior installations; and follow NEC and local codes with shutoffs and professional oversight needed.
How to Run Power to an Outdoor Gazebo?
Run a dedicated feeder from your main panel, through conduit, bury it per NEC to the gazebo. Install outdoor-rated boxes and GFCIs, pull wiring through posts, secure weatherproof connections, and get permits with inspection required.
How to Keep Mice From Chewing on Electrical Wires?
To keep mice from chewing wires, you’re running cables in conduit, seal gaps with silicone or foam, use rodent-resistant cable, close openings, install sleeves around penetrations, and inspect regularly, repair gnawed insulation promptly as needed.


Leave a Reply