Installing a backyard zip line requires finding two sturdy anchor points 50-500 feet apart, using proper materials like high-quality cable, tree protection, and safety hardware. You’ll need to secure the cable with proper tension to create a natural belly curve, install a reliable braking system, and use appropriate safety gear including a helmet and harness. Regular maintenance ensures long-term safety. The following guide covers every step to create your thrilling backyard adventure.
Selecting the Perfect Location and Anchors
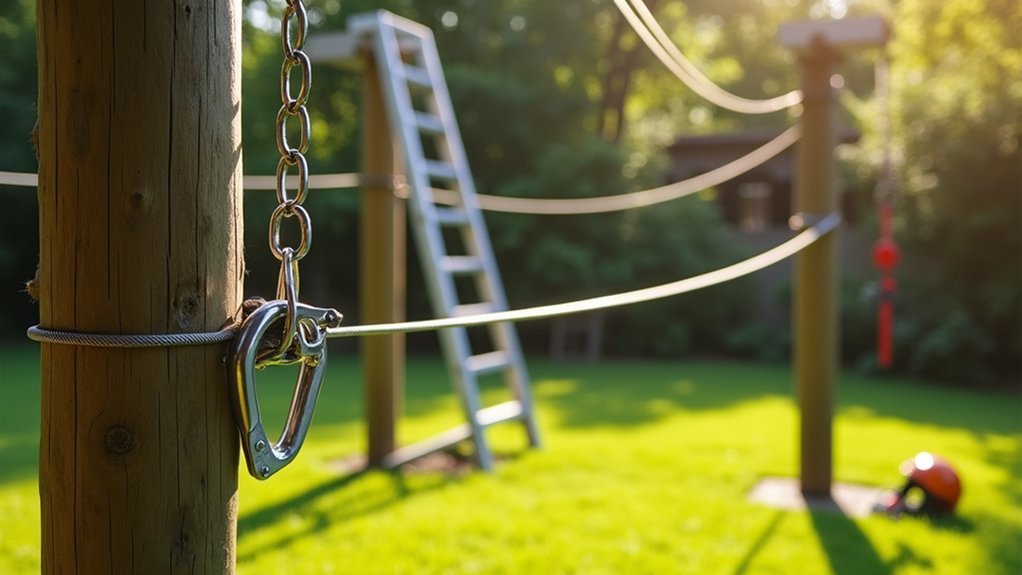
Where you install your zip line will largely determine how safe and enjoyable it’ll be. Look for solid anchor points between 50 and 500 feet apart—typically sturdy trees or structures capable of handling dynamic loads. Choose two anchors with good life expectancy and similar strength.
Position your line to create a natural sag in the middle rather than a tight, dangerous cable. This belly curve provides the perfect balance of speed and safety. Before installation, verify your course is free from obstacles, with ample space for a safe landing zone.
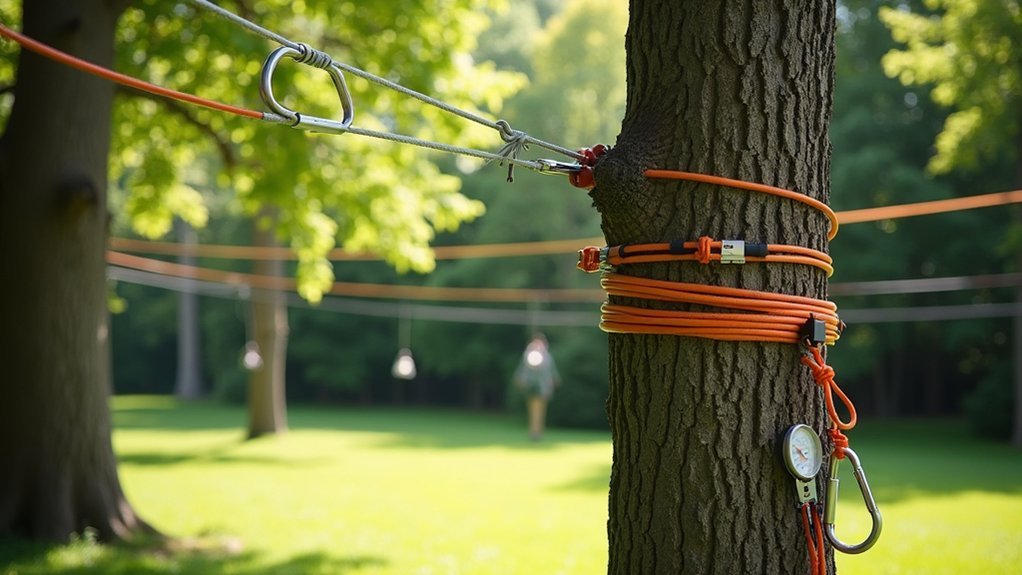
Plan your attachment points carefully, considering tree savers to protect bark and distribute pressure evenly. Bolts or pad eyes work well for securing ends. Remember that proper spacing allows riders enough run while maintaining the essential sag for a thrilling yet safe experience.
Gathering Essential Materials and Safety Equipment
What materials do you need to create a safe, functional zip line? Start with high-quality outdoor rope or cable, tree protection (tree savers), turnbuckles, clamps, and a tensioning kit or winch. You’ll also need a trolley equipped with a spring brake to safely stop riders at the end of their journey.
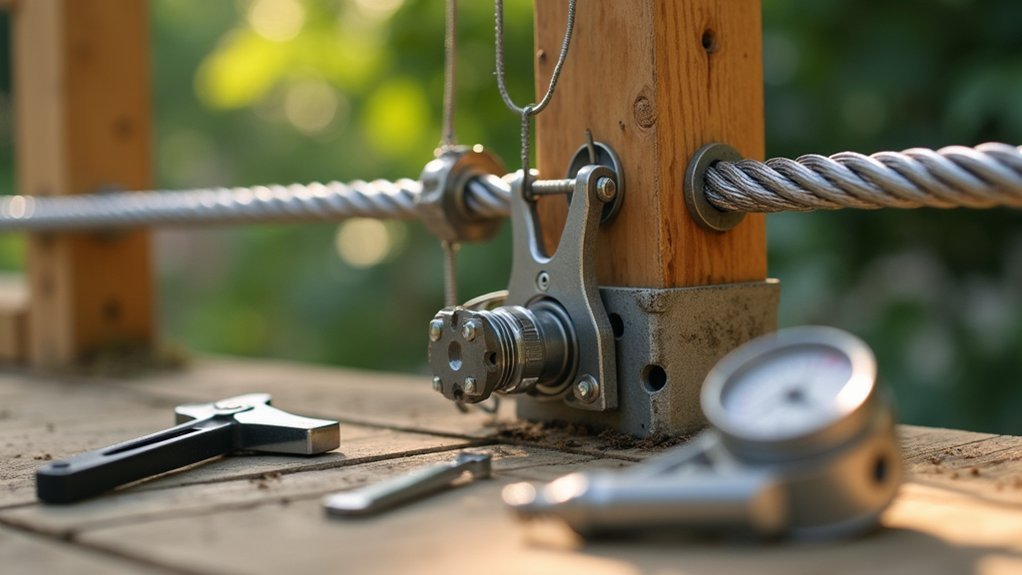
Include a backup cable system with torque-rated clamps (30 ft-lbs for 5/16″ cables) to maintain proper tension. Don’t forget essential safety elements like stop blocks and appropriate riding gear.
For anchoring, gather end-point anchors such as tree bolts or posts with pad eye plates, plus two clamps spaced six inches apart at each end. When installing, ensure you leave adequate slack to form a belly between endpoints—this prevents dangerous speeds during rides.
Proper Cable Installation and Tensioning Techniques
The proper installation of your zip line cable requires careful attention to both safety and physics. Place your anchors 50-500 feet apart, ensuring the cable forms a belly with slack rather than a taut line. Allow extra length for future stretching and avoid over-tightening initially.
| Step | Action | Safety Note |
|---|---|---|
| 1 | Wrap cable around tree several times | Prevents slippage |
| 2 | Secure with two clamps 6 inches apart | Double protection |
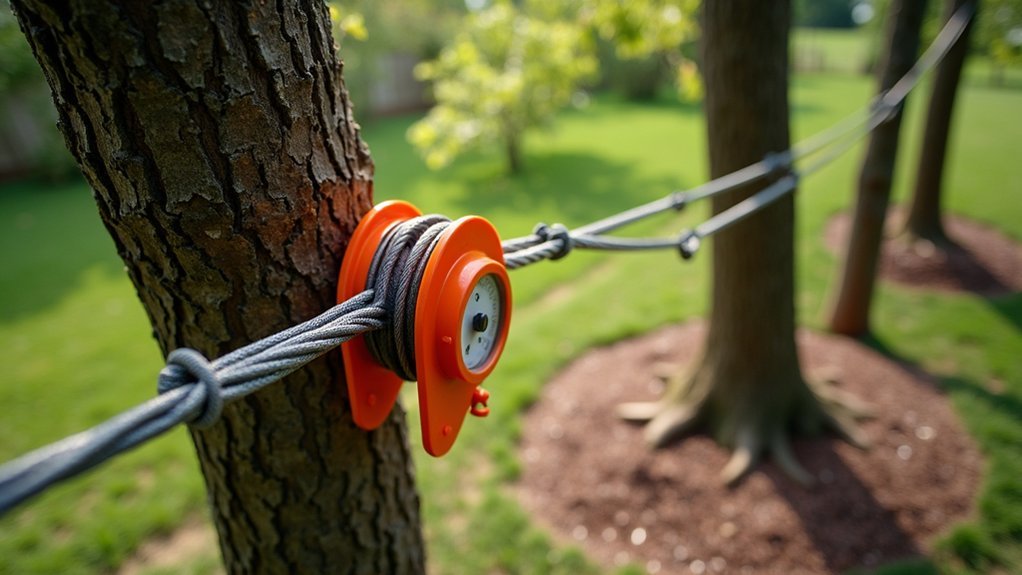
| 3 | Install temporary clamp 20 feet from end | Facilitates tensioning |
| 4 | Connect winch between clamp and tree | Controls tension gradually |
| 5 | Test by moving winch between clamps | Re-clamp as cable stretches |
As you tension the line, maintain a non-stretched configuration. Gradually increase tension by winding the winch, testing safety at each adjustment until proper final tension is achieved.
Adding Riding Gear and Braking Systems
Safety equipment and reliable braking systems transform your zip line from a potential hazard into a thrilling yet secure backyard adventure. You’ll need to install both a primary braking system and appropriate riding gear to ensure everyone’s protection.
Install a brake spring system that reliably engages under rider weight, and test it thoroughly before first use. Don’t forget to add a stop block to prevent unwanted wheeling or jumping during rides.
- Helmet – properly fitted and secured for head protection
- Harness or suspension seat – designed specifically for zip lines
- Gloves – to prevent rope burns and improve grip
- Bungie brakes – inspect regularly to ensure consistent performance
Before each ride, check all attachment points, verify the brake engages correctly, and inspect your riding gear for any signs of wear or damage.
Testing, Maintenance, and Long-Term Care
Regular maintenance guarantees your zip line remains safe and operational for years to come. Before each ride, inspect your cables, connections, and clamps for signs of wear, corrosion, or looseness. Always conduct a weight test after initial tensioning—with no riders on the line—to verify system integrity.
| Maintenance Task | Frequency | What to Check |
|---|---|---|
| Visual Inspection | Before each use | Cables, connections, clamps |
| Safety Component Check | Monthly | Stop blocks, bungie brake, trolley |
| Component Replacement | Based on usage | Cables, clamps, turnbuckles |
Keep a detailed maintenance log documenting inspection dates, replaced parts, and any tension or anchor adjustments. Schedule component replacements according to manufacturer recommendations, especially for parts showing signs of fatigue. This proactive approach will extend your zip line’s lifespan and ensure rider safety.
Frequently Asked Questions
What Slope Should a Zip Line Be?
Your zip line should have a gentle 5-8° downward slope for safe speed. You’ll want to guarantee the landing end is lower than the starting point, creating enough decline without making it dangerously steep.
How to Build a Zip Line at Home?
Choose two sturdy anchors 50-500 feet apart, secure cable with proper clamps, create a slight slope, and tension with a winch. Test thoroughly before riding and always prioritize safety.
How Much Does It Cost to Install a Zipline?
You’ll spend $200-$600 for a complete backyard zipline kit. Installation costs remain minimal if you’ve got suitable trees, but add $300-$500 for posts and platforms if needed. Maintenance runs about $50 annually.
How Thick Does a Tree Need to Be for a Zipline?
You’ll need trees at least 12 inches (30 cm) in diameter for your zipline. Larger trees with straight, healthy trunks provide better anchoring. If your trees are smaller, use protective pads and consider additional support structures.


Leave a Reply