To install globe string lights for outdoor parties, you’ll first need to measure your space and identify sturdy anchor points like pergola beams, fence posts, or deck railings. Install heavy-duty screw hooks at each mounting location, keeping lights 7–9 feet above ground for ideal ambiance. Run your weather-resistant strands between anchors with a slight droop, and connect to a GFCI-protected outlet. Below, you’ll find detailed steps for weatherproofing and creating the perfect atmosphere.
Planning Your Globe String Light Layout
Before you break out the ladder and start hanging lights, take time to map out your installation plan.
Measure your outdoor space and identify anchor points like trees, fence posts, pergolas, or your home’s exterior. You’ll want to determine the exact distance between these points to calculate how many light strands you need.
Measure your space, identify anchor points, and calculate distances to determine exactly how many light strands you’ll need.
Sketch a simple diagram of your space, marking where each strand will hang. Consider the height—lights typically look best suspended seven to nine feet above the ground.
This creates ambiance without obstructing movement or sightlines.
Check your proximity to electrical outlets and decide whether you need extension cords or weatherproof outlet covers. Don’t forget to account for the swag pattern you prefer, whether that’s straight lines or gentle drooping curves between attachment points.
Gathering Essential Tools and Materials
Once you’ve finalized your layout plan, it’s time to gather everything you’ll need for a smooth installation.
Tools:
- Drill with appropriate bits
- Measuring tape
- Ladder or step stool
- Wire cutters
- Level
- Pencil for marking
Materials:
- Globe string lights (measure your layout to determine length)
- Screw-in hooks or cup hooks
- Guide wire or cable (for spans without structures)
- Cable clamps or turnbuckles
- Outdoor-rated extension cords
- Outdoor timer or smart plug (optional)
Safety Equipment:
- Work gloves
- Safety glasses
Before purchasing lights, check the wattage requirements and make certain your outdoor outlets can handle the load.
Choose weather-resistant, UL-listed lights rated for outdoor use.
Having everything ready prevents frustrating mid-project trips to the hardware store.
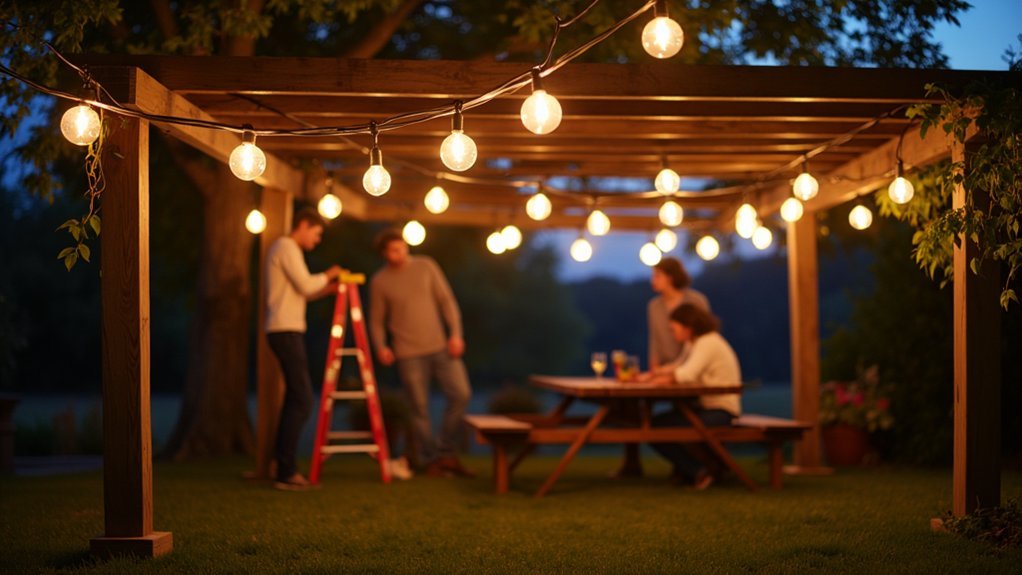
Securing Anchor Points and Support Structures
Although your lights and tools are ready to go, the success of your installation depends entirely on creating solid anchor points that can withstand wind, weather, and the weight of your string lights.
Start by identifying sturdy mounting locations like deck posts, pergola beams, or exterior walls. If you’re spanning open areas, install dedicated posts set at least two feet deep in concrete. Use heavy-duty screw hooks or eye bolts rated for outdoor use, driving them directly into solid wood or masonry anchors.
For longer runs, add intermediate support poles or guy wires to prevent sagging. Test each anchor point by applying firm pressure before hanging anything. Space your anchors to maintain slight tension in the lines without overstressing connections. This preparation guarantees your lights stay secure through every gathering.
Running and Connecting Your Light Strands
With your anchor points secured, you’re ready to map out the path your light strands will follow across your outdoor space.
Start by unrolling your strands on the ground to check for damaged bulbs and plan the most efficient route between connection points.
You’ll also want to determine where strand connections will occur so you can position them near support structures for a cleaner, more stable installation.
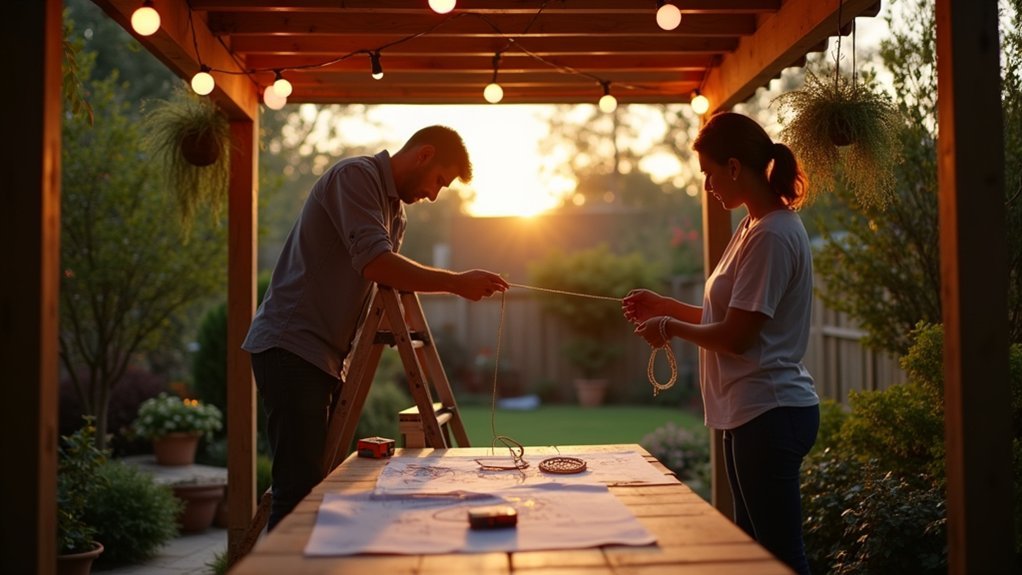
Planning Your Cable Route
Before you unbox your string lights, take time to map out the exact path your cables will travel across your outdoor space. Sketch your yard’s layout and identify anchor points like trees, fence posts, deck railings, or dedicated poles. Measure distances between these points to guarantee your light strands reach without excessive slack or dangerous tension.
Consider your power source location and calculate the total cable length you’ll need, including any extension cords. Plan the most direct route that keeps cables away from foot traffic and doorways. You’ll want to position connections at accessible points for easy troubleshooting later.
Factor in obstacles like branches or gutters that might interfere with your installation. A solid plan prevents wasted time and guarantees a clean, professional-looking result.
Securing Strand Connections
Your careful planning now pays off as you begin physically running your light strands along the mapped route. When connecting multiple strands, you’ll need secure, weatherproof connections that won’t fail during your event.
| Connection Type | Best Use | Weather Rating |
|---|---|---|
| Twist-lock plugs | Permanent installs | Excellent |
| Electrical tape wrap | Temporary setups | Moderate |
| Weatherproof covers | All connections | Excellent |
| Heat shrink tubing | Long-term outdoor | Excellent |
| Silicone sealant | Junction points | Excellent |
Wrap each connection point with electrical tape, then cover with a weatherproof connector box. Position connections away from areas where water might pool. Don’t exceed the manufacturer’s maximum strand limit—typically three to four strands per outlet. Test each connection before moving to the next section.
Weatherproofing Your Outdoor Light Installation
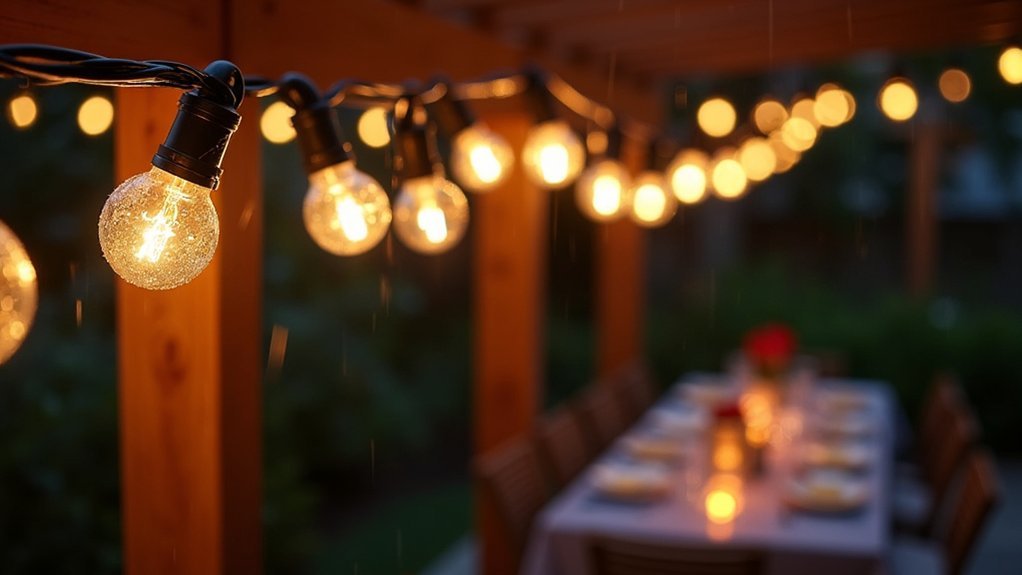
Protecting your globe string lights from the elements starts with selecting the right components for outdoor use. Choose lights rated IP44 or higher, indicating resistance to water splashes and debris. Inspect all bulbs and sockets for cracks before installation, replacing any damaged pieces immediately.
Apply dielectric grease to each socket connection to prevent moisture infiltration and corrosion. Wrap all connection points with electrical tape, then cover them with weatherproof caps or silicone sealant. Position connections facing downward so water drains away rather than pooling inside.
Install a ground fault circuit interrupter (GFCI) outlet to protect against electrical shorts during wet conditions. During severe storms, disconnect your lights from power sources. Store them indoors during winter months to extend their lifespan and maintain peak performance year after year.
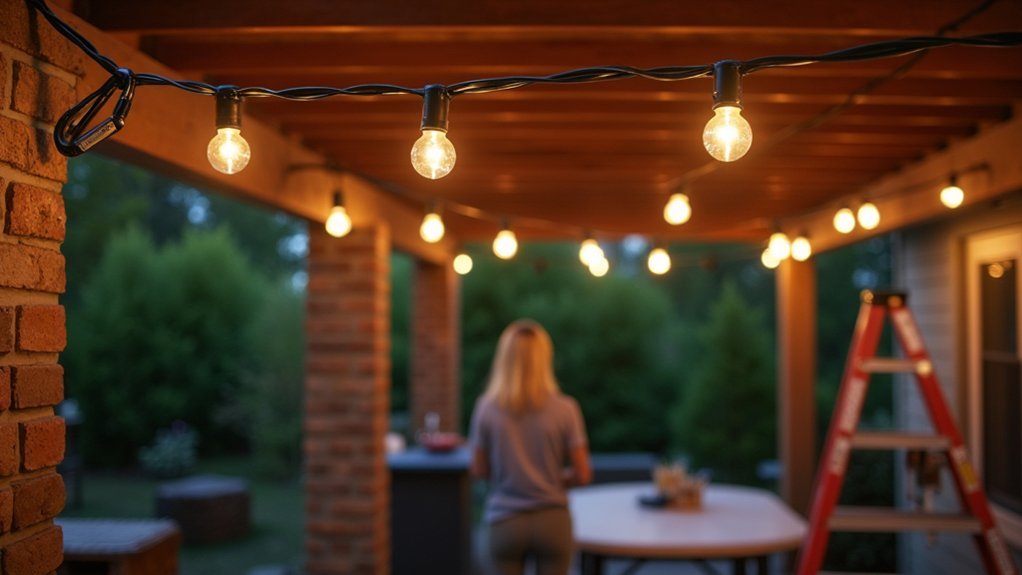
Creating Ambiance With Dimming and Timer Options
Once you’ve secured your globe string lights against weather damage, you can focus on the features that transform functional lighting into atmospheric design.
Dimmer switches give you complete control over brightness levels. Install an outdoor-rated dimmer compatible with your bulb type—LED lights require specific dimmers to prevent flickering. You’ll adjust intensity from bright task lighting during setup to soft, warm glows when guests arrive.
Timers eliminate the hassle of manual operation. Programmable timers let you set exact on/off schedules, while photocell sensors automatically activate lights at dusk. Smart plugs offer app-based control, allowing adjustments from your phone mid-party.
Consider combining both features for maximum flexibility. Start your evening at 50% brightness, then dim further as the night progresses, creating distinct moods throughout your outdoor celebration.
Frequently Asked Questions
Can I Leave Globe String Lights up Year-Round Without Damaging Them?
You can leave globe string lights up year-round if you choose weather-rated outdoor lights. Look for IP44 or higher ratings, and make sure you’re using outdoor-rated extension cords. You’ll extend their lifespan considerably.
How Much Do Globe String Lights Typically Cost to Run Monthly?
You’ll typically spend $1 to $5 monthly running LED globe string lights for a few hours daily. Your exact cost depends on your local electricity rates, bulb wattage, and how long you keep them on.
Are Globe String Lights Safe to Use Around a Swimming Pool?
You can safely use globe string lights near a swimming pool if they’re rated for wet locations (IP65 or higher). Keep them at least 10 feet above water and use GFCI-protected outlets for shock prevention.
What Is the Average Lifespan of LED Globe String Lights?
You can expect your LED globe string lights to last between 25,000 and 50,000 hours. That’s markedly longer than traditional incandescent bulbs, so you’ll enjoy years of beautiful outdoor lighting before needing replacements.
Can I Cut Globe String Lights to Customize the Length?
You can cut some globe string lights, but only if they’re specifically designed to be cuttable. Check for marked cut lines on the wire. Cutting non-cuttable lights will cause the remaining bulbs to stop working.


Leave a Reply