You’ll want to start by choosing outdoor-rated LED string lights with warm 2700K-3000K color temperatures and pairing them with a compatible trailing-edge dimmer to avoid flickering. Layer your lighting by combining ambient overhead strings with task lighting near food stations and accent lights on landscaping. Position brighter fixtures in high-traffic zones while keeping seating areas dimmer for intimacy. Adjust brightness throughout the evening—50-70% for arrivals, then 30-40% for conversation. These foundational tips set the stage for creating your perfect party atmosphere.
Choose the Right Dimmable String Lights for Your Outdoor Space
Narrowing down the perfect dimmable string lights starts with evaluating your outdoor space’s unique requirements. Consider the area’s size, existing power sources, and the ambiance you want to create. Larger patios need longer strands with higher lumen output, while intimate balconies work well with shorter, softer options.
Look for lights rated for outdoor use with weatherproof ratings like IP44 or higher. LED bulbs offer energy efficiency and longer lifespans compared to incandescent alternatives. Check that the dimming mechanism matches your setup—some require compatible dimmers, while others come with integrated controls or remote options.
Don’t overlook bulb style. Edison-style bulbs deliver vintage charm, while globe lights create modern elegance. Match your selection to your party theme and existing décor for cohesive results.
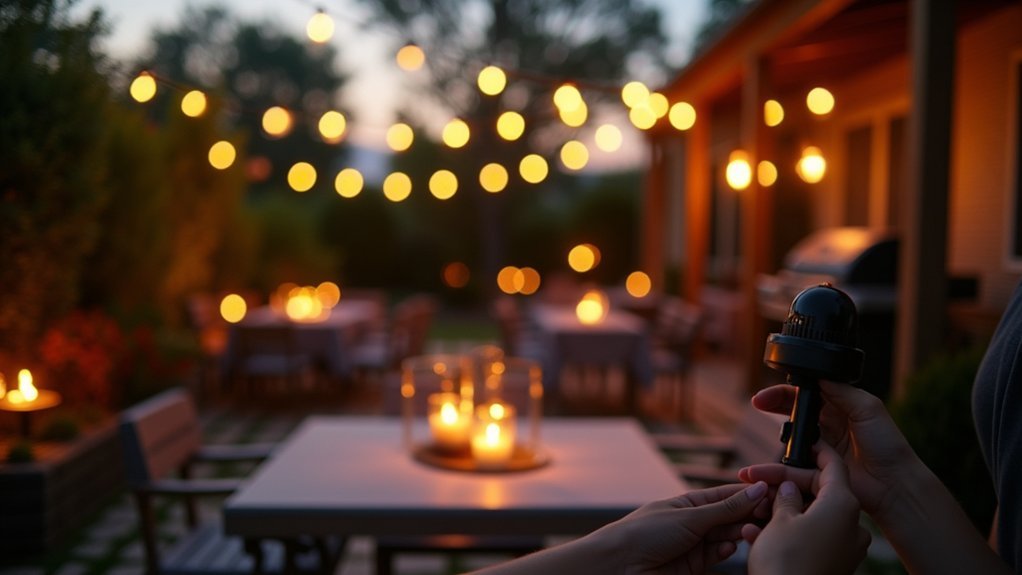
Install a Compatible Dimmer Switch for Seamless Brightness Control
Once you’ve selected the right dimmable string lights, you’ll need a compatible dimmer switch to unlock their full potential. Check your lights’ specifications to determine whether they require a leading-edge or trailing-edge dimmer. LED string lights typically work best with trailing-edge dimmers, which prevent flickering and buzzing.
For outdoor installations, choose a weather-resistant dimmer rated for exterior use. Wireless smart dimmers offer convenient control through smartphone apps, letting you adjust brightness from anywhere in your yard. If you prefer manual control, install a rotary or slide dimmer near your power source.
Always verify the dimmer’s wattage capacity exceeds your total lighting load. A dimmer rated too low will overheat and fail prematurely. Match your components correctly, and you’ll enjoy smooth, reliable brightness control throughout every outdoor gathering.
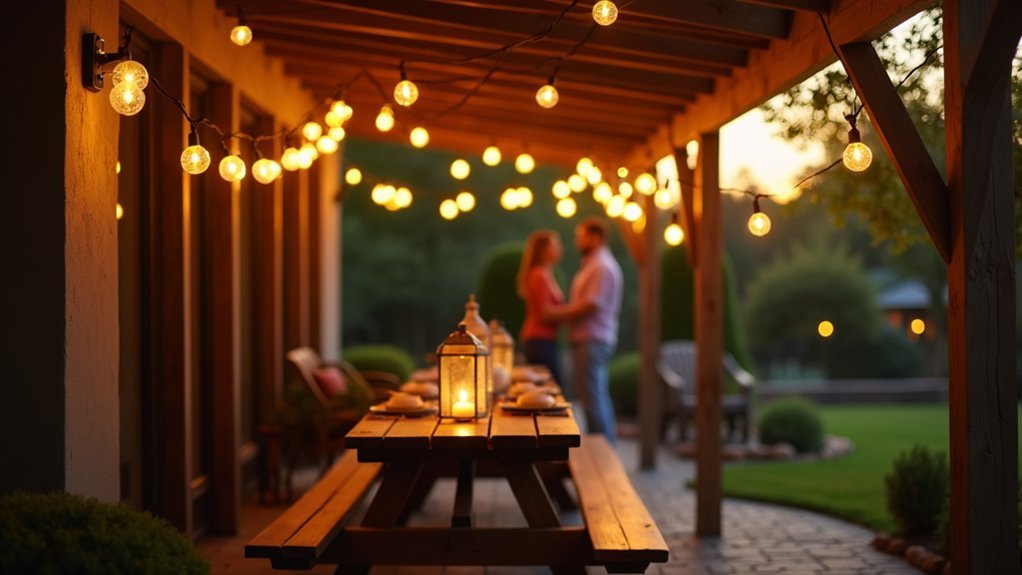
Layer Your Lighting to Create Depth and Atmosphere
With your dimmer switch installed and ready to adjust brightness levels, you can now focus on how you arrange your lights to maximize visual impact.
Layering creates dimension by combining multiple light sources at varying heights and intensities. You’ll want to think strategically about placement.
- Ambient lighting serves as your foundation—string lights overhead or lanterns throughout establish the base mood
- Task lighting illuminates functional areas like food tables or walkways where guests need clear visibility
- Accent lighting highlights architectural features, trees, or focal points that deserve attention
Adjust each layer independently with your dimmer to find the perfect balance. Start with ambient lights at 50%, then add task lighting where needed, and finish with subtle accents to draw the eye through your space.
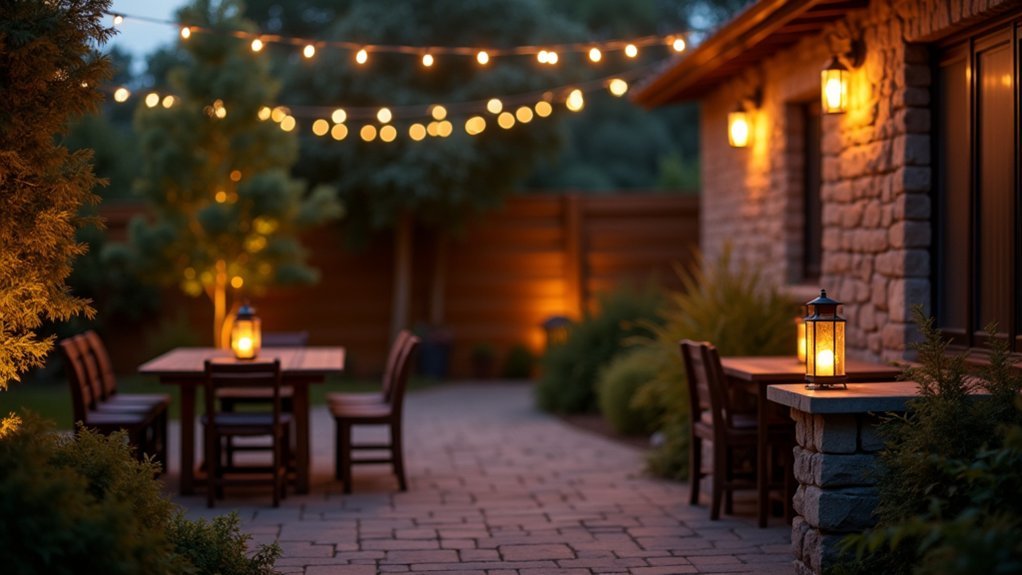
Position Lights Strategically to Highlight Key Party Areas
Beyond the layered approach, strategic positioning guarantees your lights draw attention exactly where you want it. Focus your brightest dimmable fixtures on high-traffic zones like the bar, buffet table, and main seating areas. These spots need enough illumination for safety and functionality while remaining inviting.
Place accent lights near architectural features, garden sculptures, or mature trees to create visual anchors throughout your space. You’ll want guests’ eyes to travel naturally from one illuminated focal point to another.
Don’t forget pathways connecting key areas. Line walkways with low-level fixtures that guide movement without overpowering the ambiance. Position uplights beneath food stations so guests can see what they’re serving themselves.
Keep dance floors slightly brighter than surrounding areas to encourage participation while maintaining that celebratory glow.
Match Dimming Levels to Different Moments Throughout the Evening
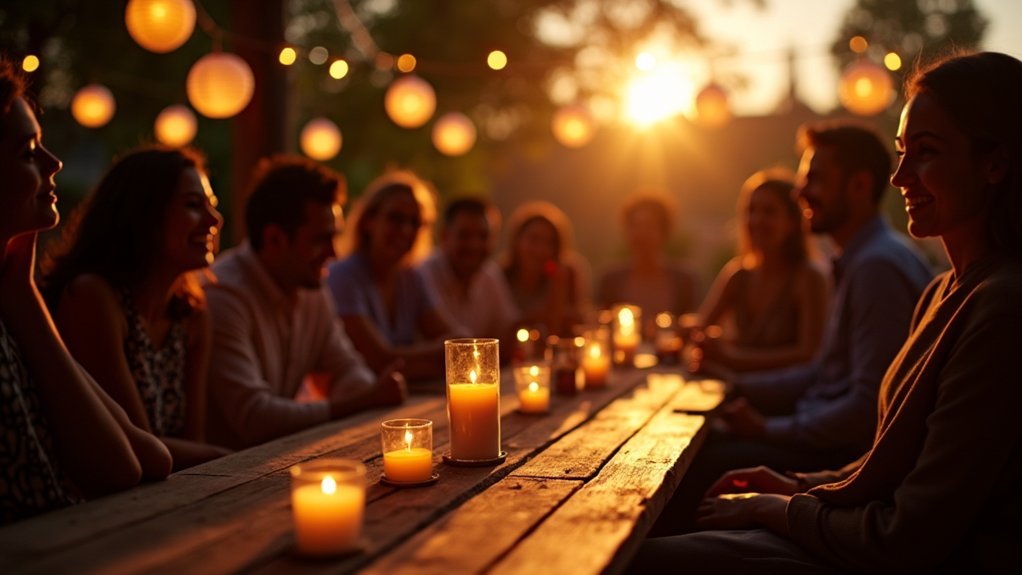
As your guests arrive during sunset, you’ll want your lights at a warm, welcoming brightness that complements the fading natural light without overpowering it.
Once darkness settles and the dance floor heats up, dial your fixtures down to create an intimate, energetic atmosphere that encourages movement and conversation. This shift from functional brightness to moody ambiance transforms your outdoor space and signals the shift from casual mingling to late-night celebration.
Sunset Arrival Brightness Settings
The changeover from daylight to darkness creates distinct phases during an outdoor party, and matching your lighting levels to each phase keeps the atmosphere feeling natural and intentional.
When guests arrive at sunset, you’ll want your dimmers set to their lowest functional level—just enough to establish where your lighting exists without competing with the fading natural light.
- Set string lights to 20-30% brightness so they glow softly without overpowering the golden hour ambiance.
- Keep pathway lights at minimum visibility to guide movement while preserving the sunset’s warmth.
- Position accent lights on standby, ready to increase as twilight deepens.
This gradual introduction prevents the jarring effect of bright artificial light clashing with nature’s progression.
Your guests will appreciate the seamless shift they barely notice happening.
Late-Night Dance Floor Ambiance
Once your party shifts into late-night dance floor mode, you’ll want to bump your overhead string lights down to 10-15% while pushing colored accent lights up to 40-50% brightness. This ratio creates an energetic atmosphere without harsh glare that kills the vibe.
Position your brightest accent lights at ankle and knee height around the dance floor perimeter. This draws attention to movement while keeping faces softly lit. If you’re using RGB fixtures, program slow color transitions rather than rapid strobing—your neighbors will thank you.
Keep pathway lights at 25-30% for safety as guests move between areas. Consider installing a separate dimmer zone for the bar or refreshment table at 35% so people can see what they’re pouring without disrupting the dance floor’s mood.
Combine Warm Color Temperatures With Adjustable Intensity
You’ll want to select bulbs in the 2700K to 3000K range to create that inviting amber glow perfect for outdoor gatherings.
Balancing warmth and brightness lets you set the right mood without overwhelming your guests or leaving spaces too dim.
Make sure your chosen bulbs work with your dimmer switches, since not all LED products handle intensity adjustments smoothly.
Choosing Ideal Color Temperatures
When selecting bulbs for your outdoor party setup, color temperature plays a crucial role in establishing the right mood. Warm tones between 2700K and 3000K create inviting atmospheres that encourage guests to relax and socialize.
Consider these guidelines when choosing your color temperatures:
- 2700K works best for intimate gatherings where you want a cozy, candlelit ambiance that flatters skin tones.
- 3000K provides slightly brighter warmth, ideal for dinner parties where guests need to see their food clearly.
- 2200K mimics vintage Edison bulbs, perfect for rustic or bohemian-themed celebrations.
Pairing these warm temperatures with dimmer controls gives you flexibility throughout the evening. You can start brighter during setup, then lower intensity as the party progresses to maintain energy while keeping your space comfortable.
Balancing Warmth and Brightness
Although warm color temperatures set the foundation for your party’s atmosphere, they’re only half the equation—you’ll also need precise brightness control to make that warmth work throughout your event.
Start your evening at 50-70% brightness while guests arrive and mingle. As daylight fades, gradually reduce intensity to 30-40% to create intimate conversation zones. This dimming enhances the amber and golden tones of warm bulbs, making faces appear softer and spaces feel more inviting.
Position your brightest fixtures near food stations and walkways for safety, while keeping seating areas at lower intensities. Use separate dimmer controls for different zones so you can adjust each independently. This layered approach lets you maintain functionality where you need it while preserving ambiance where you want it.
Dimmer Compatibility Matters
Getting those warm tones and perfect brightness levels depends entirely on matching your dimmers to your light sources. Not all dimmers work with all bulbs, and using incompatible pairs causes flickering, buzzing, or complete failure.
Before purchasing, check these three critical compatibility factors:
- Dimmer type – LED bulbs require LED-specific dimmers, while incandescent lights work with standard models
- Wattage capacity – Your dimmer must handle the total wattage of all connected fixtures without overloading
- Driver compatibility – Low-voltage landscape lights need dimmers that work with their specific transformers
You’ll also want to test your setup before the party. Connect everything, run through the full dimming range, and listen for any electrical noise.
This simple step prevents embarrassing lighting failures when guests arrive.
Weatherproof Your Dimmable Setup for Reliable Outdoor Performance
Protecting your dimmable lighting components from the elements guarantees they’ll perform reliably throughout every outdoor gathering.
Weatherproofing your dimmable outdoor lighting ensures reliable performance when you need it most—during every memorable gathering.
Start by selecting dimmer switches and controllers rated IP65 or higher, which resist water jets and dust infiltration.
Install these components inside weatherproof junction boxes mounted away from direct rain exposure.
You’ll want to use outdoor-rated extension cords and make certain all electrical connections stay elevated off the ground.
Wrap exposed plug connections with weatherproof tape or house them in protective covers designed for outdoor use.
Position your transformer or driver unit under covered areas like eaves or canopies.
If that’s impossible, invest in a ventilated weatherproof enclosure.
Check all seals and gaskets before each event, replacing any that show cracks or deterioration.
Your diligence prevents costly replacements and dangerous malfunctions.
Frequently Asked Questions
Can I Use Dimmable Outdoor Lights With Solar-Powered Systems?
You can use dimmable outdoor lights with solar-powered systems, but you’ll need compatible components. Choose solar controllers that support dimming functions and pair them with dimmable LED fixtures designed for low-voltage solar setups.
How Much Energy Do Dimmable Outdoor Party Lights Typically Consume?
You’ll find dimmable outdoor party lights typically consume between 5-50 watts per strand, depending on bulb type. LED options use markedly less energy than incandescent, and dimming them further reduces your overall power consumption.
Are Smart Home Assistants Compatible With Most Dimmable Outdoor Lighting Systems?
Yes, you’ll find most smart home assistants work seamlessly with dimmable outdoor lighting systems. You can connect devices through Wi-Fi or Bluetooth, letting you control brightness levels using voice commands or smartphone apps.
What Is the Average Lifespan of Dimmable LED String Lights?
You can expect dimmable LED string lights to last between 25,000 and 50,000 hours on average. That’s markedly longer than traditional incandescent bulbs, so you’ll enjoy years of outdoor parties before needing replacements.
Can Dimmable Outdoor Lights Be Safely Used Near Swimming Pools?
You can safely use dimmable outdoor lights near swimming pools if they’re specifically rated for wet locations and installed following local electrical codes. Always make certain proper grounding and use GFCI-protected outlets for maximum safety.


Leave a Reply