
You can keep your kids active with backyard obstacle courses that combine tire runs, balance beams, and climbing challenges. Set up tunnel crawls and hula hoop jumps to build coordination, or add water splash zones for hot-day fun. DIY ninja warrior courses using pool noodles, rope climbs, and milk crate platforms offer endless variety. These setups turn your yard into an adventure zone, and you’ll find plenty of creative options to explore below.
Tire Run and Balance Beam Challenges
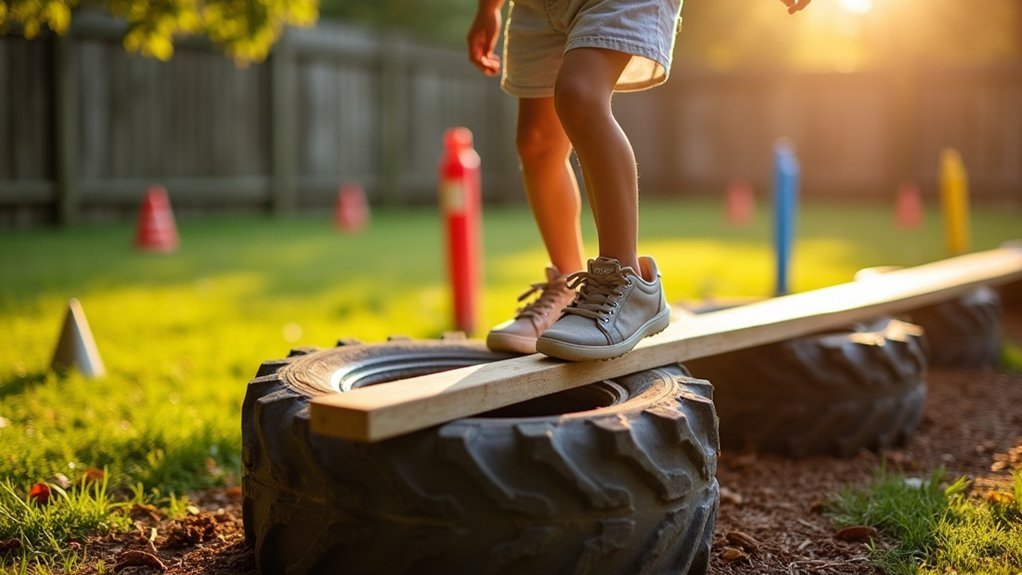
Transform your backyard into an adventure zone with classic tire runs and balance beam challenges that’ll keep kids active for hours.
Turn your backyard into a kid-powered obstacle course using simple tires and balance beams for endless active fun.
You can create a tire run by laying old tires flat on the ground in a zigzag pattern, forcing kids to high-step through each one. This builds coordination, agility, and cardiovascular endurance.
For balance beam challenges, you don’t need expensive equipment. Place a sturdy 2×4 board on low cinder blocks or directly on the grass. You can increase difficulty by raising the height gradually or adding turns.
Challenge your kids to walk forward, backward, or while carrying objects.
These obstacles develop core strength, spatial awareness, and confidence.
Combine both elements into a timed course, and you’ve created friendly competition that motivates repeated play.
Climbing Walls and Rope Ladder Stations
Scale your backyard adventure to new heights with climbing walls and rope ladder stations that challenge kids both physically and mentally. These vertical elements build upper body strength, grip endurance, and coordination while teaching problem-solving skills as children map their routes upward.
You can install a small climbing wall on an existing fence or sturdy freestanding structure. Add colorful holds at varying distances to create multiple difficulty levels. Rope ladders offer a wobblier challenge that engages core muscles and improves balance.
Position these stations between your tire run and balance beam for a seamless course flow. Place thick rubber mulch or crash mats below for safe landings. Supervise younger climbers and set height limits based on your child’s abilities and confidence level.
Tunnel Crawls and Hula Hoop Jumps
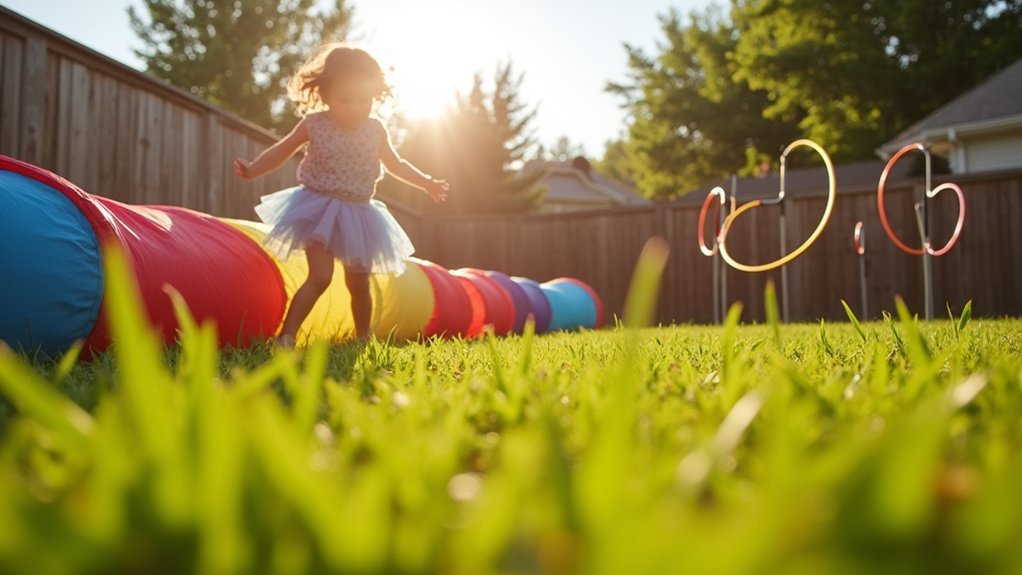
Plunge into ground-level fun with tunnel crawls and hula hoop jumps that keep kids moving through your obstacle course. You can create tunnels using pop-up play tunnels, large cardboard boxes with both ends open, or draped tarps over lawn chairs. Kids build core strength and coordination as they crawl through these confined spaces.
For hula hoop jumps, lay hoops flat on the grass in various patterns. Challenge your children to hop through them using one foot, two feet, or alternating patterns. You’ll boost their agility and balance with each jump. Space the hoops closer together for beginners or farther apart for older kids seeking a challenge.
Combine both elements by placing tunnels between hoop stations, creating a dynamic flow that keeps energy levels high.
Water Splash Zones and Slip-and-Slide Sections
When summer heat peaks, water splash zones turn your backyard obstacle course into a invigorating adventure. You’ll keep kids cool while they burn energy racing through sprinklers and sliding across wet tarps.
| Water Element | Setup Tip |
|---|---|
| Slip-and-slide | Place on gentle slope for speed |
| Sprinkler run | Position at course midpoint |
| Splash pad | Use as starting zone |
| Water balloon station | Add as final challenge |
You can create transitions between dry and wet sections to maintain momentum. Position your slip-and-slide after a climbing challenge so kids get an exciting cooldown reward. Add dish soap to your slide for extra slickness, and anchor the edges with garden stakes. These water features transform ordinary courses into revitalizing summer experiences.
DIY Ninja Warrior Courses Using Household Items
You don’t need expensive equipment to set up a challenging ninja warrior course in your backyard. Grab items you already own to create an exciting challenge that’ll keep kids moving for hours.
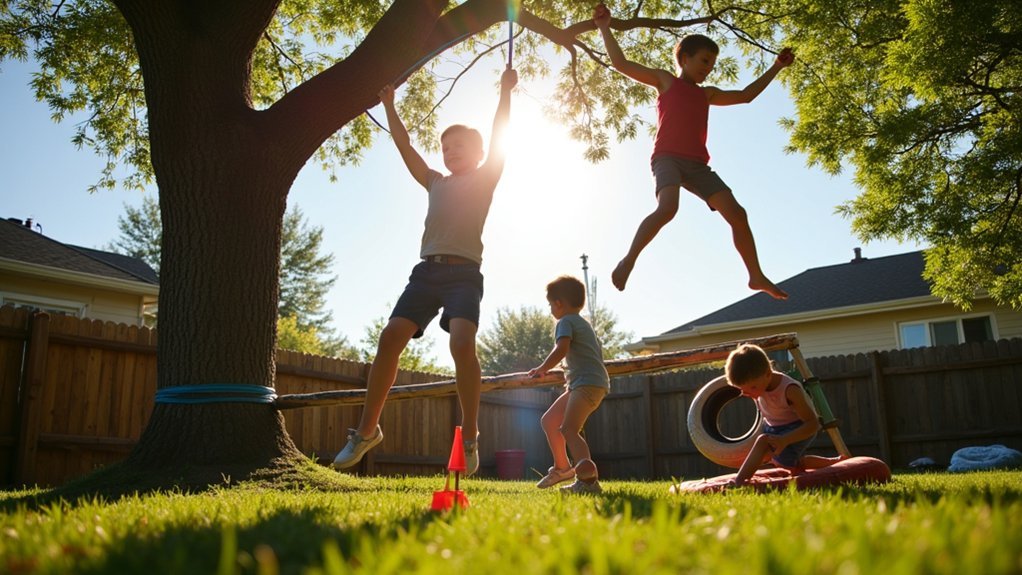
Use pool noodles anchored between chairs as hurdles. Hang a rope from a sturdy tree branch for climbing challenges. Stack milk crates to create stepping platforms, and lay a wooden plank across two cinder blocks for balance beams.
Old tires make perfect jumping stations when partially buried in the ground. Attach a broomstick between two ladders for kids to traverse monkey-bar style. Create a crawl zone using a tarp draped over lawn chairs.
Time each run to spark friendly competition and encourage kids to beat their personal records.
Frequently Asked Questions
How Much Space Do I Need in My Backyard for an Obstacle Course?
You’ll need at least 20 to 30 feet of length and 10 feet of width for a basic obstacle course. If you’re working with less space, you can create a compact circuit using vertical elements instead.
What Age Range Is Appropriate for Backyard Obstacle Courses?
You can design backyard obstacle courses for kids ages 3 to 12, adjusting difficulty based on age. Younger children need simpler challenges, while older kids enjoy more complex obstacles that test their strength and coordination.
How Can I Ensure My Child’s Safety During Obstacle Course Activities?
You’ll want to supervise your child constantly, check equipment for stability before each use, guarantee soft landing surfaces like grass or mats, and teach proper techniques. Remove hazards and match challenges to your child’s abilities.
What Is the Average Cost to Build a Backyard Obstacle Course?
You can expect to spend between $200 and $2,000 on a backyard obstacle course, depending on materials and complexity. DIY options using tires, ropes, and wooden platforms will keep your costs markedly lower.
How Do I Maintain and Store Obstacle Course Equipment During Winter Months?
You should clean equipment thoroughly, dry it completely, and store it in a garage or shed. Disassemble larger pieces, apply rust-preventive spray to metal parts, and cover fabric elements to prevent mold and weather damage.
Leave a Reply