For a perfect backyard wedding dance floor, choose a flat area with firm ground, allocate 4.5 square feet per dancer, and create a level foundation before installation. Use weather-resistant materials with slip-resistant textures, install proper drainage sloping away from the center, and secure edges with sandbags or pavers. Add weatherproof LED lighting, test weight capacity beforehand, and use modular tiles for easy teardown. These simple steps ensure your guests can celebrate safely while you enjoy every moment.
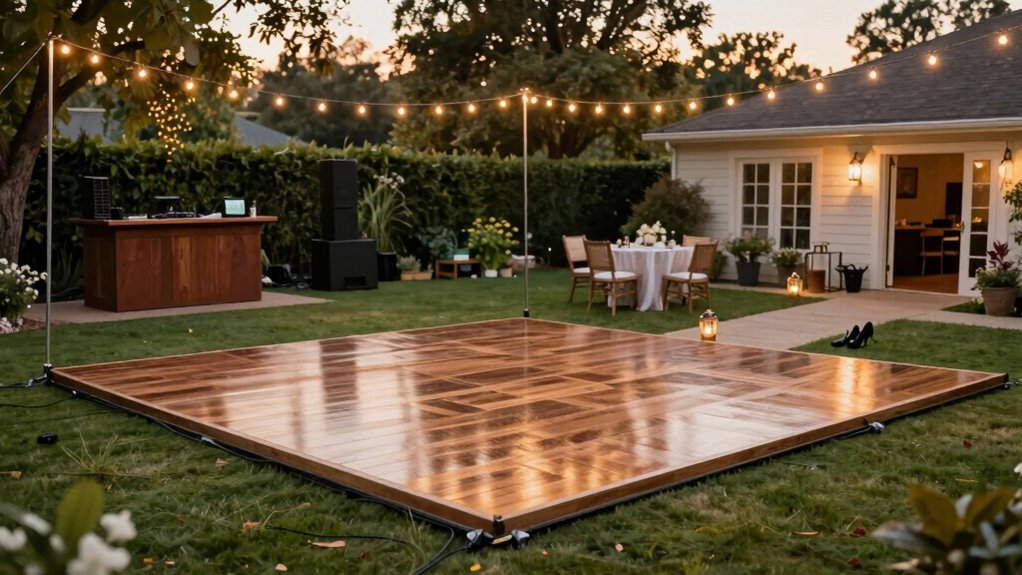
Select the Right Location for Maximum Stability
Where you place your backyard wedding dance floor can make or break your celebration. Choose a level, flat area on grass, gravel, or packed dirt to ensure your guests can dance comfortably without wobbling or tilting.
Don’t set up your floor over slopes, ruts, or soft ground, as this will cause shifting during use. For uneven terrain, create a level subfloor first by laying plywood sheets on a tarp before installing dance tiles.
Position your dance floor away from high-traffic areas and potential obstacles to prevent trips and falls. Keep adequate distance from furniture, décor, and walkway edges. Also consider environmental factors—select a spot protected from strong winds and ensure clear entry and exit points for seamless guest flow.
Calculate the Proper Floor Size for Your Guest Count
After securing the perfect location for your dance floor, you’ll need to determine exactly how much space your wedding guests require to comfortably celebrate. Plan on allocating about 4.5 square feet per dancer, with couples needing roughly 9 square feet together.
For most weddings, expect 40-50% of guests to dance simultaneously. Use a sizing chart to translate your guest count into the appropriate floor area—this prevents overcrowding while maintaining energy. If you’re hosting a particularly dance-enthusiastic crowd, don’t hesitate to size up beyond the minimum recommendations.
Ensure your selected dimensions fit within your backyard space while allowing safe passage around all sides for servers, your DJ, and mingling guests. Position entertainment at one end of the floor to enhance visibility and encourage more participation.
Create a Level Foundation Before Installation
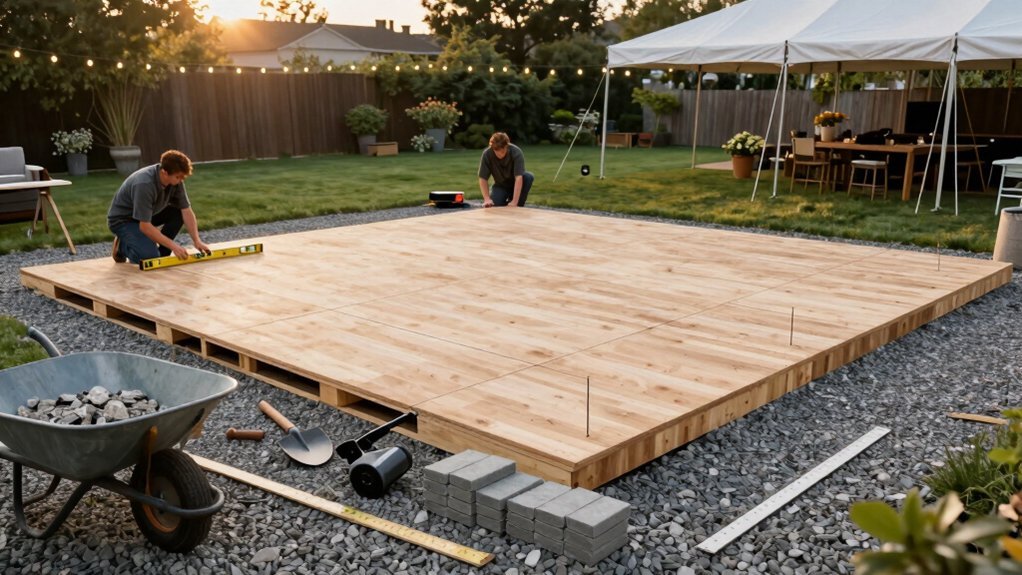
Why risk a wobbly dance floor when your wedding celebration depends on solid footing? Outdoor surfaces present natural challenges that can compromise your dance floor’s stability and safety.
Before assembly, take time to thoroughly inspect and level your chosen area. Grass, asphalt, and packed dirt can all serve as viable foundations, but only if you prepare them properly. Remove any rocks, fill in small depressions, and use a rake to smooth the surface.
Consider investing in a subfloor system for significantly uneven terrain. This additional layer creates a uniform base that prevents tiles from shifting during enthusiastic dancing. The extra effort in foundation preparation pays off by eliminating wobbling, reducing tripping hazards, and ensuring guests can focus on celebrating rather than watching their step.
Choose Weather-Resistant Materials for Outdoor Use
When planning an outdoor celebration, your dance floor materials must stand up to Mother Nature’s unpredictability. Opt for aluminum-framed portable floors, sealed weather-resistant plywood, or high-grade vinyl tiles specifically designed for outdoor environments.
Don’t overlook safety features—select surfaces with slip-resistant textures and beveled edges to prevent guests from tripping, especially if rain is possible. Seal all edges and seams with weatherproof caulk or specialized tape to block moisture intrusion.
For subflooring, lay a tarp over leveled ground, then add a plastic membrane or foam underlayment before installing your dance floor. This creates a protective barrier against ground moisture.
Finally, verify all materials are UV-treated to prevent sun damage, ensuring your dance floor maintains its appearance throughout your special day.
Install Proper Drainage to Prevent Water Damage
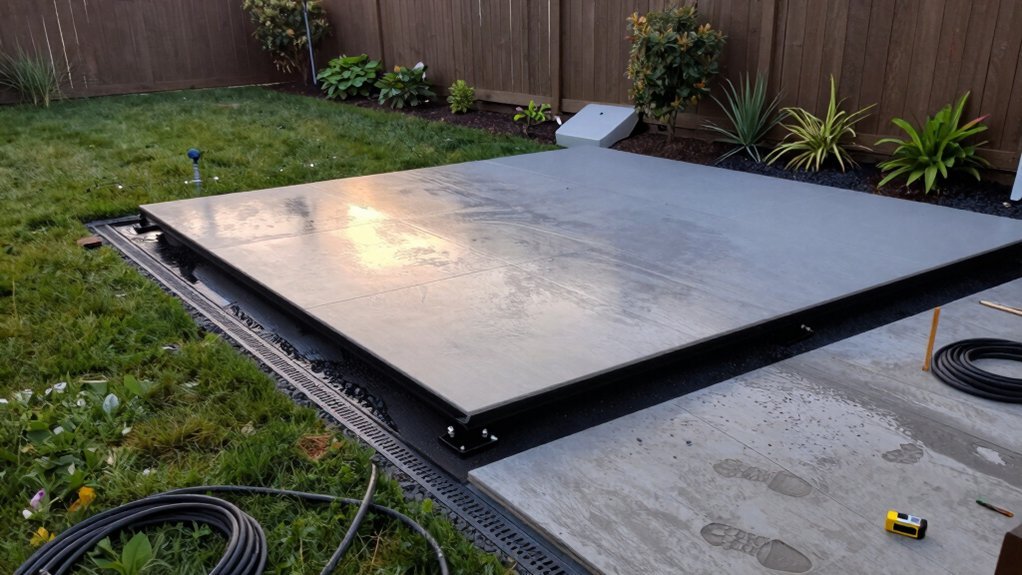
Proper drainage stands as the unsung hero of any successful backyard wedding dance floor installation. You’ll need to create a slight 1-2% grade sloping away from the floor’s center to direct water runoff and prevent potentially dangerous puddles.
Start by evaluating your yard for any depressions or low spots where water might collect. Fill these areas to establish a level foundation. For added protection, place your dance floor on raised platforms like plywood sheets or pallets positioned over waterproof tarps.
Consider installing a perimeter barrier or using ground covers with raised edges to channel water toward designated drainage points. This thoughtful approach not only protects your wooden floor from warping but also ensures your guests won’t slip on unexpected wet spots during the celebration.
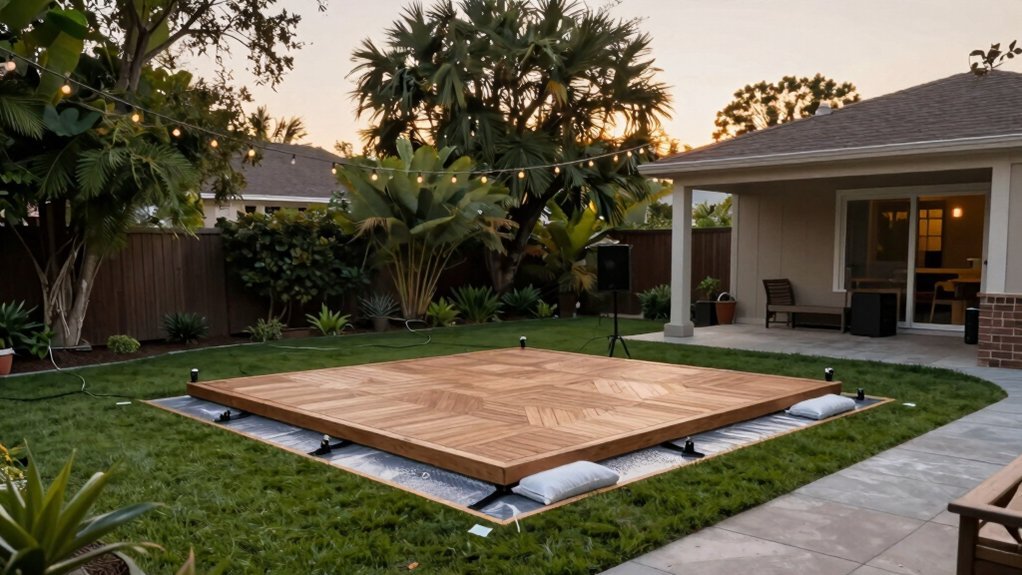
Secure Edges and Corners to Eliminate Tripping Hazards
Safety at the dance floor’s perimeter can make the difference between carefree celebration and wedding day mishaps. Your outdoor dance floor needs special attention where tiles meet, especially on uneven ground. Secure these transition points with beveled or taped seams, and weigh down loose edges with pavers or sandbags to maintain a smooth surface across the entire area.
- Create worry-free movement by using sturdy border plans like ribbons, ropes, or lighting to clearly define the dance area
- Protect your guests’ elegant attire by covering plywood edges with protective edging to prevent snagging
- Ensure uninterrupted dancing joy with regular checks for lifting edges throughout your event
- Preserve precious moments by immediately resecuring any shifting sections to maintain a continuous, safe surface
Add Strategic Lighting Around the Dance Area
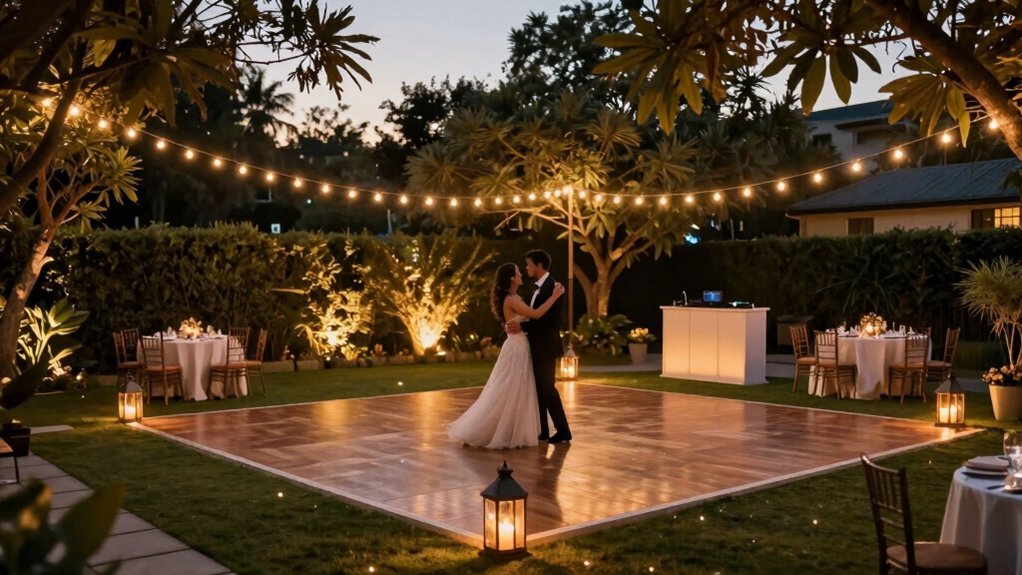
Why settle for a beautiful dance floor that disappears after sunset? Define your dance space by outlining the perimeter with weatherproof LED strip lights or rope lighting. These create a glowing boundary that guides dancers and adds ambiance to your outdoor celebration.
Install lights at ground level along borders to minimize tripping hazards while maximizing floor visibility. Choose LEDs rated for outdoor use—they’re cooler, safer, and won’t damage your grass or turf. Coordinate lighting with your wedding theme: warm whites for romance or colored accents for festive vibes.
Develop a power plan with protected outlets for wired options, or consider battery-powered lighting for remote locations. This eliminates dangerous extension cords and ensures your dance floor remains safely illuminated throughout the evening festivities.
Incorporate Simple DIY Design Elements
Who says you need to spend thousands on a professional dance floor when creativity and basic materials can transform your backyard? With a few simple design elements, you’ll create a memorable space where guests can dance the night away without breaking your budget.
- Create visual impact by painting a checkerboard pattern on plywood frames or outlining your dance area with string lights – these boundaries not only look beautiful in photos but provide safety cues for guests.
- Use interlocking foam mats beneath a fabric covering for a cushioned, level surface that’s comfortable for hours of dancing.
- Incorporate Ikea backyard tiles for an easy-to-assemble floor that can be repurposed after the wedding.
- Add weighted edges using decorative pavers or brick borders that prevent movement while enhancing your overall aesthetic.
Test Weight Capacity Before the Big Day
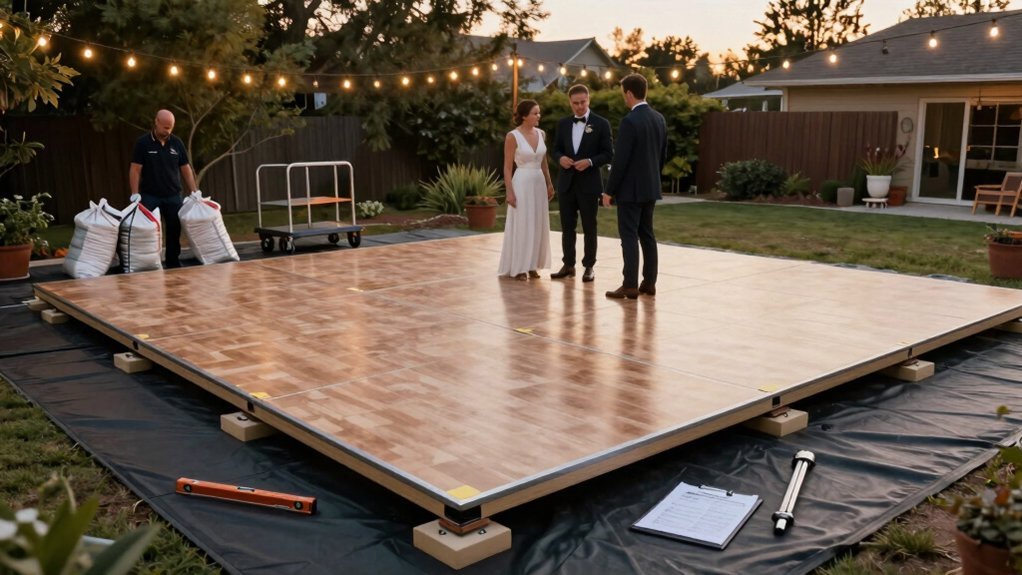
While DIY design elements give your dance floor personality, your next priority is guaranteeing it can handle the celebration ahead. Test your floor by placing an object equivalent to your heaviest guest plus equipment at multiple points to check for flexing or failure.
For modular tiles or plywood sections, conduct a load test with weight evenly distributed across each panel’s center. Watch carefully for any deflection or movement after applying weight, and verify all edges and joints remain secure without separation.
Compare your floor system’s maximum allowable load per square foot with your expected guest load. If you add any temporary elements like rugs or tarps, re-test to confirm the floor still meets weight requirements. This thorough testing ensures your dance floor remains safe throughout the celebration.
Plan for Quick Disassembly and Storage
When the last dance concludes and guests depart, you’ll need an efficient exit strategy for your dance floor. Choose modular, interlocking tiles or a plywood base that can be quickly disassembled and stacked. Color-coordinate edges and label sections during setup to ensure pieces return to their proper place later.
- Prepare with purpose – Keep a simple inventory checklist and photograph each section before disassembly to streamline future reassembly
- Secure as you go – Tie down or tape edges during teardown to prevent loose tiles from shifting
- Protect your investment – Wrap grouped tiles in tarps or store in rental crates
- Work smarter, not harder – Prioritize tool-free connections and lightweight components to minimize labor time
Frequently Asked Questions
How to Set up a Dance Floor on Grass?
Clear and level the grass area, then lay interlocking tiles or plywood over a tarp. Secure edges with stakes or weights. Mark borders with lights for visibility and safety.
How Thick Should Plywood Be for a Dance Floor?
Use at least 3/4 inch thick plywood for your dance floor. If you’re expecting heavy foot traffic or plan to reuse it, consider upgrading to 1 inch for better durability.
Can You Put a Dance Floor on Gravel?
Yes, you can put a dance floor on gravel by first laying a tarp, then adding plywood panels for stability. Top with interlocking floor tiles and secure the edges to prevent shifting.
How Big Should an Outdoor Dance Floor Be?
For 100 guests, aim for a 12×16 foot dance floor (192 square feet). You’ll need about 4.5 square feet per person, allowing 40-50% of your guests to dance comfortably at once.

Leave a Reply