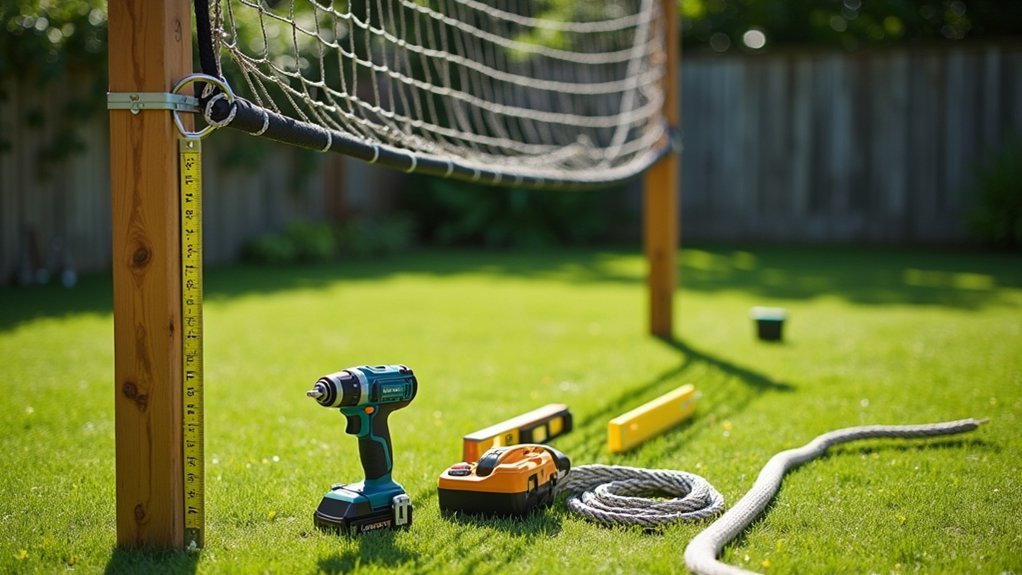
You’ll need EMT conduit poles, a 32-foot net with flag clips, portable battery pack, ground stakes, and a level area with 3 feet of clearance. Mark your court dimensions (60’x30′), dig post holes, and ensure posts are plumb. Thread the net through poles, tighten with the winch mechanism, and secure all straps. Don’t forget to mark boundaries with chalk or tape. The following steps will transform your yard into a volleyball paradise.
Essential Equipment and Materials Checklist
Preparation is key to a successful volleyball net installation. You’ll need EMT conduit poles, which offer an ideal balance of durability and affordability for your DIY setup. The included 32-foot illuminated volleyball net comes with flag clips designed specifically to attach the netting securely to your poles.
For power, you’ll use the portable battery pack that eliminates cumbersome extension cords. Don’t forget the ground stakes that stabilize your installation along the entire length of the net—crucial for outdoor setups.
The wireless remote control lets you easily manage the LED features, while the motion-activated system conserves battery life when the court isn’t in use. Gather these materials before starting to ensure a smooth, uninterrupted installation process.
Selecting the Perfect Location for Your Net
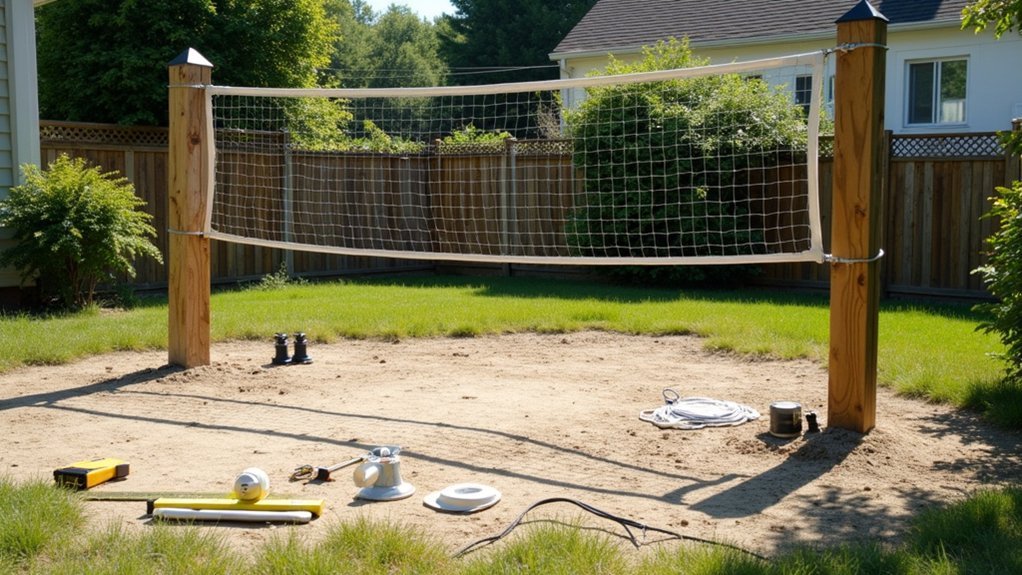
Finding the ideal spot for your volleyball net is perhaps the most critical decision you’ll make during installation. Choose a level, open area with at least 3 feet of clearance on all sides to accommodate diving players and prevent injuries.
For outdoor setups, measure a 32-foot court length to ensure proper net tension. Mark two spots evenly apart to center your net and create proper alignment for the posts. This ensures your net will hang straight and level.
Before installation, clear all debris and confirm the soil is firm enough to support your posts. Use concrete or ground anchors in softer soil to prevent shifting. If you’ll be playing into the evening, consider positioning your court to maximize natural light and minimize sun glare for players.
Measuring and Marking Your Volleyball Court
You’ll need to measure your court according to regulation dimensions, with 60 feet in length and 30 feet in width for proper gameplay.
Finding the perfect spot means seeking level ground and ensuring adequate space around all sides for player movement and safety.
Mark your court boundaries clearly using stakes and string or spray chalk, ensuring the net line is precisely centered and perpendicular to the sidelines.
Court Size Fundamentals
When planning your backyard volleyball court, accurate measurements create the foundation for enjoyable gameplay. Standard indoor volleyball courts measure 18 meters (59 feet) long by 9 meters (29.5 feet) wide, though outdoor setups often use dimensions closer to 60 by 30 feet to accommodate sand areas.
Your court should be divided by a center line creating two equal 9×9 meter squares (or 29.5×29.5 feet) for each team’s side. Place net posts along the sidelines at the midpoint of the court. For portable setups, measure pole-to-pole to ensure a 32-foot (9.75 meters) span.
Don’t forget to clearly mark boundary lines and leave 1–2 meters (3–6 feet) of clear space around the perimeter to prevent injuries during play.
Finding Perfect Spot
Now that you understand court dimensions, let’s identify the ideal location for your volleyball setup. Start by measuring your available space and determining where the center line will run. Mark pole locations at each end, ensuring they’re perfectly aligned for proper net tension.
| Area Consideration | What to Check | Why It Matters |
|---|---|---|
| Surface Type | Level ground | Prevents falls |
| Obstructions | Tree branches | Gameplay safety |
| Sun Position | East-west orientation | Prevents glare |
| Clearance Zone | 5+ feet beyond lines | Player movement |
| Ground Condition | Free of rocks/debris | Stable footing |
When placing your court, clear all debris from pole sites and verify the ground is level at both ends. For field installations, aim for the standard 60′ × 30′ dimensions, adjusting as needed for your space while maintaining equal side lengths.
Marking Court Boundaries
Marking perfect court boundaries assures fair play and proper game flow for your backyard volleyball setup. Start by measuring a 30 by 60 feet rectangle for standard play, with the net positioned centrally along the 30-foot width.
For proper alignment, measure exactly 3 meters (9 feet 10 inches) from each side of the net to create your attack lines. Use chalk or tape to create clear, parallel boundary lines with right-angled corners.
If you’re setting up on sand, extend your markings slightly to account for potential drifting. Always verify measurements on both sides of the net to ensure equal court dimensions, giving players the proper spacing they need.
Double-check all measurements before finalizing your court to guarantee regulation play in your backyard.
Preparing the Ground for Post Installation
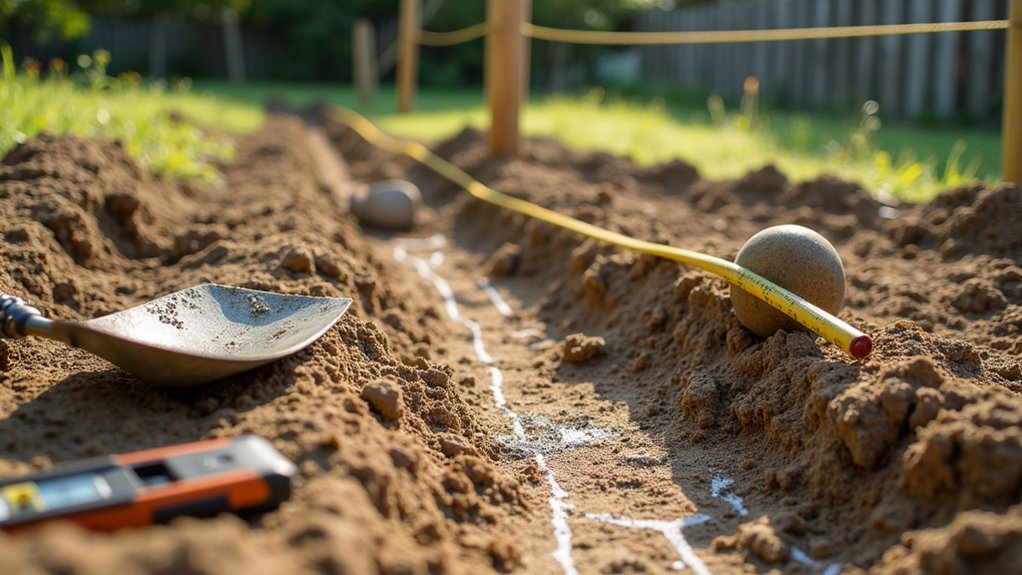
You’ll need to precisely mark your court dimensions before installing the volleyball posts to ensure proper gameplay. Remove any rocks, roots, or uneven spots in your installation area to create a level playing surface. Measuring from a consistent reference point, like a fence or patio edge, will help you maintain symmetrical court boundaries and post placement.
Measuring Court Dimensions
Before digging any holes for your volleyball posts, proper court measurement ensures your net will hang correctly and provide fair gameplay. Start by measuring your centerline, positioning posts to accommodate a net width of 30-32 feet, depending on your specific net’s requirements.
Place ground stakes 8-10 feet apart along your intended court length, aligning them with the net’s tension points. For sand pits or field layouts, aim for a balanced court space of approximately 60 feet by 30 feet.
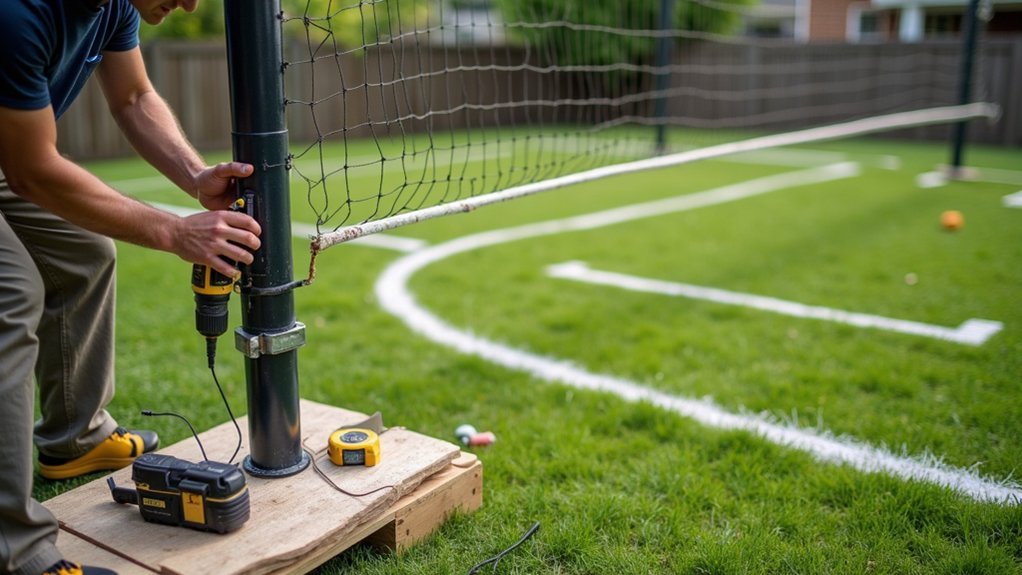
Clear a 2-3 foot corridor around each planned post hole, removing debris, stones, and vegetation that could interfere with proper footing. Use measuring tape and marking stakes to confirm your posts will be plumb and level, always referring to your product’s exact post spacing specifications.
Ensuring Level Ground
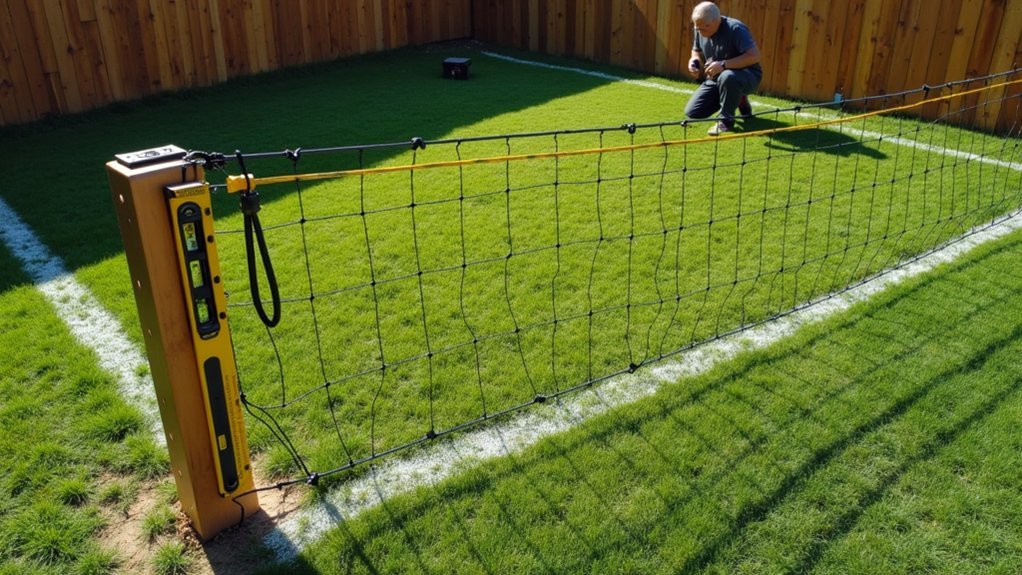
Properly leveled ground serves as the foundation for a successful volleyball net installation. Begin by clearing your installation area of all debris, rocks, and organic matter that could compromise stability. Examine the surface for any slopes or depressions that need correction before marking your post locations.
For each post hole, thoroughly remove roots, rocks, and loose soil to prevent future settling or tilting. Create a firm, compacted base of gravel or packed soil at the bottom of each hole to provide solid support when you tension the net.
Use a string line or laser level between your planned post locations to verify both vertical plumb and horizontal levelness. This precision ensures your net will hang evenly across the court, maintaining the correct height throughout play regardless of whether you’ve chosen the standard 60-foot court length or followed your kit’s specific dimensions.
Setting Up Stable Net Posts and Anchors
Why do so many backyard volleyball setups fail? Often, it’s unstable posts that lean, sink, or collapse during play. To avoid this frustration, start by removing floor plates with an Allen wrench to access mounting holes and clear away debris that could prevent secure pole placement.
Once holes are ready, insert each upright pole and lower until self-supporting. If poles don’t stand straight, check for and remove any obstructions. Twist the pole bottoms to adjust height, ensuring both are set uniformly to the required measurement.
Secure the net by tying it to each post hook, threading rope through the winch strap, and tightening until taut and level. Attach any additional straps, tuck away excess rope to prevent tripping hazards, and verify all connections are tight with no dangerous protrusions.
Attaching and Tensioning the Volleyball Net
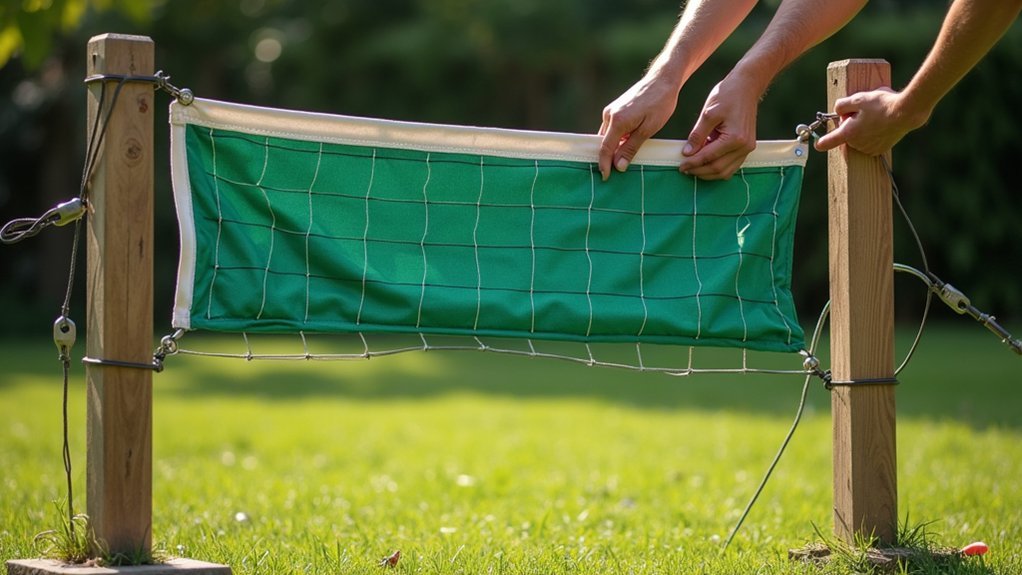
With your posts firmly anchored, it’s time to focus on the net itself – the centerpiece of your volleyball court. Secure each side of the net to the post hooks, ensuring stable attachment. Before tightening, thread the rope through the winch strap on each pole.
Operate the winch mechanism until you’ve achieved your desired height. The net should remain taut and even between both poles – sagging will interfere with gameplay. For additional tension, attach and tighten the middle and bottom straps to their respective hooks.
Finally, tie off any excess rope and secure it to the end posts. This prevents tripping hazards and maintains a clean, safe playing surface. Your properly tensioned net will provide consistent ball response and make your DIY court feel professional.
Height Adjustment for Different Player Groups
Setting the perfect net height is essential for enjoyable volleyball play, especially when your court will host players of different ages and skill levels. Use adjustable-height poles that accommodate children, teens, and adults with proper net attachment points.
Begin by setting both poles to the same initial height. Fine-tune using the bottom feet twist mechanism or built-in height adjusters to ensure even tension across the net. Measure the center height and compare it to regulation standards for your specific player group—lower for youth leagues and higher for adult competition.
After setup, recheck your measurements once play begins, as activity and net sag can affect alignment. Make quick adjustments by repositioning poles or retightening the winch until you achieve the proper center height for your players.
Adding Boundary Lines to Complete Your Court
Once your net stands tall and properly tensioned, it’s time to define the playing area with clear boundary lines. For a regulation court, mark boundaries 9 meters wide by 18 meters long, or scale down to fit your available space.
Setting up precise boundaries transforms your space into an official court, whether full-sized or adapted for backyard play.
Choose boundary materials that contrast with your playing surface. For grass or dirt, start with marking chalk to outline the court, then reinforce with non-slip tape or weatherproof paint. On hard surfaces, apply tape directly, ensuring it’s designed for outdoor use.
Don’t forget to mark the attack lines (3 meters from the center line) if you’ll be playing competitively. Leave adequate space between boundaries and obstacles for safe play.
Check your lines regularly, especially after rain or heavy use, and reapply as needed to maintain visibility.
Maintenance Tips to Extend Your Net’s Lifespan
A well-maintained volleyball net can last for many seasons, saving you time and money on replacements. Before each use, take a moment to inspect all net attachments, hooks, and winch connections for wear or looseness.
Keep your net at regulation height by regularly tightening the winch and checking pole measurements. Clean debris from pole holes and bases to prevent wobbling and ensure smooth adjustments when changing heights.
After play, properly store your net by detaching it and securing any loose ropes to eliminate tripping hazards. Don’t ignore frayed ropes or worn straps—replace them promptly to maintain proper tension during games.
These simple maintenance habits will protect your investment and ensure your volleyball court remains safe and playable throughout the year.
Frequently Asked Questions
How to Set up a Volleyball Net Outside DIY?
Plant your poles vertically in ground holes. Thread net rope through winch straps and tighten. Attach net to post hooks on both sides. Adjust for proper height and tension. Secure loose straps.
How to Properly Hang a Volleyball Net?
Tie each net side to post hooks, thread rope through winch straps, and tighten until taut. Attach antennas at the top and ensure the net’s level by adjusting pole height as needed.
How to Tie Volleyball Net to Pole DIY?
Loop the net cord around pole hooks, tie secure knots at the edges, then use the winch mechanism to tighten. Add extra straps at top and bottom for even tension.
How Much Does It Cost to Build a Volleyball Court in Your Backyard?
You’ll spend between $1,000-$3,000 for a backyard volleyball court. If you’re crafty with DIY conduit poles, you’ll save 20-50% compared to store-bought systems.

Leave a Reply