For maximum efficiency, place heaters directly facing seating areas while avoiding heating empty spaces. Position units to counteract prevailing winds and create overlapping heat patterns in larger spaces. Maintain proper clearances (3 feet around electric heaters) and avoid blocking airflow with furniture. Mount units under eaves or awnings to protect from precipitation. Create heat zones by positioning multiple heaters around the perimeter with synchronized controls. The right strategic placement can dramatically reduce your heating costs while improving comfort.
Why Proper Outdoor Heater Placement Matters
How you position your outdoor heaters can make the difference between a cozy gathering space and wasted energy. Proper placement ensures heat targets where your guests actually sit rather than warming empty air or escaping to the atmosphere.
You’ll want to mount heaters facing common gathering zones to maximize perceived warmth where people congregate. Creating a circulating heat pattern is crucial – position units to counteract prevailing winds and drafts for optimal coverage.
Safety matters too. Keep heaters away from combustible materials and maintain proper clearances from walls and overhangs to prevent damage or hazards.
Avoid positioning behind furniture or in alcoves where airflow gets restricted. This diminishes efficiency and creates cold spots in your outdoor space. Strategic placement creates comfortable, energy-efficient outdoor environments your guests will appreciate.
Assessing Your Outdoor Space Before Installation
Before installing any outdoor heater system, take time to thoroughly assess your space’s unique characteristics. Evaluate wind exposure by noting prevailing directions and identifying natural windbreaks like walls or dense shrubs that can help retain heat.
Measure your intended heating area and calculate the BTU requirements needed to adequately warm the space. Don’t forget to account for obstacles that might block heat distribution.
| Factor | What to Check | Why It Matters |
|---|---|---|
| Wind Patterns | Direction, intensity | Prevents heat loss |
| Square Footage | Actual usable space | Determines BTU needs |
| Obstructions | Furniture, structures | Affects heat distribution |
Finally, verify you have proper electrical access with weatherproof connections, ensuring your heater placement targets seating areas while avoiding heating empty spaces.
Strategic Positioning for Patios and Decks
When it comes to outdoor living spaces, strategic heater positioning can make the difference between a comfortable gathering and a chilly disappointment. Position your heaters to face seating areas while avoiding windy gaps that cause heat loss. Target common gathering zones like dining areas or seating clusters for efficient zone heating.
Install electric infrared or gas heaters with adequate clearance from walls, railings, and overhangs to prevent fire hazards. Keep units away from high-traffic walkways to avoid obstruction while still delivering direct warmth to your guests.
For larger patios, don’t rely on a single unit. Instead, place multiple heaters at strategic corners or along rails to create even heat distribution and eliminate cold spots that might drive guests indoors.
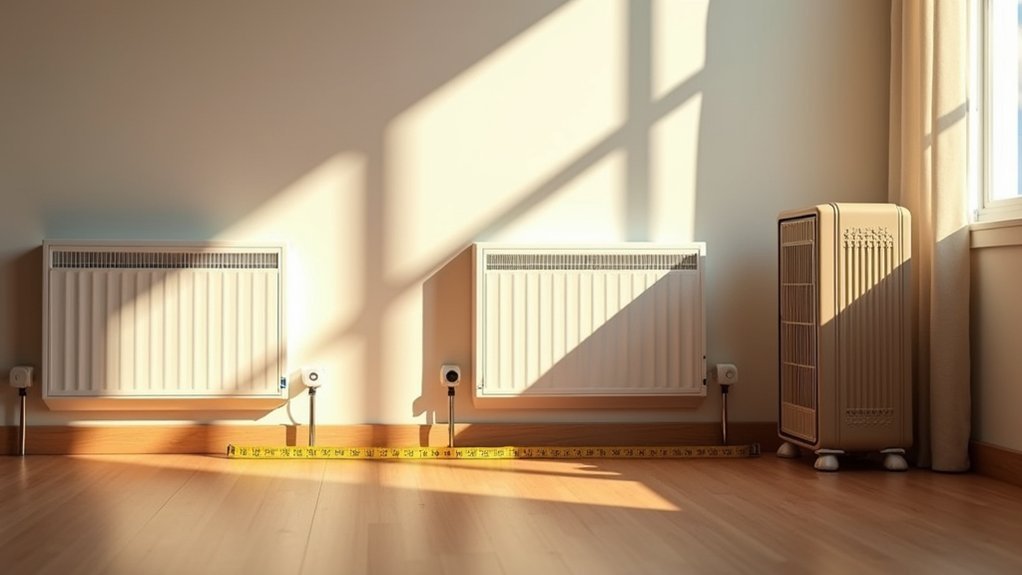
Distance Requirements From Structures and Furniture
You’ll need to maintain specific clearance zones around your heaters—91 cm in front of fan heaters, 15 cm to the sides, and 30 cm above for proper airflow and safety.
Furniture placement should never block vents or obstruct the heat path, as this substantially reduces efficiency and creates potential fire hazards.
Arrange your living space so that warm air can circulate freely, ensuring that doors won’t swing into heaters and that drapes remain at a safe distance.
Clearance Zones Matter
Proper spacing around your heater isn’t just a safety recommendation—it’s essential for maximum heating efficiency. For fan heaters, maintain 36 inches of clearance in front to ensure unobstructed heat flow into your room. Don’t forget to keep at least 6 inches of space on the sides and 12 inches above to prevent overheating.
Baseboard heaters require different considerations. You’ll need 12 inches of clearance in front for effective heat distribution throughout your space. Similar to fan heaters, keep 6 inches clear on the sides and 12 inches above.
These clearance zones prevent your heater from working harder than necessary while reducing fire risks. When you position furniture or hang curtains too close, you’re not just blocking warmth—you’re forcing your heater to consume more energy for less comfort.
Furniture Flow Considerations
How you arrange furniture around your heating units dramatically impacts their performance. To maximize efficiency, maintain at least 3 feet of clearance around all heaters to ensure proper heat circulation and prevent safety hazards.
Never place furniture or drapes directly in front of heating units, as these obstacles block airflow and increase fire risks. Baseboard heaters work best when positioned along exterior walls with 12 inches of clearance above and on each side.
For fan heaters, allow 36 inches in front and 6 inches on the sides to ensure proper air output. Avoid placing any heating unit in doorways or high-traffic areas, as this disrupts heat distribution and creates unwanted draft mixing that reduces efficiency.
Wind Direction Considerations for Optimal Heat Distribution
Understanding the natural airflow in your garage is essential to maximizing your heater’s effectiveness. You’ll want to position your heater where it works with existing drafts rather than fighting against them, especially near entry points or vents where air currents naturally flow. When planning your heating setup, consider how cross-ventilation patterns affect warm air distribution and use these patterns strategically to push heat toward colder areas of your space.
Drafts Impact Heating Patterns
Why do some rooms feel perpetually cold despite your heater running at full blast? The answer often lies in invisible air currents. Drafts from doors and windows create cold influxes that push warm air away from where you need it most.
To combat this, you’ll need strategic placement. Position your heater near entry points or opposite the main cold source to intercept drafts before they dominate your space.
| Draft Source | Impact | Solution |
|---|---|---|
| Windows | Chilling perimeter | Mount heater below window |
| Doorways | Cold floor patches | Place unit opposite door |
| Garage doors | Massive heat loss | Position heater on far wall |
For maximum efficiency in drafty areas, create a circulating pattern with multiple units. This approach offsets directional drafts and maintains more uniform temperatures throughout your space.
Cross-Ventilation Heat Strategy
Cross-ventilation doesn’t just keep your home fresh—it can make your heating system work smarter, not harder. Position your heaters strategically to create a circulating loop: place one unit near an exterior wall or window to draw in cooler air, with another unit opposite to push warm air toward the center of the room.
Align your heaters with the room’s natural airflow patterns. You’ll want warm air traveling across the space rather than getting trapped in corners. For areas with vents or doorways, position heaters diagonally from these openings to prevent heat loss.
Create heat corridors by installing multiple units on opposite sides of the room, ensuring furniture doesn’t block their output. In cross-ventilated spaces, direct heat toward cold spots like doorways and windows to neutralize drafts and stabilize temperatures faster.
Mounting vs. Freestanding Units: Location Differences
When choosing between mounted and freestanding heaters for your workshop, placement becomes a critical factor in both efficiency and usability. Ceiling or high wall-mounted units free up valuable floor space while directing heat strategically throughout your workspace. You’ll want to install these several feet away from combustibles and doorways to maintain safety and proper airflow.
Ceiling mounts particularly excel in large garages, providing even heat distribution that aligns with your room’s layout and minimizes cold spots.
While freestanding units offer flexibility for targeted heating, they can obstruct workspaces and pathways, requiring thoughtful positioning.
For maximum efficiency, place either heater type near high-traffic zones or doorways to counter drafts while leveraging existing air currents. Just ensure you’re never blocking exit routes.
Creating Heat Zones in Larger Outdoor Areas
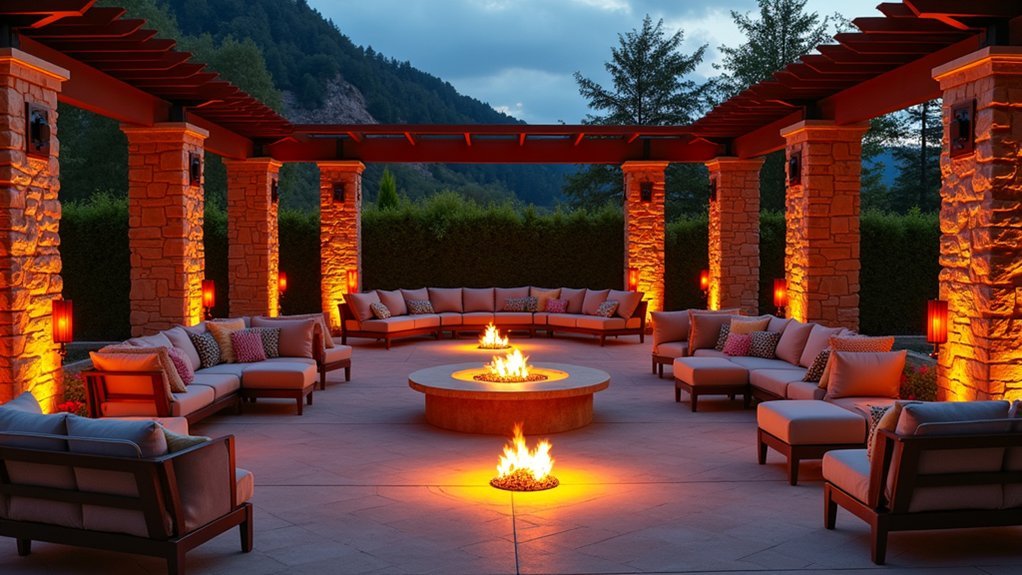
Creating effective heat zones in larger outdoor areas requires you to position multiple heaters strategically around the perimeter with overlapping coverage.
You’ll maximize comfort by directing heaters toward seating areas while accounting for prevailing wind patterns that could compromise warmth.
Consider installing windbreaks or barriers near your heater setup to protect against gusts that rapidly dissipate heat and reduce your system’s efficiency.
Strategic Heater Positioning
Designing effective heat zones in expansive outdoor areas requires strategic heater placement to ensure comfort throughout the space. You’ll want to install multiple heaters at different corners to create overlapping warmth and eliminate cold spots.
| Placement Strategy | Benefit |
|---|---|
| Near seating areas | Maximizes perceived comfort |
| Parallel to exterior walls | Leverages natural air currents |
| Clear of furniture | Prevents obstruction of heat flow |
| High wall/ceiling mounts | Promotes even heat circulation |
| Multiple corner units | Creates overlapping heat zones |
Position your heaters near active areas where people gather most frequently. When you align units parallel to doorways, you’ll push warm air toward naturally cooler zones. Remember to maintain clear sightlines to heating elements and consider mounting units at higher elevations to improve distribution while reducing heat escape.
Overlapping Heat Coverage
Larger outdoor spaces demand thoughtful integration of multiple heating sources to achieve comfortable temperatures throughout the entire area. By creating overlapping heat zones, you’ll eliminate cold spots and maintain consistent warmth for your guests.
- Position units strategically at corners where their radiant patterns converge toward activity centers
- Arrange heaters around the perimeter to cover both edges and central areas
- Create a circulatory pattern that minimizes heat loss near doorways and openings
- Aim units directly at seating or work areas to maximize perceived warmth
- Synchronize multiple units with programmable controls to adjust for changing conditions
When properly positioned, your heaters will work together as a system rather than as individual units, providing uniform warmth across the entire space without wasting energy on unoccupied areas.
Wind Protection Methods
Why do even powerful outdoor heaters sometimes fail to deliver comfort? The culprit is usually wind, which can quickly disperse heat before it reaches you. To maximize your heater’s efficiency, create strategic windbreaks using walls, hedges, or fencing that shelter your outdoor space while directing warmth toward occupied areas.
Position heaters to face seating zones while shielding them from prevailing winds. For larger spaces, deploy multiple heaters in a staggered pattern, rotating their focus to maintain consistent warmth throughout. Never place heaters directly in wind paths; instead, angle them to direct infrared heat toward people rather than into gusts. For optimal results, install heaters behind low barriers like planters or walls—this combination of wind protection and targeted heat placement dramatically extends your heater’s effective range.
Safety Clearances for Different Heater Types
Maintaining proper clearances around your heating units isn’t just a recommendation—it’s essential for preventing fire hazards and ensuring optimal performance. Different heater styles require specific spacing to operate safely in your home.
- Electric heaters need a 3-foot (91 cm) clearance zone around them to prevent dangerous heat buildup
- Fan heaters require 36 inches in front, 6 inches to sides, and 12 inches above
- Baseboard heaters need 12 inches above and in front, with 6 inches to sides
- Never place heaters directly under or above electrical outlets, and ensure outlets aren’t blocked
- Keep heaters away from doorways and high-traffic areas to prevent tipping hazards
Always consult your specific heater’s owner guide for exact clearance requirements that might differ from these general guidelines.
Overhead Placement Tips for Maximum Coverage
When it comes to mounting heaters overhead, strategic positioning makes all the difference in heating efficiency. Mount your heater to capitalize on heat’s natural tendency to rise, aiming it toward the far end of your space for broader coverage.
For ceiling installations, align units parallel to joists to ensure even heat distribution and prevent annoying dead zones. Position heaters directly above workbenches or high-traffic areas where you’ll spend most of your time.
Keep the area beneath your heater free from obstructions—shelves or tall equipment can block infrared heat from reaching its targets effectively. For garages, place your unit opposite the door to counteract heat loss whenever it opens, maintaining more stable temperatures throughout your space.
Combining Multiple Heaters for Complete Warmth
When combining multiple heaters in your garage, create strategic warm zones by placing units in opposite corners with approximately 15-20 feet between them. You’ll want to establish a tactical heating pattern where units complement rather than compete with each other, ensuring their coverage areas overlap just enough to eliminate cold spots.
For optimal results, position your primary heater near the most vulnerable area (typically the garage door) and your secondary unit near your main work area, creating a comprehensive warmth circuit throughout the space.
Tactical Zoning Methods
How effectively you distribute multiple heaters throughout your garage can make the difference between patchy warmth and complete comfort. Creating tactical heating zones ensures every corner of your workspace stays functional during cold months.
- Position heaters at opposite corners to create overlapping heat zones that eliminate cold spots
- Mount units parallel to ceiling joists to prevent shadowing from shelves or equipment
- Prioritize high-traffic areas like workbenches and seating zones for targeted warmth
- Arrange heaters to avoid conflicting with doorways or creating disruptive drafts
- Combine ceiling-mounted and wall-mounted units to establish balanced coverage across both open areas and dedicated work zones
This strategic approach transforms your garage from a patchwork of hot and cold areas into a thoroughly comfortable environment where you can work year-round.
Distance Between Units
Properly spacing your garage heaters creates a thermal blanket that eliminates frigid zones and maintains consistent temperatures throughout the space. When using multiple units, aim for overlapping heat patterns by positioning them at opposite corners or ends of your garage. This strategic placement creates circulation that pushes warm air toward doorways and work areas.
For optimal coverage in larger garages, distribute 2-4 heaters so each addresses a specific zone—your workbench, vehicle bay, and storage areas all receive direct warmth. Mount ceiling or wall heaters so their outputs converge toward far walls and central aisles, maximizing their effective range without blocking airflow. Position units to work with natural air currents near doors or vents, maintaining proper clearances to support cross-ventilation throughout your workspace.
Seasonal Adjustments to Heater Placement
Why should you reconsider your heater placement as seasons change? As temperatures fluctuate, your heating needs evolve, requiring strategic repositioning to maintain comfort and efficiency throughout your space.
- In winter, target cold drafts by positioning heaters near windows and entryways where cold air infiltrates
- When rearranging furniture or adding room partitions, reassess your heating zones to ensure even warmth distribution
- For larger areas, deploy multiple units in different corners as temperatures drop to eliminate cold spots
- Relocate heaters away from high-traffic areas and closer to workstations or seating where people spend the most time
- Before major seasonal transitions, verify all safety clearances and check that outlet connections and mounting heights remain compliant
Weather-Protected Positioning for Longevity
Weather-protected positioning extends your heater’s lifespan and maintains its best performance through seasonal challenges. Install your heaters in locations shielded from direct precipitation, and position outdoor units beneath eaves or awnings that protect both the heater and its electrical connections.
For areas prone to moisture, mount your heaters at elevated heights to avoid splashing and water intrusion, particularly near entryways where water accumulates.
In naturally humid spaces like bathrooms or laundry rooms, invest in sealed or moisture-rated models specifically designed for these environments.
Don’t overlook your electrical connections—ensure all outlets serving your heaters have weatherproof covers and protection against humidity. These simple positioning strategies prevent corrosion and electrical faults while preserving optimal airflow and efficiency throughout your heating system’s operational life.
Maximizing Fuel Efficiency Through Smart Placement
How you position your heater directly impacts its fuel consumption and heating effectiveness. Strategic placement helps you save on energy costs while maintaining comfortable temperatures in your garage workspace.
- Place heaters near exterior walls or doorways to capture natural drafts that push warm air toward the center
- Mount units on high walls or ceilings to maximize floor space and direct heat along open pathways
- Install multiple heaters in large garages to create balanced circulation and eliminate cold spots
- Position units opposite the garage door to counteract cold air infiltration and maintain warmer zones
- Ensure clear airflow paths without furniture or storage blocking heat distribution
Heat Reflection Techniques for Enhanced Performance
Beyond strategic placement, you can dramatically boost your heater’s performance through smart reflection techniques. Position your heater to direct infrared output toward walls that absorb and radiate warmth, increasing room temperature without overheating the air.
For even distribution, arrange heaters to bounce heat off opposite walls, creating circulation patterns throughout your garage. If you’re using ceiling or high-wall mounts, angle them to reflect heat off the ceiling, minimizing cold spots near your workstations.
Don’t face heaters toward open spaces or large windows where reflected heat can escape. Instead, ensure your reflection strategy maintains proper clearances while directing warmth to seating and activity zones. These techniques will help you maintain consistent comfort while maximizing your heater’s efficiency.
Frequently Asked Questions
Where Is the Most Efficient Place to Put a Space Heater?
Place your space heater near drafty areas like windows or entryways. Mount wall units high for better heat distribution. Keep 3 feet of clearance and don’t block airflow.
Is It Cheaper to Leave Heating on 18 Degrees?
It’s cheaper to maintain 18°C in well-insulated spaces, as you’ll avoid inefficient reheating cycles. With poor insulation, you’ll save more by heating only when needed or using programmable settings.
Which Is the Position for the Maximum Output of the Heater?
Mount your heater on the ceiling or high wall opposite to your garage door. Position it above workbenches or key areas you use most, ensuring it’s parallel to ceiling joists.
Is It Cheaper to Turn up the Heat or Use a Space Heater?
Space heaters are cheaper for heating small areas you’re using, while central heating is more efficient for whole-house warmth. You’ll save money by targeting only the spaces you’re actively occupying.

Leave a Reply