
A quality outdoor pool sound system requires waterproof speakers rated IP65 or higher, properly matched amplifiers, and strategic placement to deliver consistent audio across your entire pool area. You’ll want to position speakers 8–12 feet apart and angle them 30–45 degrees downward toward your main listening zones. Use marine-grade wiring with IP67-rated connectors to prevent corrosion, and always install GFCI protection on pool-area circuits. The sections below cover everything from equipment selection to seasonal maintenance.
Choosing the Right Waterproof Speakers for Your Pool Area
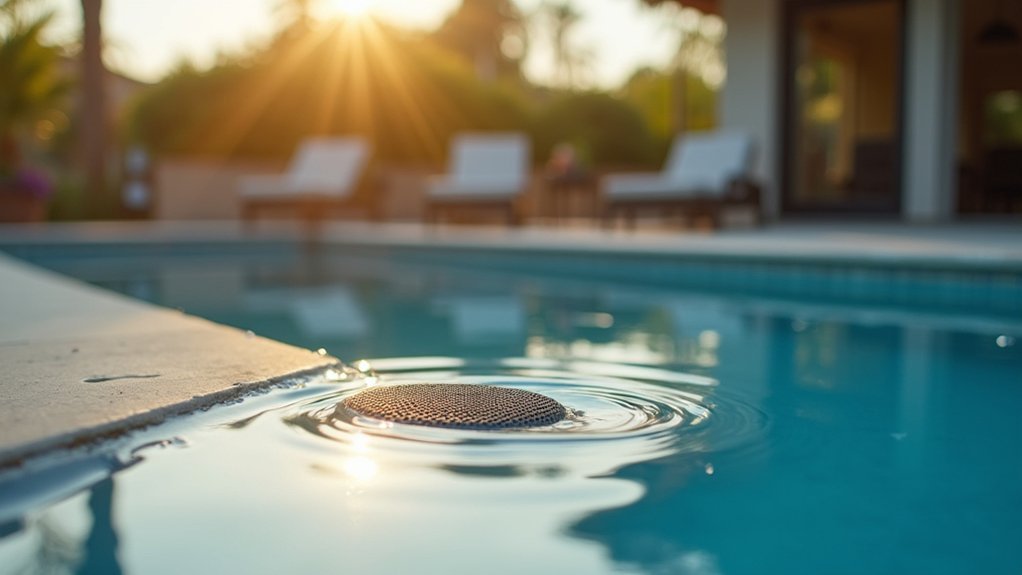
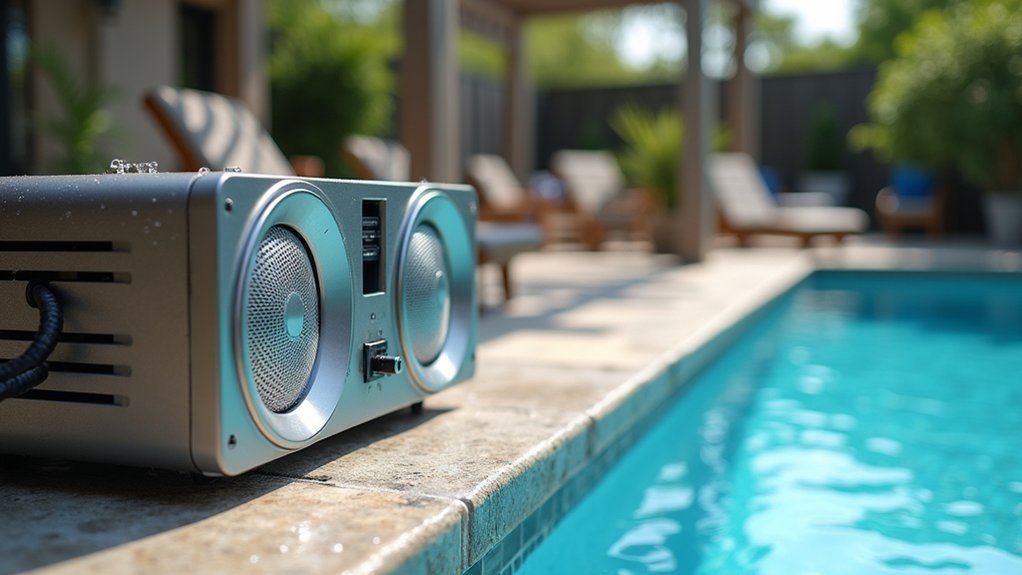
When you’re setting up a sound system near your pool, selecting the right waterproof speakers becomes your most critical decision. Look for speakers with an IPX7 rating or higher, which means they can withstand submersion in water up to one meter deep. Marine-grade speakers designed for boats often work exceptionally well in pool environments.
Consider your pool area’s size when choosing speaker wattage. A small patio needs 50-100 watts, while larger deck areas require 150 watts or more for adequate coverage. You’ll also want to evaluate mounting options—wall-mounted, in-ground, or floating speakers each offer distinct advantages.
Don’t overlook build materials. Stainless steel hardware resists corrosion, and UV-resistant enclosures prevent sun damage. Investing in quality waterproof speakers now saves you replacement costs later.
Understanding Power Requirements and Amplifier Selection
Selecting the right waterproof speakers marks only half the battle—you’ll need sufficient power to drive them effectively in an outdoor environment. Without walls to contain sound, you’re fighting ambient noise from wind, water splashing, and neighboring properties.
Calculate your power needs by matching amplifier wattage to your speakers’ RMS ratings, not peak ratings. For pool areas, choose an amplifier delivering 20-50% more power than your speakers require. This headroom prevents distortion at higher volumes and extends equipment life.
Select outdoor-rated amplifiers with weather-resistant enclosures or install standard units in protective housings. Consider impedance matching, especially when running multiple speaker zones. A 70-volt system works well for larger installations, while standard 8-ohm setups suit smaller pools. Always use marine-grade wiring to prevent corrosion.
Planning Speaker Placement for Optimal Sound Coverage
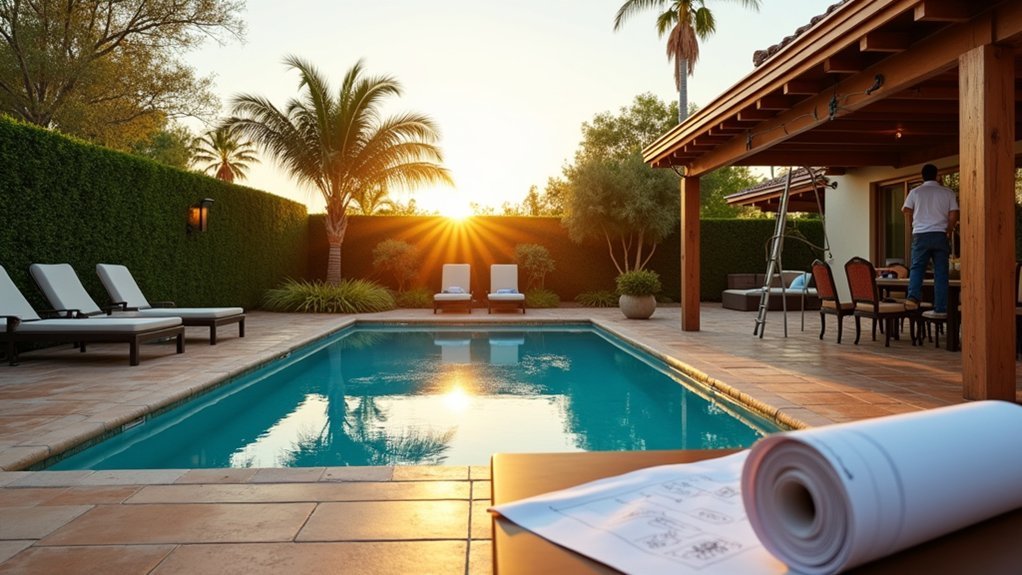
You’ll want to start by creating a detailed map of your pool area, marking all listening zones including the pool deck, lounging areas, and any covered spaces.
Consider that speakers typically perform best when positioned 8 to 12 feet apart and angled downward at approximately 30 degrees toward your primary listening areas. This strategic placement guarantees even sound distribution while minimizing audio dead spots where music becomes muddy or inaudible.
Mapping Your Pool Area
Before purchasing a single speaker, you’ll need to create a detailed map of your pool area that identifies key listening zones. Grab graph paper or use a digital tool to sketch your space accurately, including measurements.
Mark these essential elements on your map:
- Pool dimensions and shape
- Patio and deck seating areas
- Outdoor kitchen or bar locations
- Landscaping features that could block or reflect sound
- Power outlet positions
Identify where guests typically gather. These spots become your primary listening zones and deserve the strongest coverage.
Note any walls, fences, or structures that might cause sound reflection or absorption.
Your map serves as the foundation for calculating speaker quantities and optimal placement angles. Don’t skip this step—it prevents costly mistakes and guarantees even sound distribution throughout your space.
Speaker Distance and Angles
With your pool area mapped out, you can now determine the precise distances and angles that’ll deliver consistent sound to every listening zone.
Position speakers 8 to 12 feet apart for even coverage without creating dead spots. Angle each speaker downward at 30 to 45 degrees toward your primary listening areas—this directs sound where swimmers and loungers actually gather rather than dispersing it into the sky.
Mount speakers at heights between 8 and 10 feet to project sound over obstacles like furniture and landscaping. Aim them inward toward the pool’s center, creating overlapping coverage zones that maintain volume consistency as guests move around.
Calculate the throw distance each speaker needs to cover, then select models rated for that range to avoid underpowered audio at distant seating areas.
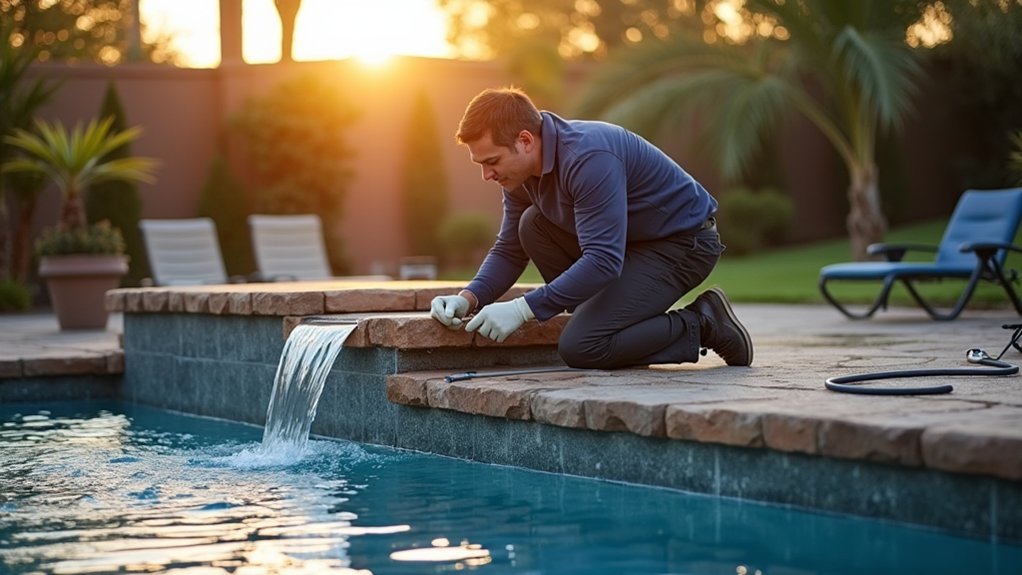
Selecting Weather-Resistant Wiring and Connections
When you’re installing a sound system near a pool, choosing the right wiring and connections can mean the difference between years of reliable performance and costly repairs within months.
You’ll want to prioritize materials specifically designed for outdoor and wet environments. Here’s what you need:
- Direct burial cable rated for underground installation without conduit
- Marine-grade speaker wire with tinned copper conductors that resist corrosion
- Waterproof connectors with IP67 or higher ratings
- UV-resistant cable jackets that won’t degrade in sunlight
- Silicone-filled wire nuts for moisture-proof splices
Don’t cut corners by using standard indoor wiring.
Chlorine, humidity, and temperature fluctuations will quickly deteriorate inferior materials. Run all cables through weatherproof conduit when above ground, and seal every connection point with waterproof tape or heat-shrink tubing.
Running Cables Safely Around Water Features
When running cables near your pool, you’ll need to choose waterproof conduit that can withstand constant moisture exposure and UV rays.
You’re required to bury cables at the proper depth—typically 18 to 24 inches depending on local codes—to protect them from accidental damage during landscaping or pool maintenance.
Always connect your audio system’s wiring to GFCI-protected circuits, which will immediately cut power if moisture compromises the cable’s integrity.
Waterproof Conduit Selection Tips
Selecting the right waterproof conduit protects your investment and keeps everyone safe around your pool’s sound system.
You’ll want to choose conduit rated for wet locations and direct burial applications.
PVC Schedule 40 conduit works well for most outdoor audio installations because it resists corrosion and moisture penetration.
Consider these essential factors when shopping:
- IP rating: Look for IP67 or higher for submersible areas
- UV resistance: Prevents cracking and brittleness from sun exposure
- Diameter: Match conduit size to your cable gauge and quantity
- Fittings: Use waterproof junction boxes and liquid-tight connectors
- Local codes: Verify compliance with NEC outdoor wiring requirements
Don’t skimp on quality here.
Cheap conduit degrades quickly in pool environments, exposing wires to moisture and creating potential hazards.
Safe Burial Depth Requirements
Once you’ve selected quality waterproof conduit, proper burial depth becomes your next priority for keeping your pool sound system safe and code-compliant.
For low-voltage speaker cables in PVC conduit, bury them at least 18 inches deep. This depth protects against accidental damage from landscaping tools and lawn equipment. If you’re running standard electrical lines to power amplifiers near the pool, you’ll need 24 inches minimum depth according to NEC requirements.
Near the pool’s edge, maintain a 5-foot horizontal distance from the water before your cables turn vertical toward equipment. When crossing under walkways or driveways, increase depth to 24 inches regardless of voltage.
Always call 811 before digging to locate existing utilities. Document your cable routes with photos and measurements for future reference and maintenance access.
GFCI Protection for Cables
Because water and electricity create a potentially deadly combination, GFCI protection isn’t optional for your pool sound system—it’s essential. Ground Fault Circuit Interrupters detect current imbalances and shut off power within milliseconds, preventing electrocution.
You’ll need to make certain proper GFCI coverage for all cable runs near your pool:
- Install GFCI outlets within 20 feet of the pool’s edge
- Use weather-resistant GFCI receptacles rated for outdoor use
- Connect low-voltage transformer inputs to GFCI-protected circuits
- Test your GFCI outlets monthly using the built-in test button
- Replace any GFCI that fails to trip immediately
Don’t rely solely on your home’s main breaker panel. Install dedicated GFCI protection at the point closest to your pool equipment.
This redundancy provides an extra safety layer that could save lives.
Mounting Options for Pool Deck and Landscape Integration
Beyond the technical specifications of your audio equipment, the physical placement of speakers around your pool area determines both sound quality and visual appeal. You’ll want mounting solutions that blend seamlessly with your landscape while delivering ideal audio coverage.
Consider these popular mounting approaches for your pool environment:
| Mounting Type | Best Location | Key Benefit |
|---|---|---|
| Rock Speakers | Garden beds, planter borders | Natural camouflage |
| Deck Posts | Corners, railings | Elevated sound projection |
| In-Ground | Lawn areas, pathways | Invisible installation |
| Bollard Style | Pool perimeter | Lighting integration |
| Tree-Mounted | Mature landscaping | 360-degree coverage |
You should position speakers at consistent heights and angles to create even sound distribution. Aim units toward the primary listening zones—typically lounge areas and the pool deck’s center.
Connecting Your Sound System to Streaming Devices
Once you’ve mounted your outdoor speakers, you’ll need to connect them to your music sources for poolside entertainment.
You can pair smartphones and tablets via Bluetooth for quick wireless playback, configure Wi-Fi streaming for whole-home audio integration, or use wired connections for the most reliable signal quality. Each connection method offers distinct advantages depending on your listening preferences and existing equipment.
Bluetooth Pairing Setup Steps
How do you get your favorite playlists pumping through your new pool speakers? Bluetooth pairing makes wireless audio streaming effortless once you’ve completed the initial setup.
Follow these steps to connect your devices:
- Enable Bluetooth on your smartphone, tablet, or streaming device
- Power on your sound system and activate pairing mode (usually by holding the Bluetooth button until the indicator light flashes)
- Select your speaker system from your device’s available Bluetooth connections
- Enter the PIN code if prompted (typically 0000 or 1234)
- Wait for the confirmation tone indicating successful pairing
Once paired, your device will automatically reconnect whenever it’s within range.
Most outdoor systems support multiple paired devices, so family members can take turns as DJ without repeating the setup process each time.
Wi-Fi Streaming Options
While Bluetooth works great for quick connections, Wi-Fi streaming delivers superior audio quality and range that’ll transform your poolside listening experience. You won’t face the same distance limitations, and your music streams uncompressed for richer, fuller sound.
Start by connecting your sound system to your home network through the manufacturer’s app. Most modern outdoor speakers support AirPlay 2, Chromecast, or proprietary platforms like Sonos and HEOS. Once connected, you can stream directly from Spotify, Apple Music, Tidal, or other services without draining your phone’s battery.
For optimal performance, make certain your Wi-Fi signal reaches your pool area. You may need a mesh network extender to maintain strong connectivity outdoors. Consider a dedicated 2.4GHz connection for your audio equipment since it offers better range than 5GHz bands.
Wired Connection Alternatives
Despite Wi-Fi’s convenience, wired connections still offer unmatched reliability and audio fidelity for your outdoor pool setup. You’ll eliminate dropouts and latency issues that plague wireless systems, especially during peak network usage.
Consider these wired alternatives for your pool sound system:
- Ethernet audio adapters – Convert digital streams to analog signals with minimal interference
- Direct auxiliary cables – Connect smartphones or tablets through weatherproof junction boxes
- Optical audio connections – Deliver pristine digital sound from compatible devices
- HDMI ARC integration – Link your outdoor speakers to home theater systems
- Powered USB connections – Stream from computers while charging your device
You’ll need weatherproof conduit to protect cables from pool chemicals and moisture. Run connections underground or along fence lines for a clean installation that maintains your backyard’s aesthetics.
Adjusting Audio Settings for Outdoor Acoustics
Because outdoor environments lack the walls and ceilings that naturally contain and reflect sound, you’ll need to adjust your audio settings differently than you’d for indoor spaces.
Start by boosting your midrange frequencies slightly, as these carry vocals and most music clearly across open areas.
Reduce bass levels compared to indoor settings since low frequencies dissipate quickly outdoors without surfaces to reinforce them.
You’ll also want to increase treble moderately to compensate for absorption by grass, water, and vegetation.
Set your equalizer to emphasize the 2-4 kHz range for better voice clarity during poolside conversations.
Enable any outdoor or open-air presets your receiver offers.
Test your adjustments at different times of day, since temperature and humidity affect sound transmission.
Fine-tune based on your specific pool layout and landscaping.
Protecting Equipment From Chlorine and Humidity Damage
Pool equipment faces constant exposure to chlorine vapors and moisture, which can quickly corrode electronics and degrade speaker components if you don’t take proper precautions. You’ll need to implement protective measures from day one to extend your system’s lifespan.
Chlorine vapors and moisture are silent killers for poolside electronics—protect your investment from day one.
Follow these essential protection strategies:
- Choose marine-grade speakers rated IP65 or higher for water and dust resistance
- Apply conformal coating to circuit boards and exposed connections
- Install equipment enclosures with proper ventilation away from direct splash zones
- Use stainless steel or brass hardware instead of standard zinc-plated screws
- Schedule quarterly inspections to check for early signs of corrosion
Position amplifiers and receivers in climate-controlled spaces whenever possible.
If outdoor placement is unavoidable, invest in weatherproof cabinets with built-in ventilation fans to prevent humidity buildup inside the housing.
Integrating Volume Controls and Zone Management
Many pool owners underestimate how much proper zone management transforms their outdoor audio experience.
You’ll want separate volume controls for distinct areas—the pool deck, lounging space, and any covered patios. This setup lets you blast energetic music poolside while keeping conversation-friendly levels near seating areas.
Install weatherproof volume knobs at convenient locations throughout your outdoor space.
Position them where you’ll actually use them, not hidden behind furniture or planters. Consider smart controllers that connect to your phone for adjustments without leaving the water.
Your zone management system should include independent speaker circuits.
Wire each zone back to your amplifier separately, giving you complete flexibility. When hosting events, you can create seamless audio flow or intentional quiet zones. This investment pays off every time you entertain outdoors.
Maintaining Your Pool Sound System Throughout the Seasons
Despite their weatherproof ratings, outdoor speakers and audio equipment still need regular attention to perform their best year-round. You’ll extend your system’s lifespan markedly by following a consistent maintenance routine.
Here’s what you should do each season:
- Spring: Inspect all connections and clean speaker grilles with a soft brush to remove pollen and debris
- Summer: Check for sun damage on exposed cables and make certain drainage holes remain clear
- Fall: Remove fallen leaves from speaker housings and test all zones before winter
- Winter: Cover unused speakers or bring portable components indoors during harsh conditions
- Year-round: Wipe down surfaces monthly and verify waterproof seals remain intact
Regular maintenance prevents costly repairs and keeps your sound quality pristine.
Frequently Asked Questions
How Much Does a Professional Pool Sound System Installation Typically Cost?
You’ll typically pay between $2,000 and $10,000 for professional pool sound system installation. Your final cost depends on speaker quality, the number of zones you’re creating, and your property’s wiring complexity.
Do I Need a Permit to Install Outdoor Speakers Near My Pool?
You’ll likely need a permit depending on your local regulations. Check with your city’s building department before installation. Many areas have noise ordinances affecting outdoor speakers, and some HOAs require approval for exterior modifications.
Can I Connect My Pool Sound System to My Home Automation System?
Yes, you can connect your pool sound system to your home automation system. You’ll want to choose speakers with Wi-Fi, Bluetooth, or Z-Wave compatibility. This lets you control volume, zones, and playlists from one central app.
What Brands Are Most Reliable for Outdoor Pool Audio Equipment?
You’ll find Sonos, JBL, Bose, and Polk Audio offer the most reliable outdoor pool speakers. They’re built to withstand moisture, UV rays, and temperature changes while delivering excellent sound quality poolside.
How Long Does a Typical Pool Sound System Installation Take to Complete?
You can expect your pool sound system installation to take one to three days. Simple setups finish faster, while complex systems with multiple zones and buried wiring require more time to complete properly.

Leave a Reply