
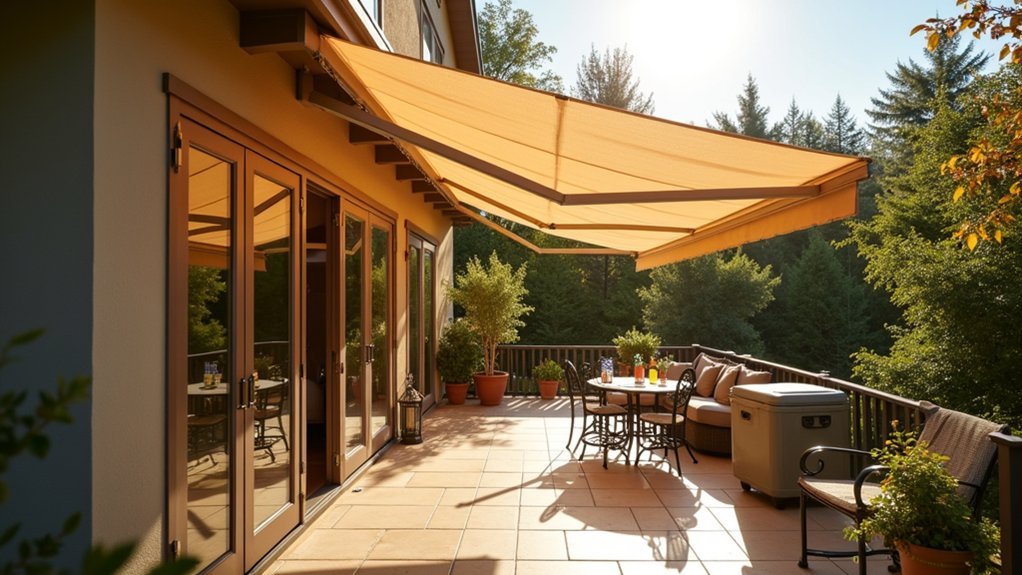
To set up a retractable awning for patio parties, mount it 8-10 feet high with 8+ feet of forward clearance. Locate wall studs, install brackets on a level line, and secure the torsion bar. Test operation, adjust pitch for optimal shade and rain runoff, then add string lights or lanterns for ambiance. Create defined zones with planters and weatherproof speakers. The right setup transforms your ordinary patio into the ultimate entertainment space.
Choosing the Perfect Patio Awning Location

Where you position your retractable awning can make or break your patio party experience. Mount it 8-10 feet above ground to ensure safe operation and proper clearance for guests. You’ll need 10-12 inches of wall space for secure bracket installation.
Always verify you have at least 8 feet of forward clearance to accommodate full extension without obstructions. This clearance requirement increases with wider awnings.
Select a mounting surface that can support lag screws and wall brackets. If you’re installing an electric model, position it near a power source to avoid unsightly extension cords.
Don’t forget to consider sun patterns throughout the day. The ideal location provides shade during peak hours while minimizing UV exposure to your awning fabric, extending its lifespan and maintaining its appearance.
Essential Tools and Materials for Awning Installation
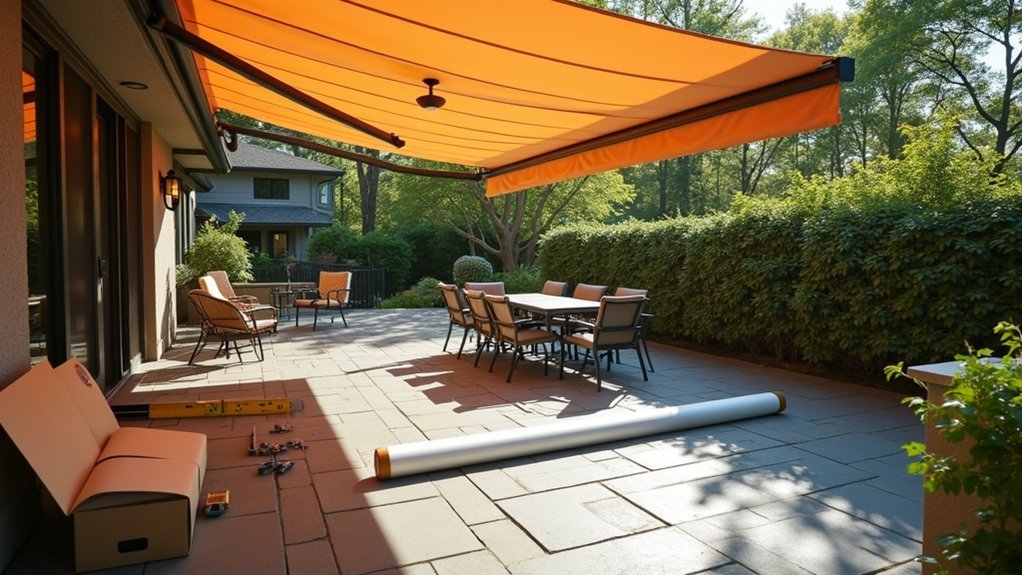
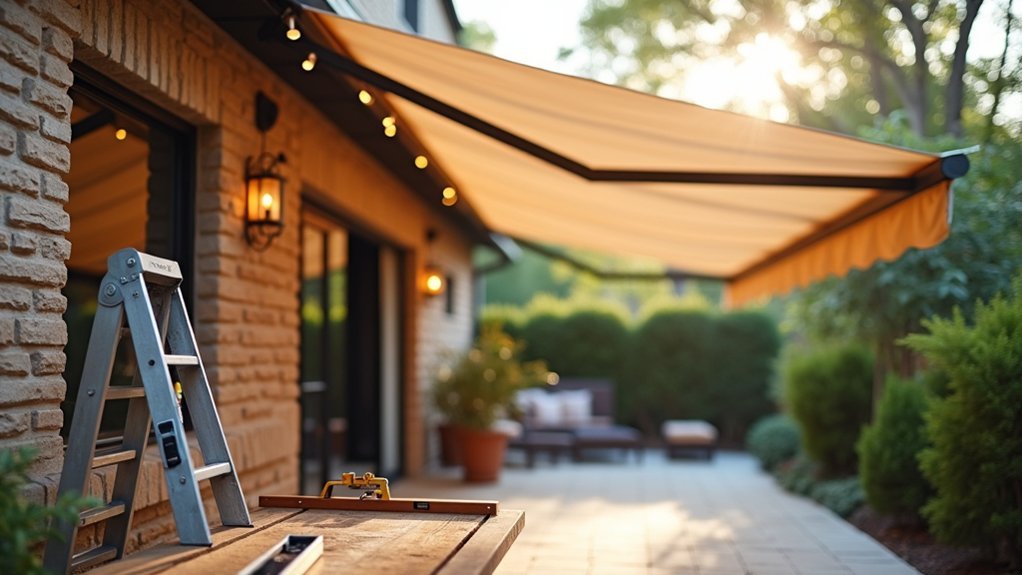
Now that you’ve determined the optimal location for your awning, gathering the right tools and materials will ensure a smooth installation process. You’ll need 2-3 ladders (8-10 feet tall), a marker, and a 25-foot measuring tape to accurately plan your installation area. Don’t forget an electric stud finder to locate secure mounting points, plus a chalk line and level to ensure perfectly straight alignment.
For the actual mounting, prepare a variable speed electric drill with assorted bits and a 3/8 inch socket wrench. You’ll also need proper washers and lag screws for secure mounting. Remember to reserve 10-12 inches of wall space for the awning, and plan for a mounting height of at least 8-10 feet off the ground. Having a partner assist you’ll make lifting and securing the awning much safer.
Unpacking and Inspection: What to Look For
When your awning arrives, proper inspection becomes your critical first step before installation begins. Before signing for delivery, examine the package for any visible damage and note concerns on the shipping document.
Inspect your awning delivery thoroughly before signing—this critical first step prevents installation headaches later.
Once you’ve accepted the package, it’s time for a thorough inspection:
- Open the box carefully and verify all components match the included list: the awning unit, hand crank, mounting hardware, brackets, and user manual.
- Check each item for damage, particularly the fabric and mechanical parts.
- Confirm you have adequate installation space—8-10 feet minimum mounting height and 10-12 inches of wall space.
- Ensure there’s at least 8 feet of forward clearance (more for wider awnings) free from any obstructions.
Contact your supplier immediately if anything’s missing or damaged before proceeding with installation.
Finding and Marking Wall Studs for Secure Mounting
You’ll need to locate wall studs precisely with a quality stud finder before mounting your retractable awning for proper support during patio gatherings. Run a chalk line across your marked stud centers to ensure your brackets will align perfectly when installed. This straight reference line lets you confidently position mounting hardware exactly where it needs to be, preventing future sagging or failure when guests gather under your new shade.
Stud Finding Essentials
Properly locating wall studs forms the foundation of a secure awning installation that will withstand both weather and time. When mounting your retractable awning, you’ll need to find the structural support behind your exterior wall to ensure the brackets can bear the load.
- Run a quality stud finder along your planned mounting line and mark stud centers with a pencil
- Verify your mounting line is level using a spirit level before drilling any holes
- Use the stud finder’s wire detection feature to check for electrical lines or plumbing that could be damaged
- Mark both the stud centers and the top edge of your brackets to align mounting holes precisely
Remember to use lag screws with washers when anchoring to studs for maximum holding strength.
Chalk Line Techniques
While stud finders pinpoint the exact location of wall supports, a chalk line transforms those individual points into a perfectly straight installation guide for your entire awning project. After determining your ideal mounting height, snap a chalk line horizontally across your wall, creating a clear reference for bracket placement.
Use your stud finder to locate center studs along this line, marking each with a small chalk dot or piece of tape. These points ensure your awning will have proper structural support. When mounting brackets, align their tops precisely with the chalk line, then measure equal distances from a corner to verify perfect alignment.
Before drilling, double-check that your chalk line is truly level with a spirit level. After installation, do a final check against your line to confirm brackets follow a straight path for proper weight distribution.
Bracket Installation and Alignment Techniques
The success of your retractable awning installation hinges on precise bracket placement and alignment. After creating your chalk line, you’ll need to locate wall studs with a stud finder and mark their centers along the line. This ensures your brackets have proper structural support.
- Position each bracket with its top edge aligned perfectly with your chalk line
- Verify brackets are straight using a level before marking drill holes
- Drill mounting holes and secure brackets with washers and lag screws
- Install the awning by sliding the torsion bar into brackets and securing with retaining bolts
Double-check that all brackets are firmly attached before mounting the awning. The retaining bolts should be tightened with a nut and washer to prevent any movement that could compromise your installation.
Mounting Your Awning Safely With a Partner
Installing a retractable awning requires teamwork, as these sizable structures can weigh upwards of 100 pounds and measure 10-20 feet in length. Before you begin, verify you have 10-12 inches of wall space and at least 8 feet of forward clearance without obstructions.
Position two to three ladders strategically and recruit a helper to manage tools while you work. Draw a level chalk line to align the top of your brackets, ensuring they’re perfectly horizontal before drilling. Your partner should assist with lifting and aligning the awning during bracket installation and when securing lag screws.
Once brackets are attached, have your partner hold the awning steady while you slide the torsion bar into position. Secure the retaining bolt and nut immediately to prevent the awning from falling or shifting.
Operating and Testing Your New Retractable Awning
Once your awning is mounted, you’ll need to remove the protective arm sleeves by carefully cutting them with scissors before testing the system. Test your new awning’s functionality using either the remote control for electric models or the hand crank for manual versions to ensure smooth opening and closing. You can fine-tune the shade coverage by using the easy pitch adjustment loops to raise or lower the front bar until you achieve the perfect angle for your patio gatherings.
Removing Protective Arm Sleeves
Before operating your newly installed retractable awning, you’ll need to remove the protective sleeves covering the arms. These sleeves prevent damage during shipping but must be removed for proper operation.
Follow these steps for safe sleeve removal:
- Remove sleeves prior to any testing to prevent movement interference and ensure accurate operation
- Cut each sleeve carefully with scissors one at a time to avoid removing more protective material than necessary
- After removal, double-check that all mounting brackets and hardware remain secure before powering the system
- Test the awning using your remote control or manual crank to verify smooth opening and closing
If you notice any resistance or binding during operation, immediately stop and inspect the arm joints for debris or misalignment.
Manual vs. Remote Control
With all protective arm sleeves now removed, the next step is to operate and test your retractable awning. Your testing method will depend on whether you’ve purchased a manual or remote-controlled model.
For manual awnings, insert the hand crank through the easy pitch loop and rotate it to extend the awning. Test the pitch adjustment by turning the crank and checking alignment after each adjustment.
If you have a remote-controlled model, power up the unit and press the open button on your remote. Watch as the awning extends smoothly. Then test the close function to ensure proper retraction.
For models with the ADV easy pitch system, adjust the front bar height using the front bar pitch loops to achieve ideal tautness for your patio party setup.
Adjusting Pitch Levels
Fine-tuning your retractable awning’s pitch level is essential for both functionality and aesthetics when hosting patio gatherings. ADV vanning’s easy pitch adjustment system lets you customize shade coverage and ensure proper water drainage during unexpected showers.
To adjust your awning’s pitch:
- Fully extend the awning to access all adjustment points
- Insert the hand crank through the easy pitch loop or prepare your remote for electric models
- Make small, incremental turns to raise or lower the front bar for your desired angle
- Test both opening and closing cycles after adjustments to verify smooth operation
Always adjust all pitch loops evenly for balanced appearance and functionality. The perfect pitch ensures optimal shade during your outdoor entertainment while protecting against weather elements.
Adjusting Pitch for Optimal Shade and Rain Runoff

Once your retractable awning is installed, properly adjusting its pitch becomes essential for maximizing shade coverage and ensuring effective rain runoff.
ADV vanning’s easy pitch adjustment system allows you to fine-tune your awning’s angle with minimal effort. Simply open the awning completely, then insert the hand crank through the easy pitch loop. Make small adjustments by raising or lowering the front bar until you achieve the ideal angle.
Adjust your ADV vanning awning with ease—just open fully, insert crank into pitch loop, and fine-tune to perfection.
For effective rain management, create a slight downward slope (just a few degrees) so water runs away from your wall. Adjust all pitch loops uniformly to maintain even coverage across the entire width.
Always test your adjustments by running the awning through a complete open/close cycle using your remote or manual crank to verify the new pitch holds correctly.
Decorating Your Awning Space for Outdoor Entertainment
Transforming your patio awning area into an inviting entertainment space requires thoughtful decoration that balances function and style. Create defined zones using portable planters or railing-height shelves to separate dining and lounging areas beneath your awning.
For a cohesive look that withstands the elements:
- Hang string lights or weatherproof lanterns along the awning’s front bar to frame the seating area without interfering with the fabric
- Select outdoor-rated fabrics for cushions and tablecloths that complement your awning’s design
- Place a weatherproof speaker system at waist height to maintain balanced sound levels for background music
- Add moisture-resistant textiles like outdoor rugs and napkins that coordinate with your awning’s color scheme
These decorative touches create an inviting atmosphere while maintaining practicality for outdoor entertaining.
Frequently Asked Questions
What Is the Disadvantage of a Retractable Awning?
You’ll face higher upfront costs, potential mechanical failures during power outages, ongoing maintenance for fabric and gears, UV damage over time, and space limitations requiring clear deployment areas.
Where to Mount a Retractable Awning?
Mount your retractable awning 8-10 feet above the ground on a wall with sturdy studs. You’ll need 10-12 inches of space along the wall and 8+ feet forward clearance.
Can You Attach an Awning Without Roof Racks?
Yes, you can attach an awning without roof racks by mounting it directly to a wall using sturdy brackets secured into wall studs, or by creating a freestanding structure with support legs.
Can You Leave a Retractable Awning Open All the Time?
No, you shouldn’t leave a retractable awning open all the time. It’ll expose it to weather damage, fabric fading, and potential structural issues. Retract it during harsh weather conditions.


Leave a Reply