To install weatherproof string lights year-round, you’ll want to choose fixtures rated IP65 or higher with LED bulbs for durability and energy efficiency. Map your layout, adding 10–15% extra cable length for draping. Mount lights to sturdy anchors like posts or pergola beams spaced 10–15 feet apart, and connect them to GFCI-protected outdoor outlets. Protect all connections from moisture using weatherproof covers and proper sealing techniques you’ll discover below.
Choosing the Right Weatherproof String Lights for Your Backyard
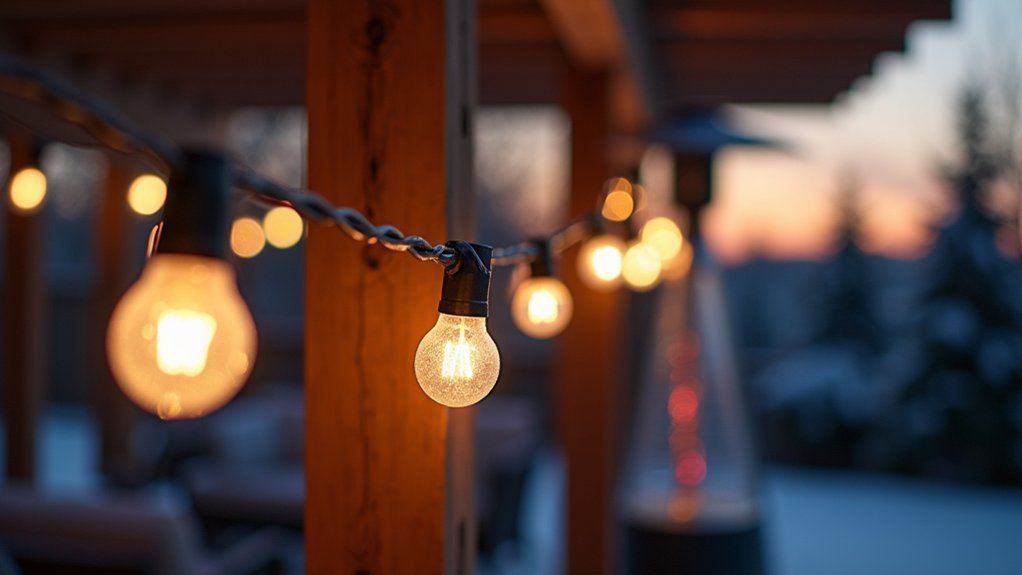
Selecting the right weatherproof string lights transforms your backyard from ordinary to enchanting while ensuring your investment lasts through seasons of rain, snow, and blazing sun.
Look for lights rated IP65 or higher, which indicates protection against dust and water jets. LED bulbs outperform incandescent options—they’re energy-efficient, produce minimal heat, and last up to 25,000 hours.
Consider bulb style based on your aesthetic goals. Edison-style bulbs create vintage charm, while globe lights offer modern elegance. Choose warm white (2700K-3000K) for cozy ambiance or cool white for contemporary spaces.
Don’t overlook wire material. Rubber-coated cables resist UV damage and temperature extremes better than standard plastic. Commercial-grade options cost more upfront but withstand harsh conditions without cracking or fading, saving you replacement hassle down the road.
Essential Tools and Materials for Permanent Installation
Once you’ve chosen your ideal weatherproof string lights, gathering the right tools and materials guarantees your installation goes smoothly and stands the test of time.
Proper preparation with the right tools transforms a frustrating installation into a weekend project you’ll enjoy for years.
You’ll need a sturdy ladder, preferably one rated for outdoor use.
Grab a power drill with masonry and wood bits to handle various mounting surfaces.
Stock up on stainless steel hooks, eye bolts, or guide wires—these resist rust and corrosion far better than standard hardware.
Don’t forget a measuring tape, level, and pencil for precise placement.
You’ll also want outdoor-rated extension cords, a voltage tester, and zip ties for cable management.
Consider purchasing a few extra bulbs and a weatherproof outlet cover if you’re connecting near ground level.
Keep all materials within reach before climbing up to begin installation.
Mapping Out Your String Light Layout and Design
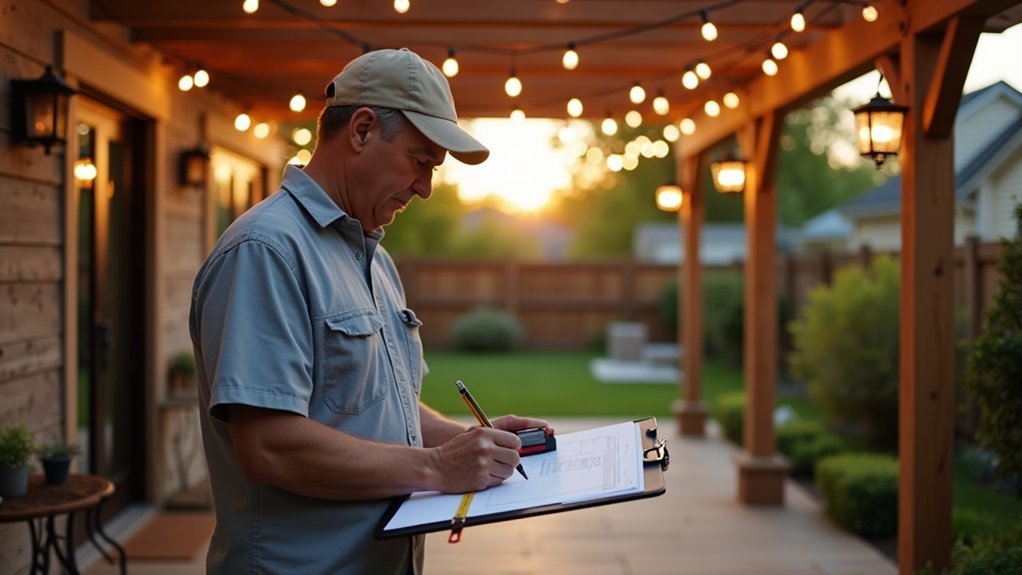
Before you start stringing lights, you’ll need to grab a tape measure and document the exact dimensions of your outdoor space.
Sketch out where you want the lights to hang, noting distances between mounting points and any obstacles like trees or gutters.
You’ll also want to identify your available power outlets and determine whether you need extension cords or additional outdoor-rated receptacles to reach your planned layout.
Measure Your Outdoor Space
To create a stunning string light display, you’ll need accurate measurements of your outdoor space before purchasing any materials. Grab a tape measure and sketch your area on paper, noting all anchor points like posts, trees, and mounting surfaces.
Follow these essential measuring steps:
- Record the total perimeter length where you’ll hang lights
- Measure the height of each mounting point from the ground
- Calculate the distance between anchor points for proper strand spacing
- Note any obstacles like vents, windows, or branches that require routing adjustments
Don’t forget to add 10-15% extra length to your calculations for draping and connections. Mark potential electrical outlet locations on your sketch, measuring their distance from your planned installation points to determine extension cord needs.
Plan Power Source Locations
With your measurements in hand, you’ll now need to identify where you’ll plug in your string lights. Locate all available outdoor outlets and note their positions relative to your planned light path. Check that each outlet has a ground fault circuit interrupter (GFCI) for safety in wet conditions.
Calculate the distance from each outlet to your starting point. If your nearest outlet sits too far away, you have options: use outdoor-rated extension cords, install a new exterior outlet, or choose solar-powered string lights instead.
Consider running multiple shorter strands from different outlets rather than daisy-chaining excessive lengths from one source. This approach reduces voltage drop and prevents overloading circuits.
Mark your chosen power locations on your sketch before purchasing supplies to make sure you buy appropriate cord lengths.
Selecting Sturdy Mounting Points and Anchor Locations
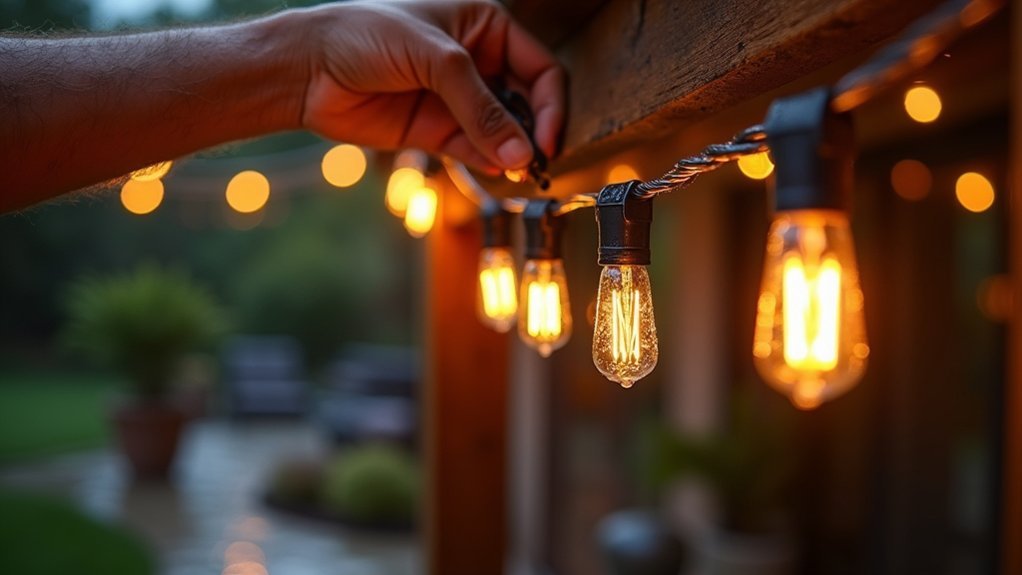
Choosing the right mounting points will determine whether your string lights stay secure through wind, rain, and seasonal changes.
Smart mounting choices mean string lights that look great season after season, no matter what weather comes.
You’ll want to identify structural elements that can handle tension and weight without pulling loose over time.
Look for these reliable anchor options:
- Wooden posts, deck railings, or pergola beams that accept screw-in hooks
- Masonry walls or brick facades using expansion anchors
- Tree trunks with wrap-around straps that won’t damage bark
- Metal poles or existing fence posts with clamp-style attachments
Before drilling or installing hardware, test each location by applying pressure to confirm it’s solid.
Space your mounting points 10-15 feet apart to prevent excessive sagging.
Always position anchors slightly higher than you want the lights to hang, accounting for natural droop in the cables.
Installing Posts and Poles for Freestanding Light Displays
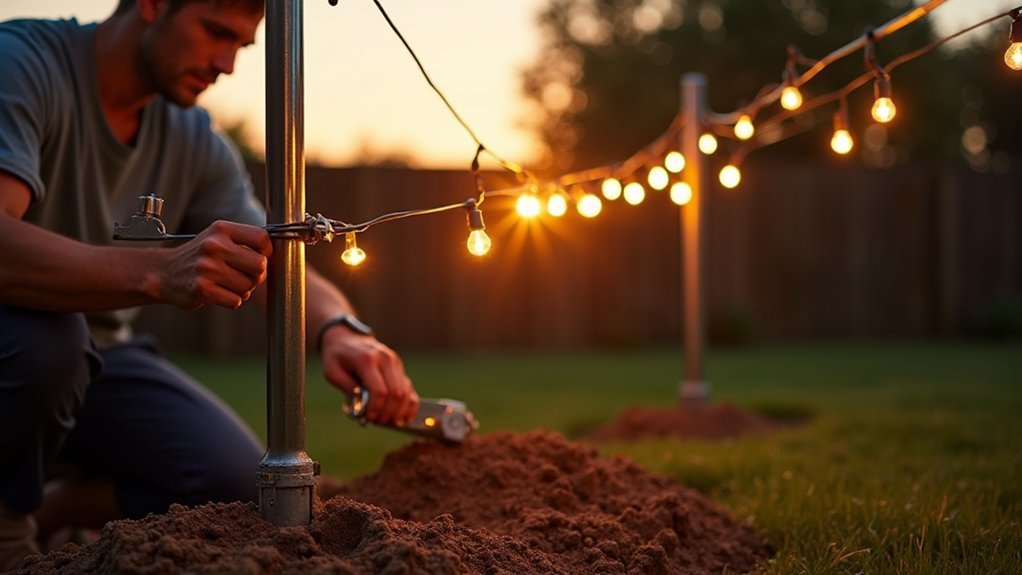
When your yard lacks sturdy trees or structures, you’ll need to install freestanding posts to support your string lights.
You can choose from materials like pressure-treated wood, metal conduit, or decorative aluminum poles based on your budget and aesthetic preferences.
Proper anchoring is essential for stability, so you’ll want to set posts in concrete footings or use heavy-duty ground sleeves that can withstand wind and the tension from your lights.
Choosing Post Materials
The posts you select for your freestanding light display will determine both its durability and visual appeal. You’ll want materials that withstand year-round weather exposure while complementing your outdoor space.
Consider these popular post material options:
- Pressure-treated wood – Offers affordability and easy customization, though it requires periodic sealing to prevent rot.
- Cedar or redwood – Provides natural weather resistance and attractive grain patterns without chemical treatments.
- Aluminum – Delivers lightweight strength, rust resistance, and minimal maintenance for decades of use.
- Steel – Gives maximum structural support for heavy light strands but needs powder coating to prevent corrosion.
Match your post material to your climate conditions and aesthetic preferences. If you’re in a humid or coastal area, prioritize corrosion-resistant options like aluminum or treated wood.
Proper Anchoring Techniques
Securing your posts firmly into the ground guarantees your string light display won’t topple during storms or high winds.
For wooden posts, dig holes at least 24 inches deep and set them in quick-drying concrete. You’ll want the concrete to extend slightly above ground level, sloped away from the post to prevent water pooling.
Metal poles require heavy-duty ground anchors or concrete footings with embedded mounting brackets. Drive ground sleeves at least 18 inches into compacted soil for temporary installations.
Always check local frost line requirements, as shallow anchoring in cold climates leads to heaving and instability. After setting your posts, wait 48 hours before attaching string lights to allow concrete to cure fully. Test each post by pushing firmly to confirm zero movement.
Securing Cables and Guide Wires for Maximum Support
Stretch your guide wire taut between anchor points before you attach any lights—a sagging cable will only get worse once you add the weight of string lights and weather exposure. Use a turnbuckle at one end to maintain proper tension throughout the seasons.
Follow these steps for secure cable installation:
- Thread stainless steel cable through your anchor points and create loops using cable clamps.
- Install a turnbuckle on one end, leaving room to tighten as the cable stretches.
- Attach cable clips every 12 inches along the guide wire to hold your string lights in place.
- Test the tension by pressing down at the center—minimal deflection indicates proper support.
Check your connections monthly and adjust the turnbuckle as needed.
Connecting Your Lights to Outdoor-Rated Power Sources
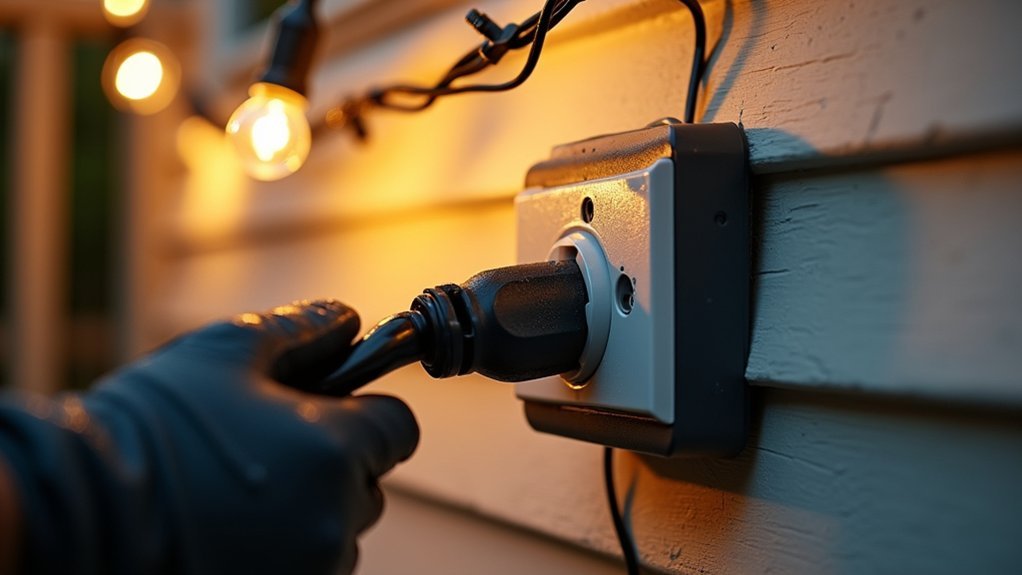
With your guide wires secured and lights ready to hang, you’ll need a reliable power source that can handle outdoor conditions. Standard indoor outlets won’t cut it—you need GFCI-protected outdoor receptacles that automatically shut off during ground faults.
| Power Source Type | Best Use Case |
|---|---|
| Weatherproof GFCI outlet | Permanent installations |
| Outdoor extension cord | Temporary setups |
| Outdoor-rated smart plug | Timer-controlled displays |
Before connecting, check your string lights’ total wattage against the circuit’s capacity. Don’t daisy-chain more strands than the manufacturer recommends. Use outdoor-rated extension cords with proper weatherproofing—look for the “W” designation on the cord jacket.
Position connections away from water accumulation points and use weatherproof covers on all plugs. Test your GFCI outlet monthly by pressing the reset button.
Protecting Electrical Connections From Rain and Moisture
Even with outdoor-rated equipment, exposed plug connections remain vulnerable to moisture damage unless you take extra precautions. Water infiltration can cause shorts, tripped breakers, and potential fire hazards.
Here’s how to protect your connections:
- Use weatherproof outlet covers that shield plugs while they’re inserted, not just when the outlet is empty.
- Wrap each plug connection tightly with electrical tape, creating a water-resistant seal around the junction.
- Position connections vertically with the female end facing down, so water drips away rather than pooling inside.
- Install connections inside weatherproof junction boxes for maximum protection in heavy rain areas.
You should also elevate connections off the ground to prevent standing water contact. Check all seals periodically, especially after storms, to make sure they’re maintaining their integrity.
Adding Timers and Smart Controls for Convenience
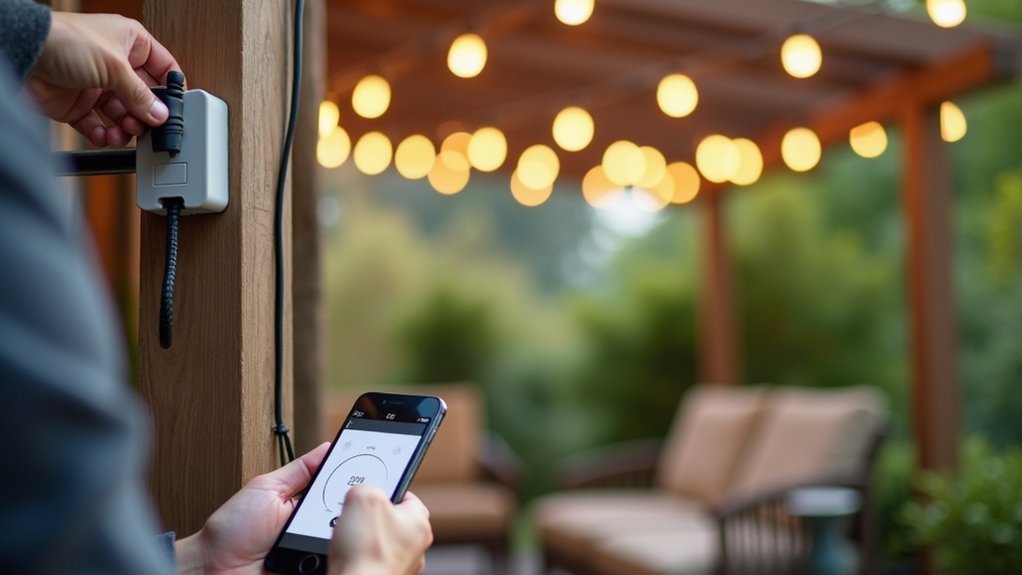
You can automate your weatherproof string lights by selecting the right timer or smart control for your setup.
When choosing compatible timer options, you’ll need to match the device’s wattage rating to your light strand’s total power draw. Smart plugs offer even more flexibility, letting you control your lights from anywhere using your phone or voice assistants.
Choosing Compatible Timer Options
Because weatherproof string lights draw relatively low wattage, they’re compatible with most outdoor-rated timers and smart plugs on the market.
You’ll want to match your timer selection to your specific setup and lifestyle needs.
Consider these four timer options:
- Mechanical outlet timers – Affordable and reliable, these use rotating dials to set on/off schedules without requiring Wi-Fi.
- Digital programmable timers – Offer precise scheduling with multiple on/off cycles daily and battery backup for power outages.
- Smart plugs with app control – Let you adjust schedules remotely and integrate with voice assistants like Alexa or Google Home.
- Photocell timers – Automatically activate lights at dusk and turn them off at dawn, adapting to seasonal changes.
Always verify your timer’s wattage rating exceeds your string lights’ total draw.
Smart Plug Setup Tips
Smart plugs offer the most flexibility among timer options, letting you control your weatherproof string lights from anywhere with a smartphone. Choose an outdoor-rated smart plug with a weatherproof housing if you’re connecting it outside. For indoor outlets powering exterior lights, standard indoor models work fine.
Download your plug’s companion app before installation and make sure your Wi-Fi signal reaches the outlet location. Weak signals cause connection drops and unreliable scheduling. Position your router closer or add a Wi-Fi extender if needed.
Set up automated schedules based on sunset times rather than fixed hours—this keeps your lights turning on at dusk year-round without manual adjustments. You can also create scenes that sync your string lights with other smart devices or activate them with voice commands through Alexa or Google Assistant.
Seasonal Maintenance Tips to Extend Light Longevity
Regularly inspecting your weatherproof string lights throughout the year helps catch small problems before they become costly replacements. Even durable outdoor lights need attention as seasons change and weather takes its toll.
Follow these maintenance steps to maximize your lights’ lifespan:
- Clean bulbs and sockets quarterly using a dry microfiber cloth to remove dirt, pollen, and debris that can cause overheating.
- Check all connections monthly for corrosion, loose plugs, or damaged wiring that moisture may have compromised.
- Replace burned-out bulbs immediately since dead bulbs force remaining lights to work harder.
- Store lights properly during extreme weather if you’re not using them, coiling them loosely to prevent wire damage.
Taking these proactive steps prevents premature failure and keeps your outdoor space glowing beautifully year-round.
Frequently Asked Questions
Can I Leave Weatherproof String Lights up During Heavy Snowstorms?
You can leave weatherproof string lights up during heavy snowstorms, but you’ll want to shake off accumulated snow periodically. Heavy snow buildup can stress wires and connections, potentially causing damage or pulling down your mounting hardware.
How Much Do Professional String Light Installations Typically Cost?
You’ll typically pay between $200 and $1,500 for professional string light installation, depending on your space’s size and complexity. Larger patios or intricate designs requiring custom hardware will cost more than simple setups.
Will String Lights Attract Bugs to My Outdoor Living Spaces?
Yes, string lights can attract bugs, but you’ll minimize this by choosing warm LED bulbs instead of incandescent ones. LEDs emit less heat and UV light, making them far less appealing to insects.
Do Weatherproof String Lights Significantly Increase My Electricity Bill?
LED weatherproof string lights won’t markedly increase your electricity bill. They’re highly energy-efficient, using about 80% less power than traditional incandescent bulbs. You’ll typically spend just pennies per month running them nightly.
Can I Cut Weatherproof String Lights to Customize the Length?
You can’t cut most weatherproof string lights without damaging the circuit and voiding waterproofing. Instead, you should purchase the correct length or use connectable options that let you add or remove sections safely.


Leave a Reply