You can easily bring popular winter yard games indoors with simple household items. Roll white socks into balls for snowball tosses aimed at laundry basket targets, or set up indoor curling with plastic lids on smooth floors. Create mini ice hockey in your basement using foam pucks, or host penguin waddle races with balloons tucked between players’ knees. These adaptations work for all ages and keep the winter fun going regardless of weather, and there’s plenty more creative options to explore below.
Snowball Toss: Transform Your Living Room Into a Winter Wonderland
When winter weather keeps everyone stuck indoors, you don’t have to abandon the fun of outdoor games. The classic snowball toss adapts perfectly to your living room with a few simple substitutions.
Grab some white socks, roll them into balls, and you’ve got instant indoor snowballs. Set up laundry baskets or buckets at varying distances to create targets with different point values. You can also hang hula hoops from doorways for an added challenge.
Clear fragile items from the play area and establish boundaries. Assign point values based on difficulty—farther targets earn more points. Keep score on a whiteboard and play in rounds.
This game builds hand-eye coordination while burning energy. Kids and adults alike will enjoy the friendly competition without tracking real snow through your house.
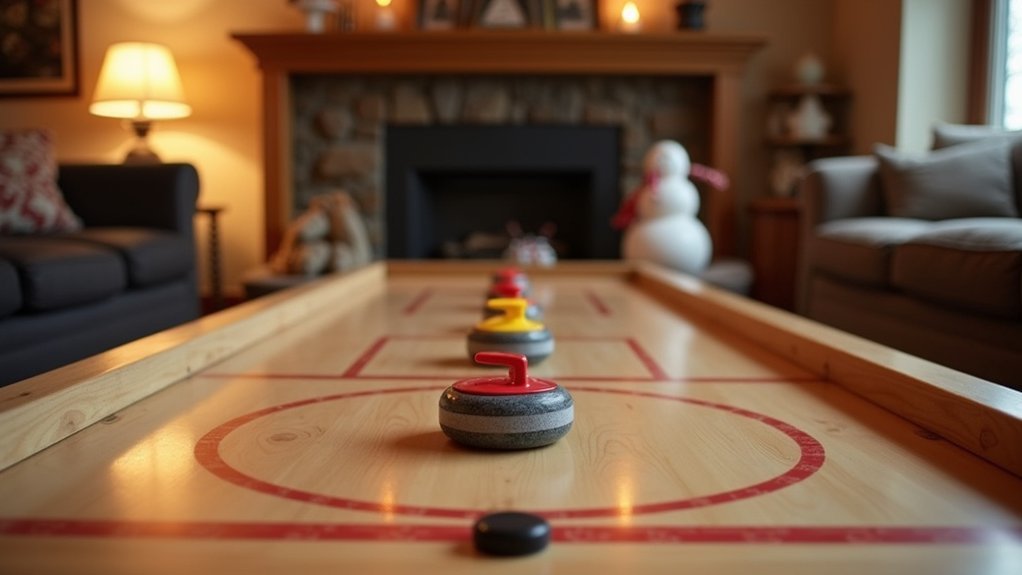
Indoor Curling With Household Items and Smooth Flooring
On smooth hardwood or tile floors, you can recreate the Olympic sport of curling using items you already own. Grab plastic lids, coasters, or even frozen wet sponges as your “stones.” Mark your target circles with painter’s tape at one end of your hallway or kitchen.
Players take turns sliding their stones toward the target, aiming to land closest to the center. You can use a Swiffer or dry mop as your broom, gently sweeping in front of the sliding stone to reduce friction and guide its path.
Set up two teams with four stones each. Points go to whichever team’s stones sit nearest the center after each round. This low-impact game builds strategy skills and works for all ages and ability levels.
Mini Ice Hockey Setup for Basements and Garages
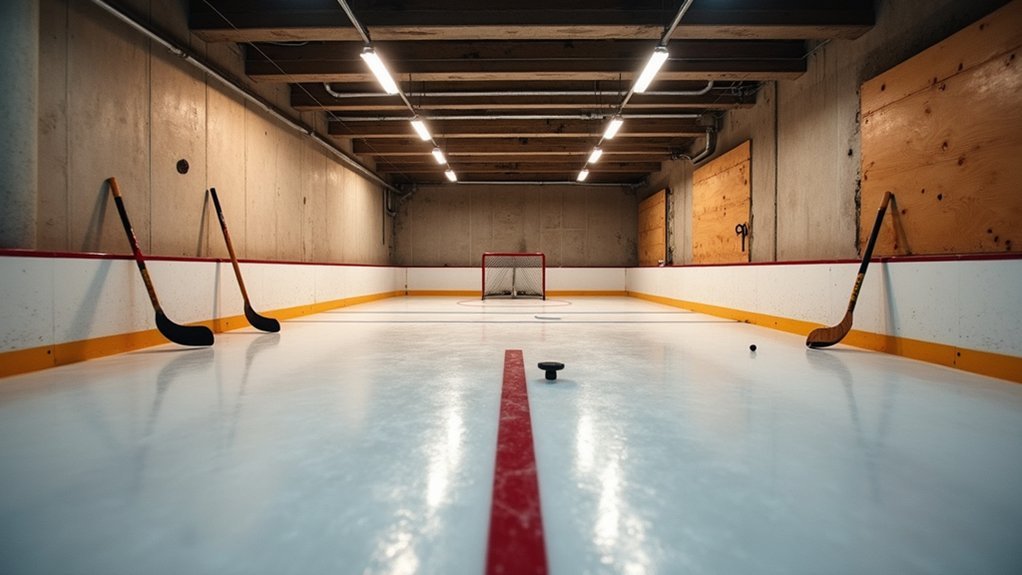
Basements and garages offer the perfect space to set up your own mini hockey rink when winter keeps everyone indoors. You’ll need smooth concrete or tile flooring, plastic hockey sticks, and a soft foam puck that won’t damage walls or windows.
Create boundaries using PVC pipes or pool noodles secured with duct tape. For goals, repurpose laundry baskets turned on their sides or build simple frames from plastic piping. If your floor isn’t slick enough, lay down interlocking plastic tiles designed for hockey training.
Set clear house rules before play begins. Limit stick height to waist level and prohibit slap shots to prevent injuries and property damage. You can play one-on-one or form small teams depending on your available space.
Snowshoe Relay Races Using DIY Cardboard Snowshoes
You can create functional cardboard snowshoes by cutting large oval shapes from sturdy corrugated boxes and attaching elastic straps or old belts across the center for your feet.
For indoor relay races, set up a course through your basement or living room with cones or obstacles, and have teams compete to complete laps without losing their snowshoes.
Keep the rules simple: if a snowshoe falls off, that player must stop and reattach it before continuing the race.
Cardboard Snowshoe Construction Tips
Crafting sturdy cardboard snowshoes requires selecting the right materials from the start. You’ll want double-walled corrugated cardboard for maximum durability during relay races.
Trace an oval shape approximately 12 inches long and 8 inches wide, then cut two matching pieces for each snowshoe.
Reinforce your snowshoes by layering three cardboard pieces together, securing them with strong packing tape wrapped around all edges. Cut two horizontal slits in the center where you’ll thread an old belt or fabric strap to hold your foot in place.
Add traction by gluing rubber bands or textured shelf liner to the bottom surface. This prevents slipping on smooth indoor floors.
Test your snowshoes before race day by walking around to identify weak spots needing extra tape reinforcement.
Indoor Relay Race Rules
Once you’ve built your cardboard snowshoes, setting up clear relay race rules keeps the competition fun and fair for everyone.
Divide players into equal teams and establish a clear start and finish line. Each racer must wear both snowshoes securely before beginning their leg of the relay.
Set boundaries to prevent collisions in tight indoor spaces. Players must complete their lap before tagging the next teammate. If a snowshoe falls off mid-race, the racer must stop and reattach it before continuing.
Consider adding obstacles like cones or chairs to weave around for extra challenge. Award penalties for cutting corners or removing snowshoes early.
Keep races short to prevent overheating indoors, and rotate team positions so everyone gets multiple turns throughout the competition.
Penguin Waddle Competitions for Family Game Nights
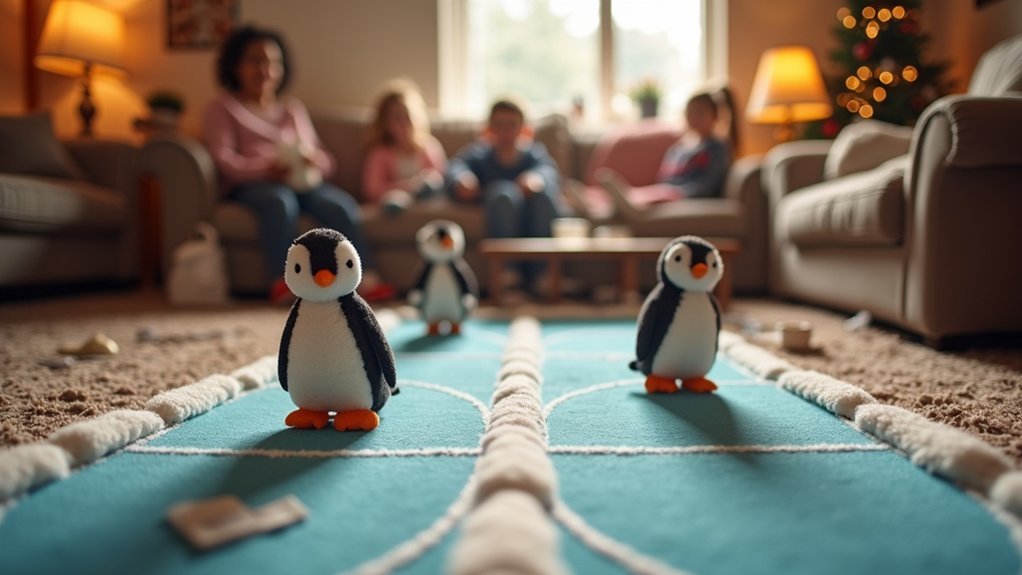
You can transform any living room or basement into a penguin waddle arena by creating a simple obstacle course using pillows, cushions, and tape lines on the floor.
Players place a balloon or small ball between their knees and race to the finish line without dropping it, mimicking a penguin’s signature shuffle.
To add creative challenges, try incorporating station stops where waddlers must spin in circles, navigate around furniture, or transfer their “egg” to a teammate relay-style.
Setting Up Indoor Courses
When you’re ready to transform your living room into a penguin waddle arena, start by clearing a straight path at least 15 feet long and 4 feet wide.
Push furniture against walls and roll up any rugs that might cause slipping. Mark your start and finish lines with painter’s tape, which won’t damage floors.
Create lane dividers using pool noodles or rolled towels if you’re racing multiple players simultaneously.
Place soft cushions along the sides as bumpers, especially if young children are participating. You’ll want to remove any breakable items from nearby shelves and tables.
For added fun, set up obstacle variations along the course.
Try placing small cones to waddle around or creating narrow passages with chairs that penguins must squeeze through without breaking formation.
Creative Waddling Challenges
Creative waddling challenges consistently bring out the competitive spirit in players of all ages while keeping everyone laughing throughout the competition. You’ll want to establish clear rules before starting: players must keep a balloon, small ball, or beanbag between their knees while racing from one point to another.
Try these variations to keep things fresh. Set up relay races where teams pass objects without using hands. Create obstacle courses requiring players to navigate around furniture while maintaining their waddle. Host elimination rounds where the slowest waddler sits out each heat.
You can increase difficulty by adding tasks like picking up items along the route or balancing something on your head simultaneously. Award prizes for fastest time, best technique, and most entertaining waddle style to encourage participation from hesitant family members.
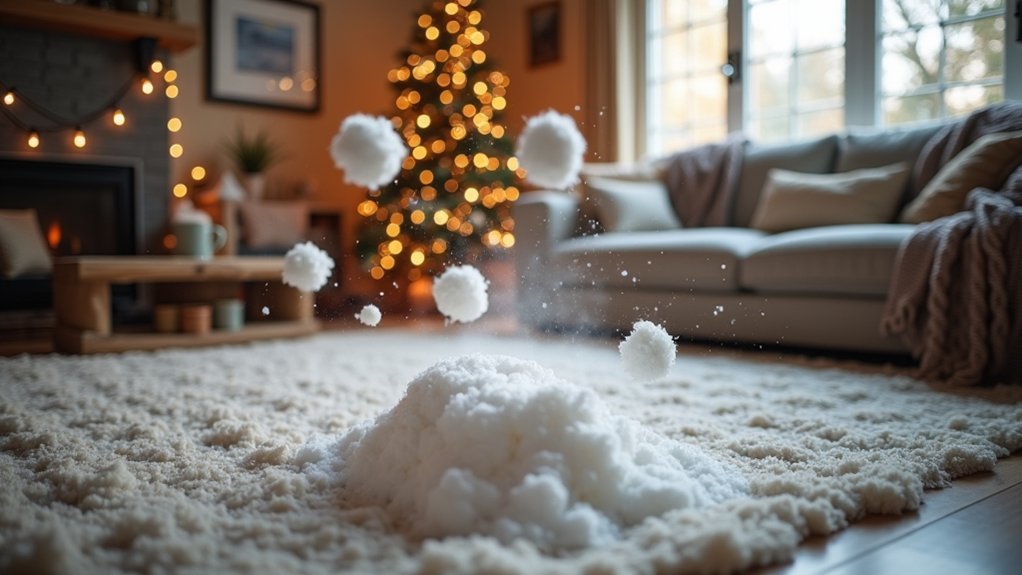
Indoor Snowman Building With Alternative Craft Materials
Building a snowman doesn’t require actual snow, and that’s great news for families who want winter fun without the freezing temperatures.
You can create charming indoor snowmen using white socks stuffed with rice, stacked cotton balls glued together, or even white balloons arranged in graduated sizes.
For a larger project, wrap white yarn around three different-sized balloons, coat them with glue, and pop the balloons once dry.
You’ll have lightweight, hollow spheres perfect for stacking.
Decorate your creation with felt scarves, button eyes, and pipe cleaner arms.
Paper plate snowmen work well for younger children—simply paint plates white and stack them vertically on a wall.
Add construction paper accessories and drawn-on faces.
These crafts let you enjoy snowman-building traditions regardless of weather conditions outside.
Frequently Asked Questions
Are These Indoor Winter Games Safe for Apartments With Downstairs Neighbors?
You’ll want to choose quieter options like tabletop curling or balloon volleyball. Avoid games involving jumping or throwing heavy objects. You should also consider playing during daytime hours and using soft, lightweight equipment to minimize noise.
How Can I Adapt These Games for Children With Mobility Challenges?
You can modify games by using seated versions, larger lightweight equipment, and adjustable targets at reachable heights. You’ll want to replace throwing with rolling and create wider playing areas for easier movement.
What Age Groups Are Most Suitable for These Indoor Winter Activities?
You’ll find these activities work best for children ages 4-12, though you can easily adjust difficulty levels. Younger kids enjoy simpler versions, while older children appreciate added challenges and competitive elements.
Can These Games Be Modified for Large Group Settings Like Classrooms?
You can easily modify these games for classrooms by creating team-based competitions, setting up rotation stations, or adapting rules to accommodate more players while using the available space safely and effectively.
How Do I Store DIY Game Equipment When Not in Use?
You can store DIY game equipment in labeled bins, mesh bags, or stackable containers. You’ll want to keep pieces together by game, and you should designate a specific closet or shelf for easy access.


Leave a Reply