
After your BBQ party, let your grill cool completely before cleaning. Remove and soak grates in hot, soapy water while scrubbing interior components with appropriate brushes. Clean burners carefully, clearing any clogged holes. Empty and wash the drip tray to prevent grease buildup. Clean the exterior according to your grill’s material. Thoroughly dry everything before reassembling and covering. This routine not only extends your grill’s life but ensures better-tasting food at your next gathering.
Let Your Grill Cool Properly Before Cleaning
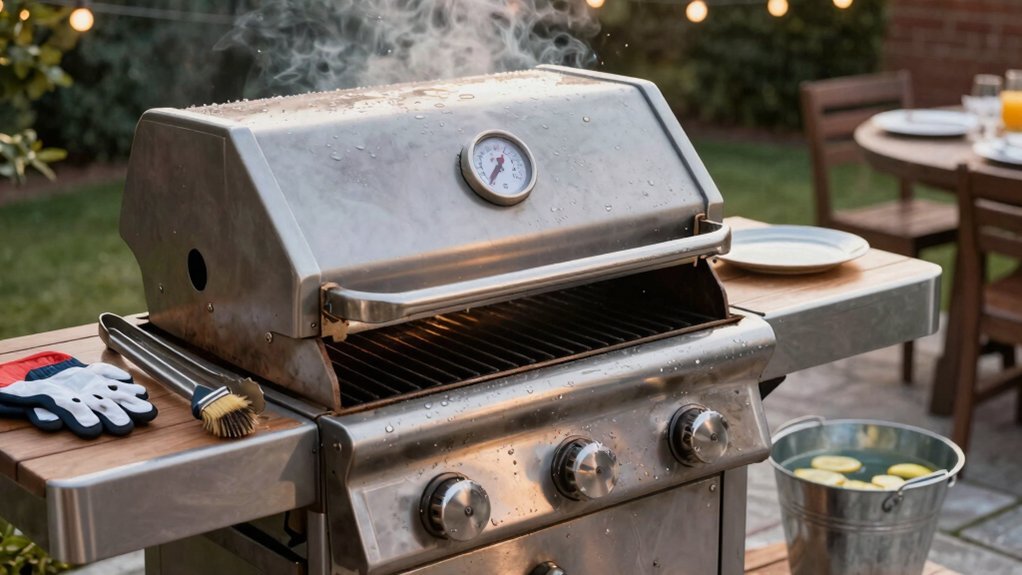
Why risk serious burns when cleaning your BBQ? Safety should always come first after your grilling session ends. Turn off your grill completely and give it several hours to cool down before attempting any cleanup.
For gas grills, shut off the gas supply immediately after cooking and wait until all parts feel cool to the touch. If you’re using a charcoal grill, ensure all coals are fully extinguished and no longer emitting heat.
While waiting for the complete cooldown, you can lightly wipe exterior surfaces and handles with a damp cloth to remove surface residue. This prevents splatters during your deeper cleaning later.
Once cooled, start by removing the grates to safely access the interior components. Patience during cooling prevents steam burns when applying cleaning solutions.
Remove and Soak Grates in Degreasing Solution
Once you’ve removed the grill grates, place them in a degreasing solution of hot water and dish soap, or try vinegar as an effective alternative for stubborn grease. Thoroughly scrub both sides, paying special attention to the underside where food particles tend to accumulate. After rinsing completely, make sure to dry the grates fully before returning them to your grill to prevent rust and ensure longevity.
Soaking in Soapy Water
When it comes to tackling a sauce-splattered, grease-laden grill after your backyard bash, soaking the grates is your first line of defense. Create a powerful cleaning solution using hot water, dish soap, and a splash of degreaser to break down stubborn grease buildup.
- Allow grates to soak for 15-20 minutes to loosen stuck-on food particles before scrubbing
- Clean each grate while submerged using a plastic scrubber or sponge for easier removal of baked-on residue
- Sprinkle baking soda directly onto grates for tougher stains to enhance the grease-lifting action
- Rinse thoroughly with clean water after soaking and dry completely before reinstalling to prevent rust formation
This simple soaking method saves you scrubbing time and ensures your grill grates stay in top condition, ready for your next cookout adventure.
Use Vinegar Alternatives
Looking for natural alternatives to harsh chemical cleaners? Vinegar is your go-to solution for tackling greasy grill grates. Combine hot water and vinegar in your soaking bucket, then let the grates sit for 15-20 minutes. This natural acid helps soften stubborn grease without harsh chemicals.
For even better results, sprinkle baking soda on the grates before scrubbing. The combination creates a powerful cleaning reaction that breaks down baked-on residue effectively. After soaking, scrub with a sponge to remove loosened debris.
When you’re finished cleaning, try a vinegar-based spray during your final rinse to dissolve any remaining residue. Always rinse thoroughly with clean water afterward and dry your grates completely to prevent rust before reinstalling them on your grill.
Quick-Dry Before Reassembly
Proper drying is the final critical step before reassembling your BBQ after a thorough cleaning. Once you’ve soaked your grates in a hot degreasing solution (water, dish soap, and a splash of grill cleaner) for 15-20 minutes, you’ll need to ensure they’re completely dry before putting them back on the grill.
- Thoroughly rinse the grates after scrubbing with a sponge to remove all soap residue
- Use a clean, dry towel to wipe away excess water from all surfaces
- Allow grates to air dry completely in the sun if possible
- Check for any remaining moisture in crevices before reinstalling to prevent rust
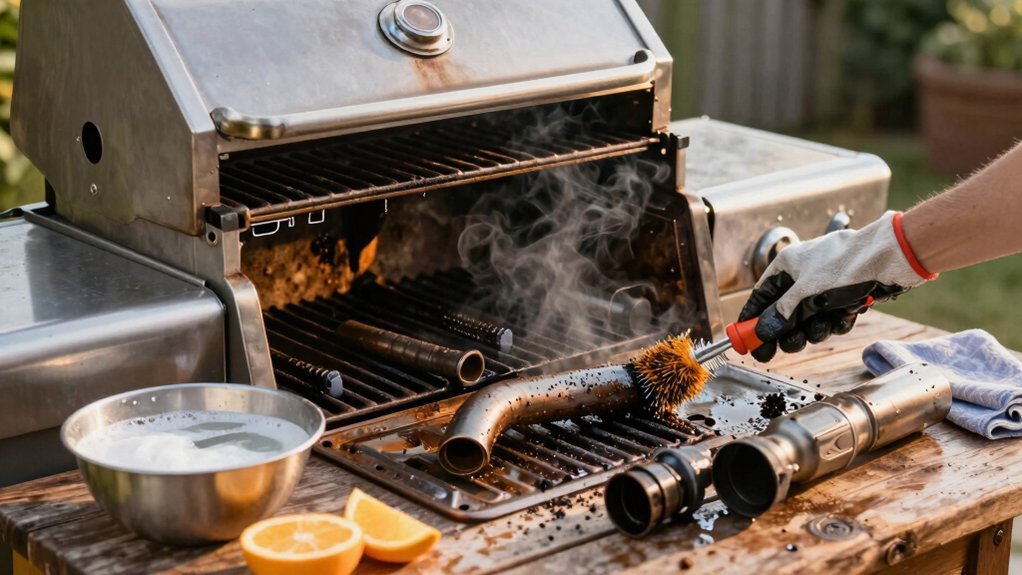
Tackle Stubborn Grease With the Right Brushes
After a successful cookout, your BBQ grill often becomes a battleground of stubborn grease and charred food particles. Start by using a proper grill brush to scrape both sides of the grates, followed by a plastic scraper for any residual grease before soaking.
When dealing with cast-iron or porcelain grates, scrub gently to prevent damage while still removing stubborn grime. Don’t forget to flip the grates to clean the underside where grease tends to accumulate most heavily.
For best results, soak the grates in hot, soapy water for 15-20 minutes after your initial brushing. This helps loosen any stuck-on residue. To tackle particularly tough stains, sprinkle baking soda onto the grates while scrubbing—it’ll boost your grease-lifting power and help deodorize your grill simultaneously.
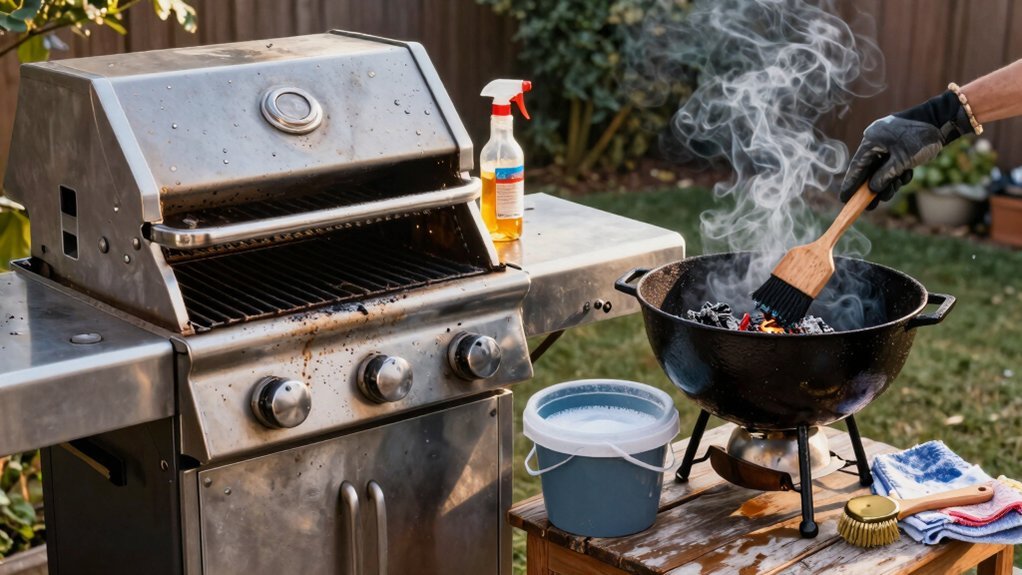
Deep Clean Interior Components and Burners
While the grates get most attention during cleaning, your grill’s interior components and burners require thorough maintenance for optimal performance. Remove the burner covers and clear any clogged holes with a toothpick or small brush to restore proper airflow. For ceramic briquettes, flip them upside down, run the grill for 15 minutes to burn off debris, then brush lightly once cooled.
- Soak removable parts like grates, flavorizer bars, and heat shields in hot soapy water or degreaser
- Scrub interior walls with a wire brush and apply a vinegar-water solution to dissolve stubborn grease
- Clean and empty the grease trap and drip tray to prevent flare-ups at your next cookout
- Let all components dry completely before reassembly to prevent rust and ensure proper operation
Don’t Forget the Drip Tray and Grease Management System
The humble drip tray might be the most overlooked component of your BBQ, yet it’s essential for both safety and performance. After your post-party cleanup, always empty and remove this critical part to prevent dangerous grease buildup that can cause flare-ups during your next cookout.
For easier maintenance, line your drip tray with aluminum foil before grilling. This simple step makes cleanup a breeze and contains grease effectively. Once emptied, thoroughly wash and dry the tray to eliminate lingering odors and prevent bacteria growth.
Don’t stop at the tray—inspect your grease trap regularly too. This component collects drippings and prevents grease from seeping into vital grill parts. Periodic cleaning ensures proper ventilation and safe operation of your BBQ, keeping it ready for your next gathering.
Proper Exterior Cleaning for Different Grill Materials
Your BBQ’s exterior deserves just as much attention as its cooking surfaces, especially when each material requires specific care to maintain its appearance and durability. For stainless steel grills, use specific stainless-steel cleaners to prevent streaks and maintain shine—never use abrasive pads that could scratch the surface.
After any cleaning session, thoroughly dry all exterior components and apply a protective polish to repel fingerprints and grime. For painted surfaces, always test cleaners on a small area first.
- Clean stainless steel with dedicated cleaners for streak-free results
- Use warm water and mild dish soap for general exterior cleaning
- Wipe handles, knobs, and control panels with a damp cloth, avoiding electronic components
- Dry thoroughly and apply protective spray or polish as a final step
Reassemble and Protect Your Grill Until Next Use
After completing the exterior cleaning process, it’s time to put your BBQ grill back together properly to ensure it remains in optimal condition until your next cookout.
Reassemble your grill with care—proper setup now ensures perfect performance when you’re ready to fire it up again.
Wait until all components are completely dry before reassembly to prevent rust formation.
Apply a light coating of oil to stainless steel or cast iron grates to create a protective barrier against sticking and corrosion.
Reinstall burners, grates, and the drip tray in their original positions to maintain proper alignment and safe operation.
Once reassembled, clean and dry the exterior surfaces thoroughly.
Consider using a grill cover to shield against dust, moisture, and UV damage.
If possible, store your grill in a sheltered location or indoors, and remember to check gas lines and connections before your next grilling session.
Frequently Asked Questions
How to Clean a Grill After Grilling?
Remove grates and scrub both sides. Soak them in soapy water. Clean the interior with a wire brush. Clear burner holes, wash the drip tray, and wipe the exterior. Oil grates before storing.
Why Do Mexicans Use Onions to Clean Grills?
This isn’t a verified Mexican tradition. The claim about using onions to clean grills appears to be a misattribution rather than a documented cultural practice. You’ll find traditional cleaning methods more effective.
What to Soak Grill Grates in to Clean Them?
Soak your grill grates in warm water with dish soap for 15-20 minutes. For stubborn residue, add baking soda to the solution. You’ll find it easier to scrub away grease afterward.
How to Clean a Party Grill?
Remove grates, scrape debris, then soak them in soapy water. Clean interior with vinegar solution, empty the drip tray, and wipe exterior with mild soap. Dry everything thoroughly before reassembling.


Leave a Reply